Altars of Summoning Guide: Become the Hive God’s Champion
Destiny 2 Altars of Summoning offers thrilling buildcrafting and team synergy, with dynamic difficulty and rewarding encounters.
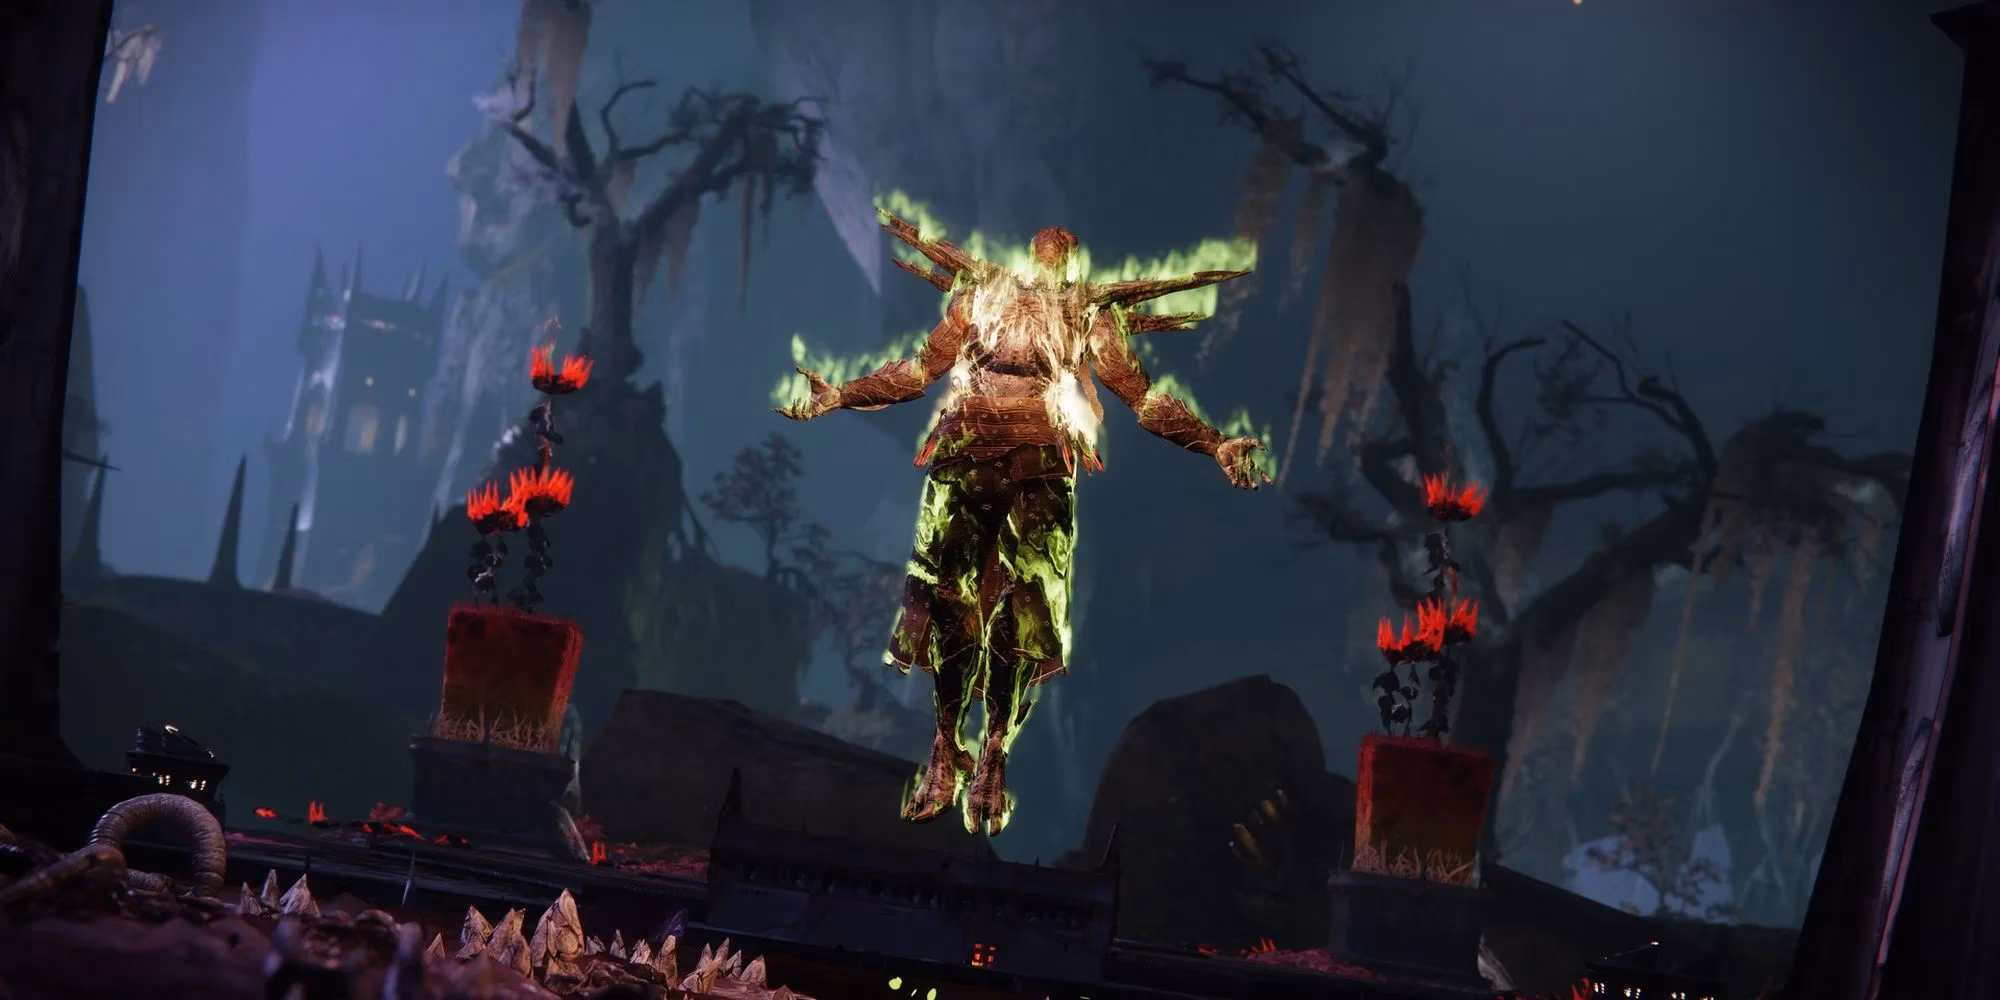
I remember when Eris Morn decided to take the ultimate gamble—turning herself into a Hive God just to beat Xivu Arath at her own twisted game. It sounded insane, but that’s exactly what happened back in Season of the Witch. Now in 2026, the Altars of Summoning activity still stands as one of the most thrilling tests of buildcrafting and team coordination in Destiny 2. If you’re diving in today, this guide will walk you through everything you need to know, from the opt‑in difficulty system to the deckbuilding magic of Opaque Cards.
Altars of Summoning is like Deep Dive’s older, edgier sibling. It’s a matchmade activity that throws wave after wave of enemies at you, demanding a finely tuned loadout and solid communication—even though you can run it with randoms. What sets it apart is how you and your fireteam get to control the pain level. Before each encounter, you choose how hard you want it to be by placing a Hive Offering at a specific altar.
Choosing Your Offering: Difficulty Tiers
This opt‑in system isn’t just for show. It directly impacts enemy damage, how many encounters you need to complete for a reward, and eventually the power delta you’ll face if you stay multiple rounds. The offering types are:
| Offering Type | Difficulty Tier | Effect on Rewards |
|---|---|---|
| Feeble Offering | Tier 1 (easy) | Slowest progress – you’ll need more encounters to get a loot chest. |
| Robust Offering | Tier 2 (medium) | Moderate progress. |
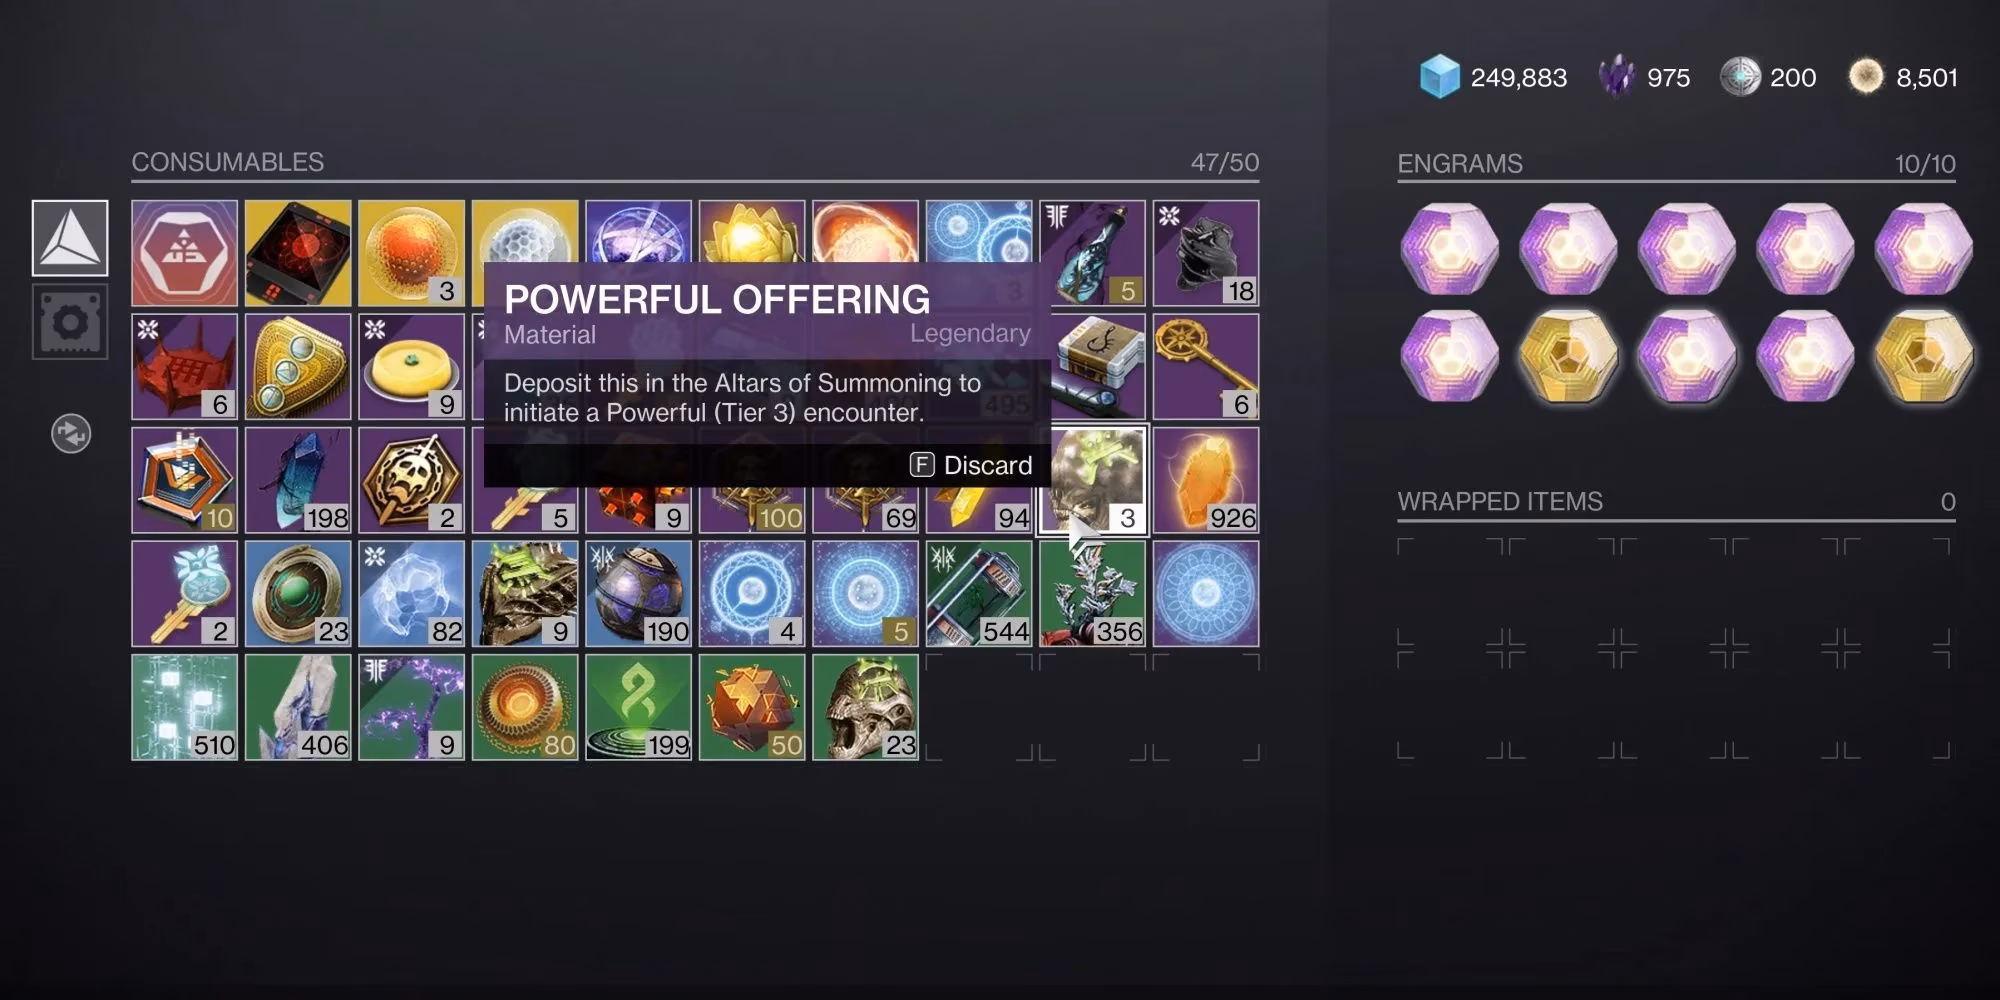
| Powerful Offering | Tier 3 (hard) | Fastest progress – usually only two or three encounters until the chest drops. |
I always push for Powerful Offerings when I’m with a crew that knows what they’re doing. The faster you fill that progress bar, the sooner Eris swoops in to collect tribute and spawn a chest. Plus, the combat feels more alive when everything hits like a truck.
One critical thing to remember: Power Level is disabled in Altars of Summoning. Overleveling through your Artifact won’t make you tankier or boost your damage. That means your build’s survivability and ability loops matter way more than your number. Global modifiers also rotate—Attrition, Martyr, Galvanized—so check the playlist details before you lock in your loadout. I’ve been caught off guard by Attrition more times than I’d like to admit.
What Encounters Actually Look Like
Encounters pull from almost every enemy race in Destiny 2. You’re not just fighting Hive here; Vex, Scorn, and Taken all make appearances. Most objectives revolve around Hive crystals—you either destroy them, charge them, or use them to break a boss’s shield. A few standout encounters I’ve memorized by now:
-
Spire Integration (Vex): Hobgoblins try to merge with a central spire. Stop them, or the encounter fails. Ad‑clear is everything here.
-
Arc Crystals (Hive): Punch an electrified crystal to gain Arc energy, then pummel all uncharged crystals to drop the boss’s shield. Melee builds shine.
-
Void Crystals (Scorn): Smash the Hive crystals scattered around, then focus fire the Abominations before they overrun you.
-
Tribute (Hive): Kill Hive Wizards, grab the tribute they drop, and dunk it at glowing altars. Three dunks, and the boss becomes vulnerable.
No matter which encounter you get, the formula is simple: present an offering → complete the mechanic → melt the boss before the timer expires. Wipe, and you lose that offering and the progress you would have earned. It’s not overly complex, but the pressure ramps up fast when you’re juggling three Champions and a glowing crystal in the middle of a Cabal drop pod.
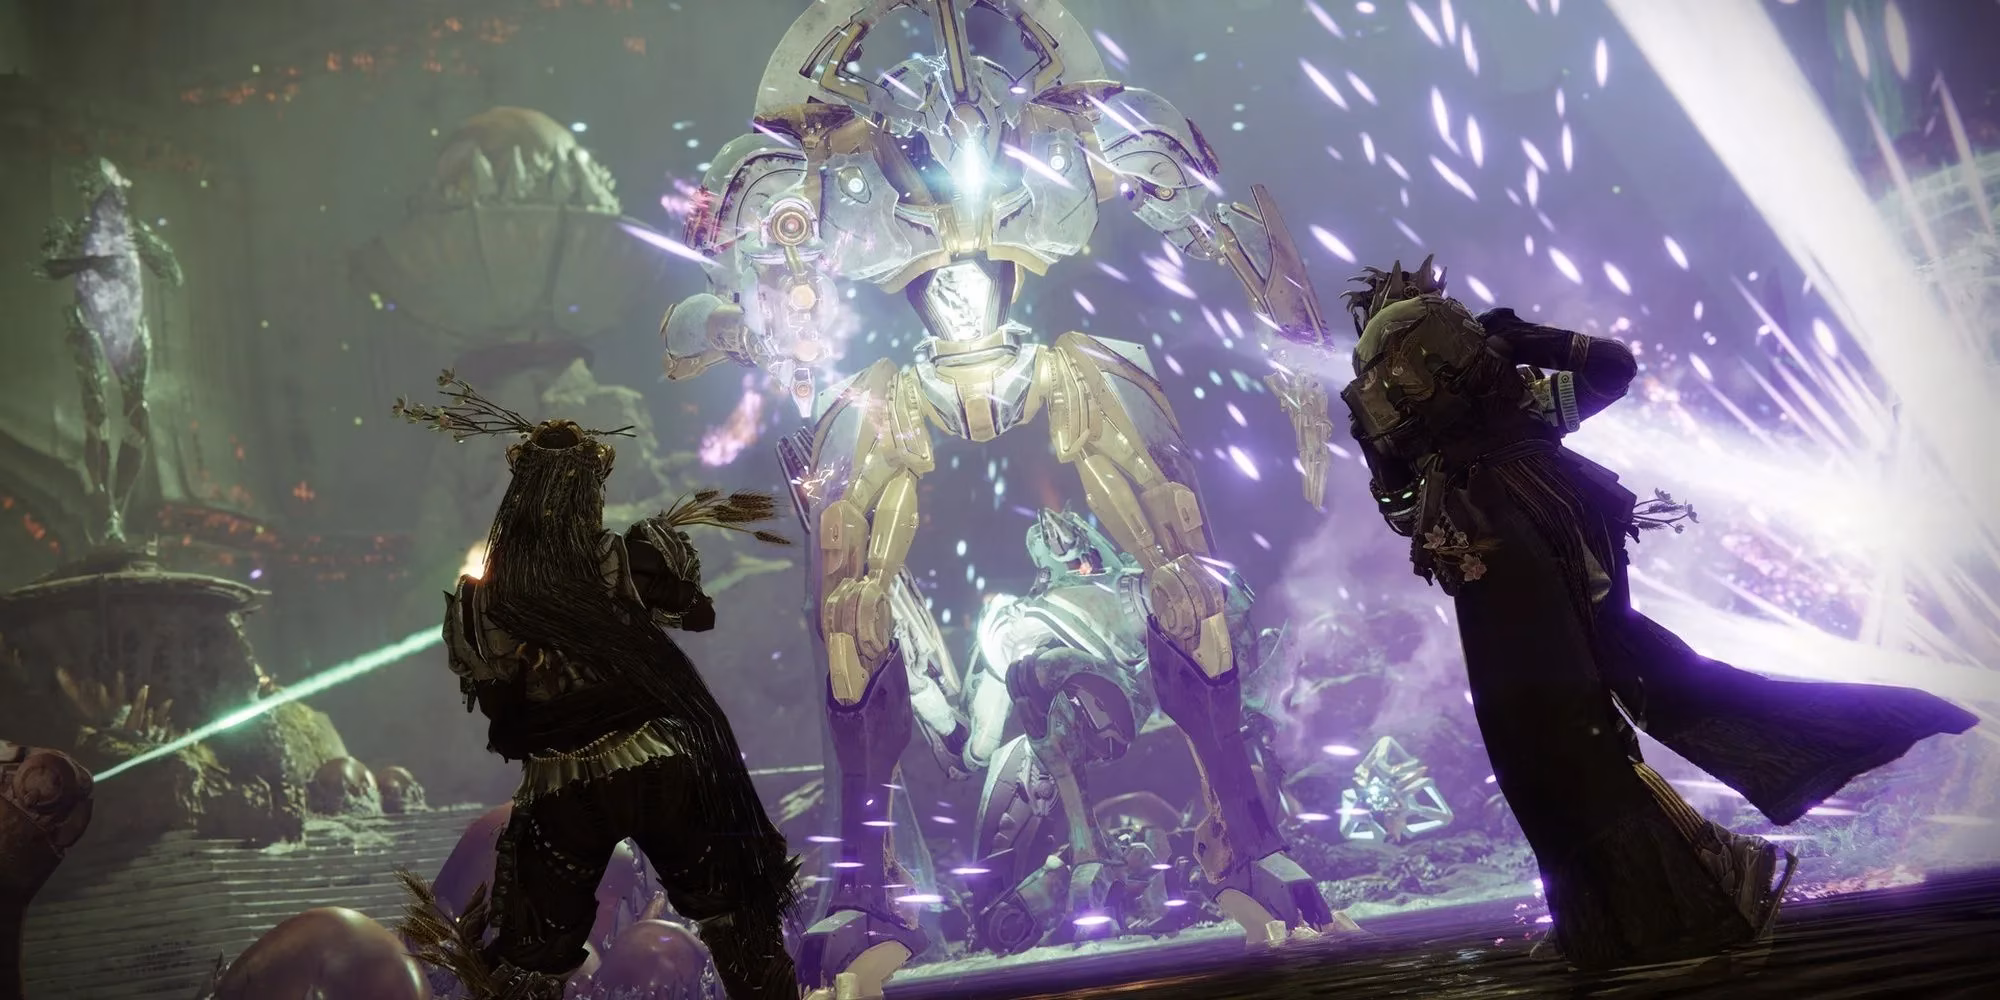
Loot, Eris, and the “Double Down” Gamble
Once your team has killed enough, Eris Morn manifests to absorb the death energy and spawn a reward chest. Here’s where things get spicy: you can choose to leave or stay. Staying keeps you in the same match but cranks up the enemy Power Level and blesses you with better loot. It’s the same devil’s bargain that Deep Dive offered, and I’ve lost count of how many times we’ve pushed one round too many and wiped on a Tier‑3 Ogre.
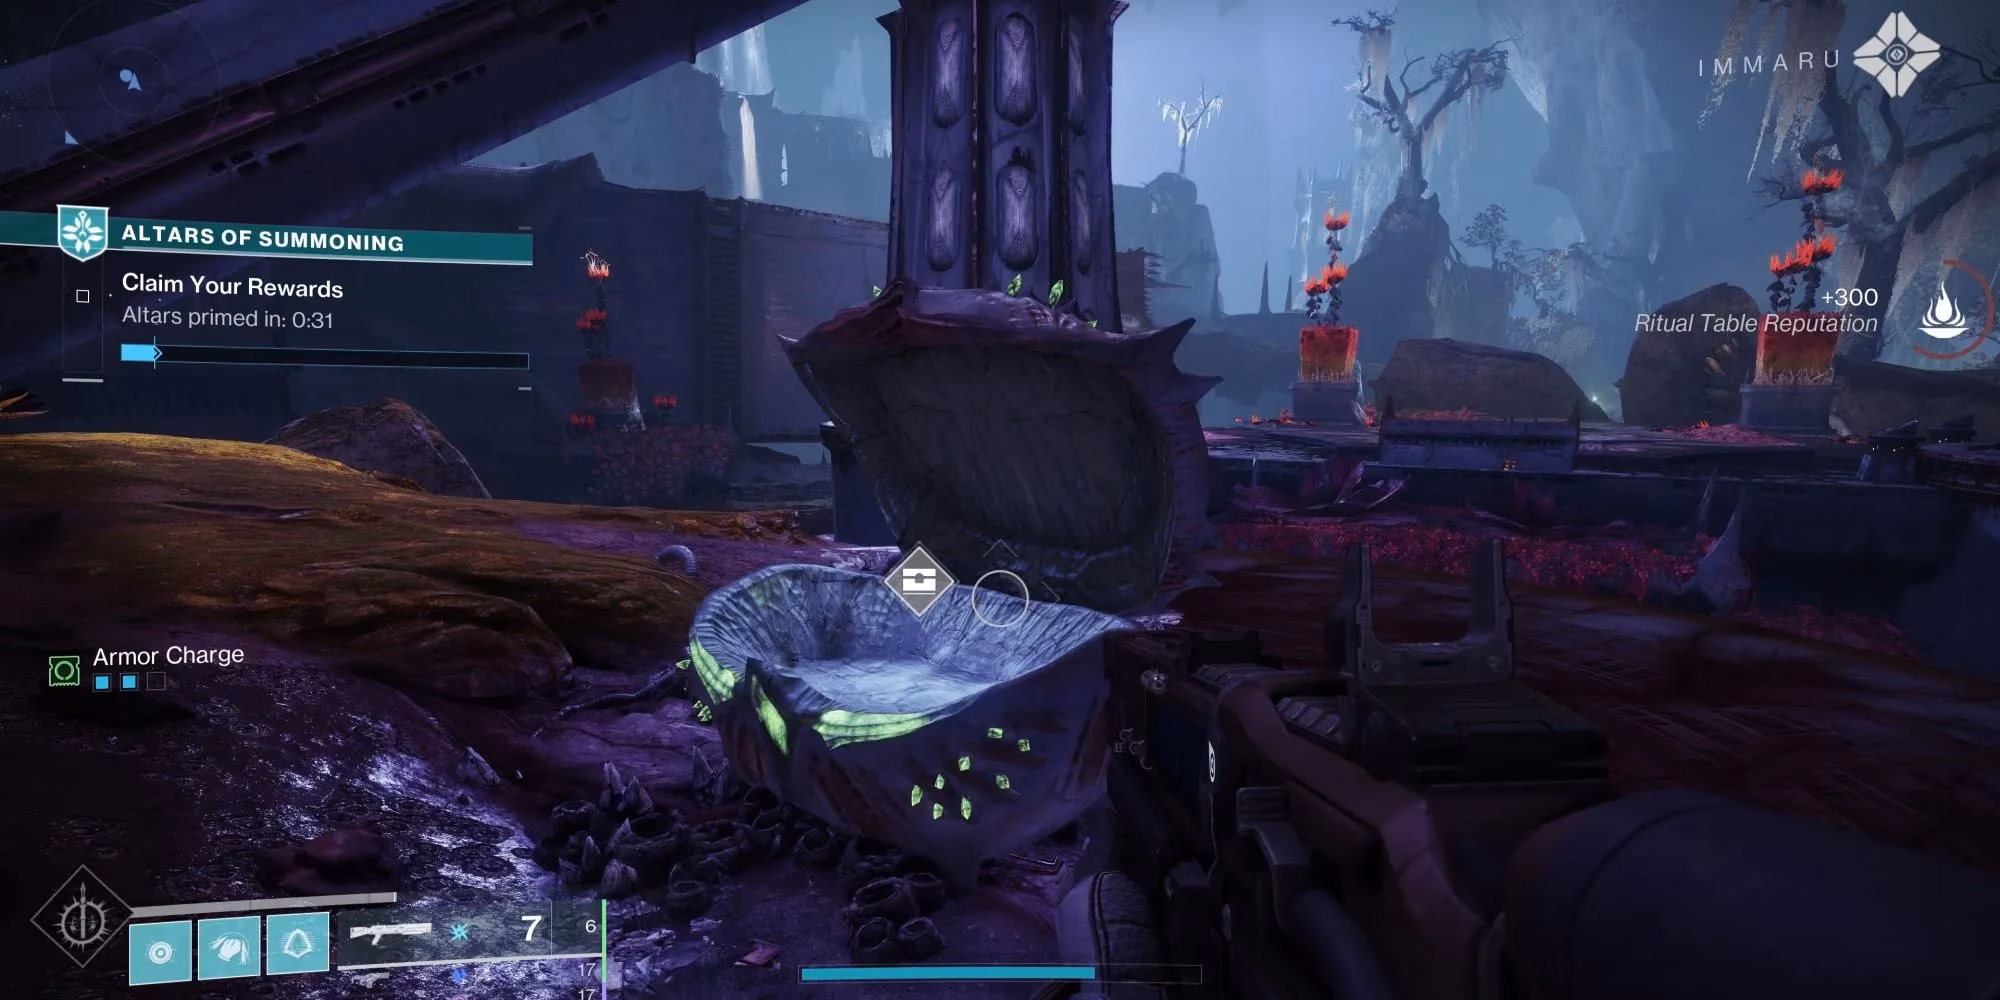
Chest rewards include seasonal weapons, more Hive Offerings, and Opaque Cards. If you have Witch Keys in your inventory (earned from ritual activities), you’ll get bonus loot too. The real tactic is to save your Powerful Offerings for the first few rounds, nab that chest, then decide whether the risk of continuing is worth a second drop with a harsher power delta. Expect a -15 Power difference after a couple of stays—think Legend Lost Sector pains.
Opaque Cards: The Deck That Saves You
To offset the misery, Altars of Summoning introduced Opaque Cards, a deckbuilding system that still feels revolutionary in 2026. You earn cards just by playing seasonal activities, and you can configure your deck at the Lectern of Divination in the H.E.L.M. Each card provides a permanent buff for the duration of the activity, and the combos are wild:
-
Solar weapon kills can scorch targets.
-
Rapid kills grant escalating damage bonuses.
-
Void abilities spawn extra Void Breaches.
-
And my personal favorite, a card that heals you whenever you pick up an Orb of Power.
With at least five cards owned, you can interact with the pedestals around the Athenaeum to fine‑tune your deck. I treat this like crafting a mini build on top of my loadout. If I’m running a Solar grenade spam build, I stack scorch and ignition cards. If I’m going all in on survivability, I grab healing and damage resistance. A well‑built deck turns even the harshest offerings into manageable playgrounds.
Final Tips from the Trenches
-
Coordinate your offerings. Don’t let one player burn all the Powerful Offerings if the group isn’t ready. Talk it out.
-
Check the modifiers. Attrition with no reliable healing source is a death sentence. Swap builds accordingly.
-
Bring anti‑Champion mods. You’ll face all three types across the activity.
-
Don’t hoard Witch Keys. Use them on the bonus chest rounds for extra loot.
Altars of Summoning is a masterpiece of risk versus reward. It demands your best builds, punishes greed, and rewards coordinated chaos. Even years later, watching Eris channel the Hive’s tribute as I slide through a sea of enemies never gets old. Grab your fireteam, pick a scary offering, and see how many rounds you can survive.