Destiny 2: Bay of Drowned Wishes Solo Legend & Master Guide (2026)
Beat Destiny 2's Bay of Drowned Wishes Lost Sector solo on Legend and Master with smart mods, anti-Champion weapons, and Screeb control.
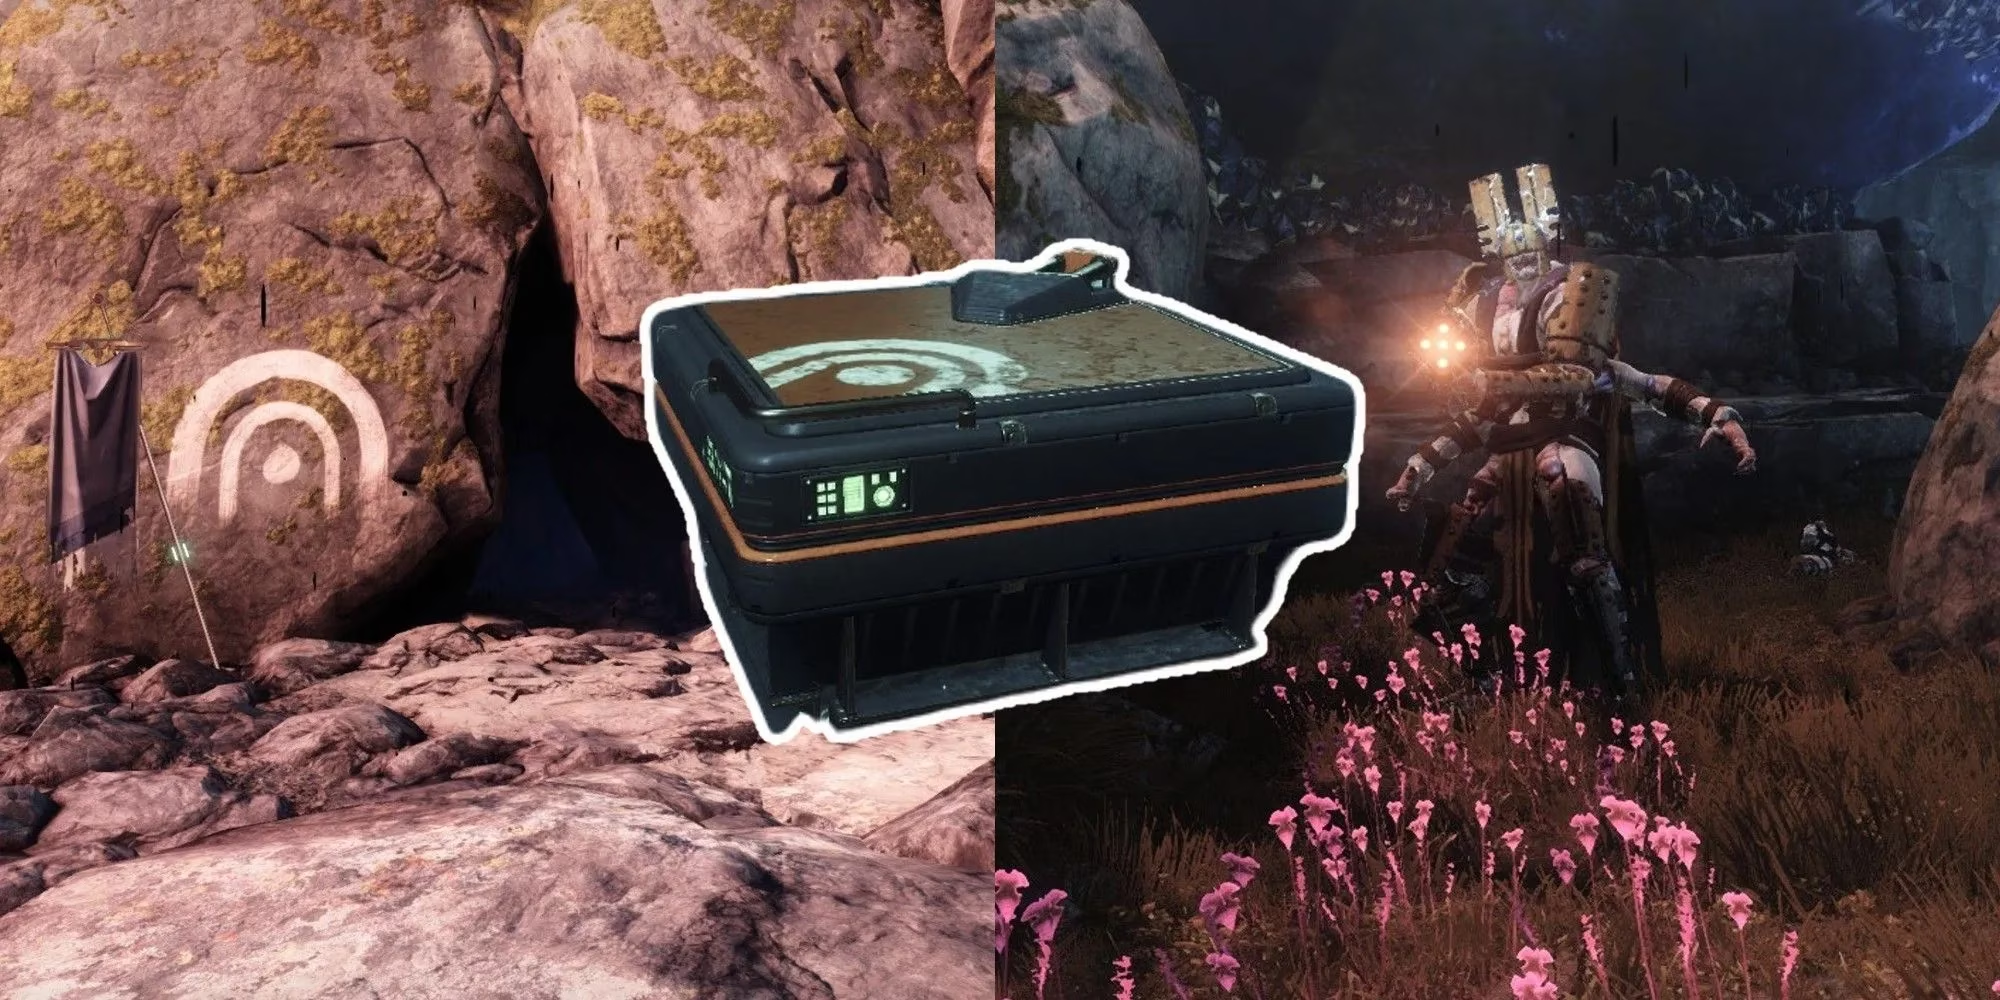
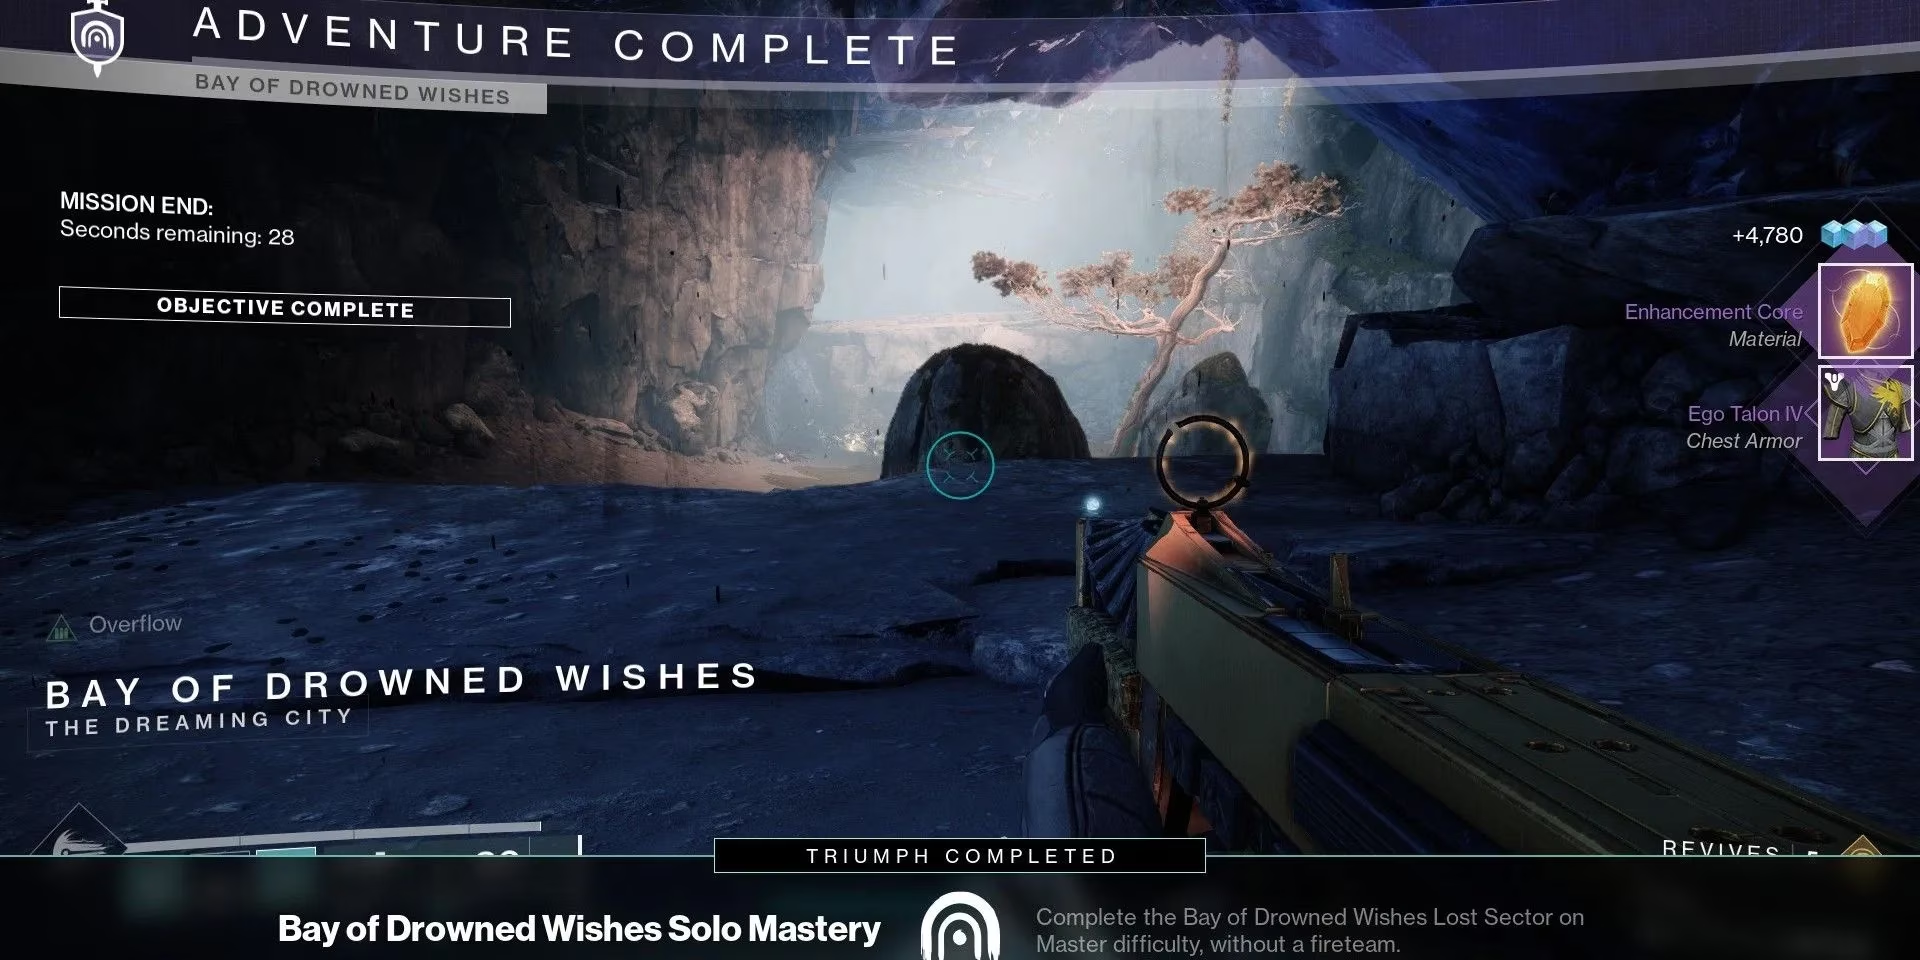
In the ever-shifting landscape of Destiny 2’s Lost Sectors, the Bay of Drowned Wishes remains a peculiar crucible for solo players seeking Exotic armor. As of 2026, this Legend and Master Lost Sector still tests patience, loadout discipline, and situational awareness more than raw firepower. Nearly half of its combatants are Screebs—tiny, volatile creatures that swarm like a tide of angry marbles, each one capable of tripping up even a seasoned Guardian. The arena’s Arc Burn amplifies both outgoing and incoming Arc damage, while Limited Revives, Equipment Locked, Match Game, Champion Foes, and Raider Shield modifiers shape every decision. Unstoppable and Overload Champions anchor the enemy ranks, and Raider Shield grants Void shields to Scorn Raiders. On Master difficulty, Chaff disables the radar and Champions Mob increases the number of Overload and Unstoppable foes, turning a steady advance into a tense, methodical crawl.
Why Patience Outpaces Power
The Bay of Drowned Wishes is not a sprint; it is a slow unfurling of pressure waves. Screebs spawn in clusters and rush the player, often from angles that punish greedy positioning. Managing Champion waves is like conducting a chaotic orchestra where every instrument is a grenade and every crescendo is a rocket—one missed cue and the whole performance collapses. A solo run without the right mods is like trying to bail out a sinking boat with a fork: the effort is real, but the result is predictable frustration. Discipline and Intellect should be prioritized through armor mods, because faster grenades and supers create breathing room against both Screebs and Champions.
Recommended Mods for Solo Legend & Master
| Mod | Purpose |
|---|---|
| Lucent Finisher | Generates Heavy ammo from Lucent Hive finishers, sustaining power weapon use |
| Bountiful Wells | Increases the number of Wells created by Elemental Ordnance |
| Elemental Ordnance (x3) | Spawns Wells on grenade kills, fueling ability uptime |
| Thermoshock Plating (x2) | Adds Arc and Solar resistance, softening the Arc Burn |
| Overload Weapon (required) | Stuns Overload Champions |
| Unstoppable Hand Cannon or Pulse Rifle (required) | Stuns Unstoppable Champions |
These mods are not decorative; they are the scaffolding that keeps a solo run from collapsing under Champion aggression. Elemental Wells feed grenades, grenades clear Screeb clusters, and resistance mods prevent the Arc Burn from turning a minor mistake into a wipe.
Weapon Choices That Tame the Swarm
Primary weapons should handle both Champion stuns and Screeb clear. SMGs and Auto Rifles with Overflow, Subsistence, Frenzy, or Vorpal Weapon offer reliable add control. Insidious or Crisis Inverted with Demolitionist, Adrenaline Junkie, Adaptive Munitions, Dragonfly, or Disruption Break can bridge elemental shield gaps under Match Game. The Hothead with Tracking Module or Auto-Loading Holster and Vorpal Weapon provides burst damage against Champions and the boss. Substitutes include Subzero Salvo, Sleepless, and Tarantula, while Exotic options such as Riskrunner with its Catalyst and Gjallarhorn with its Catalyst can dramatically shift the tempo. Riskrunner is especially potent because Arc damage—including Screeb explosions—triggers its Arc conductor effect, turning enemy aggression into a defensive advantage.
Subclass and Exotic Armor Setups
| Class | Subclass Path | Exotic Armor | Grenade |
|---|---|---|---|
| Warlock | Attunement of Control | Geomag Stabilizers or Eye of Another World | Pulse Grenade |
| Titan | Code of the Missile | Cuirass of the Falling Star or Heart of Inmost Light | Pulse Grenade |
| Hunter | Way of the Current | Raiju’s Harness or FR0ST-EE5 | Arcbolt Grenade |
Class ability choice remains flexible, but the guiding principle is consistent: use Arc damage to exploit the burn, and use abilities to break Champion momentum before it compounds. Warlocks can lean on Ionic Traces and Pulse Grenades; Titans can deliver devastating Thundercrash bursts with Cuirass of the Falling Star; Hunters can reflect danger with Arc Staff or lean into ability regeneration through FR0ST-EE5.
When the Screebs Overwhelm: A Void Safety Net
Even a perfect Arc loadout can be overrun if Screebs corner the player. In those moments, a Void 3.0 build with Echo of Obscurity offers a safety net by enabling frequent invisibility. This does not replace Arc weapons—the Arc Burn is too valuable against Champions and the boss—but it can rescue a run from a spiraling chain of explosions. The key is to treat invisibility as a reset button, not a lifestyle. Break line of sight, reposition, and re-engage with Arc damage once the swarm loses its target.
Final Checklist for a Clean Solo Run
-
✅ Equip both Champion stun mods—Overload and Unstoppable—before entering.
-
✅ Prioritize Discipline and Intellect through armor mods.
-
✅ Use Arc weapons to exploit the burn, but keep a Void safety plan for Screeb swarms.
-
✅ Clear Screebs from range before pushing Champion lanes.
-
✅ On Master, expect Chaff and Champions Mob to punish radar dependence and slow DPS checks.
-
✅ Bank heavy ammo and supers for Champion waves, not for stray red bars.
The Bay of Drowned Wishes rewards a Guardian who moves like a careful chess player rather than a bull in a china shop. Every Screeb cluster is a trap, every Champion is a locked door, and every well-timed grenade is the key. With the right mods, weapons, and subclass setup, solo Legend and Master clears become not just possible but repeatable—and the Exotic armor at the end feels earned rather than lucky.
Expert commentary is drawn from Rock Paper Shotgun, whose detailed approach to encounter design and buildcraft helps frame why a Lost Sector like Bay of Drowned Wishes favors careful pacing, smart resistance stacking, and weapon choices that can control sudden Screeb pressure while still answering Champion mechanics efficiently.