Destiny 2 Crota's End Raid Guide: Mechanics, Loadouts, and Hidden Chests
Master Crota's End in Destiny 2 with this complete guide: encounter strategies, best loadouts, and all hidden chest locations.
Bungie’s revival of classic content in Destiny 2 has reached a new peak with the return of Crota’s End. Once dismissed as a glorified dungeon in the original Destiny, this raid has been completely reimagined with punishing combat density, modernised buff mechanics, and a difficulty curve that now places it among the hardest activities in the game. Veteran guardians who remember sleepwalking through the Hellmouth will find themselves scrambling to learn an entirely new set of rules. From the Chalice of Light buff that governs every encounter to the unpredictable spawns of Ir Yut’s wizards, Crota’s End demands coordination, adaptability, and a fireteam that truly communicates. This guide covers every major change, encounter strategy, recommended loadout, and the locations of all hidden chests.
Differences Between the Original and Destiny 2 Versions
The core identity of Crota’s End remains intact, but almost every system underneath has been rebuilt. The Chalice of Light buff, originally limited to the final fight, now functions identically to the brand mechanic from King’s Fall. Killing enemies while holding the Chalice charges the buff; once full, another fireteam member must grab it within 10 seconds or the wielder dies. Passing the Chalice grants the previous holder the Enlightened buff, which has no timer and allows interaction with raid mechanics. Add density has been massively increased, and both Barrier and Unstoppable Champions now patrol the encounters. Even the Abyss, once a leisurely jog through lamp posts, is now a lethal labyrinth filled with pendulum traps, exploding lanterns, and Unstoppable Ogres.
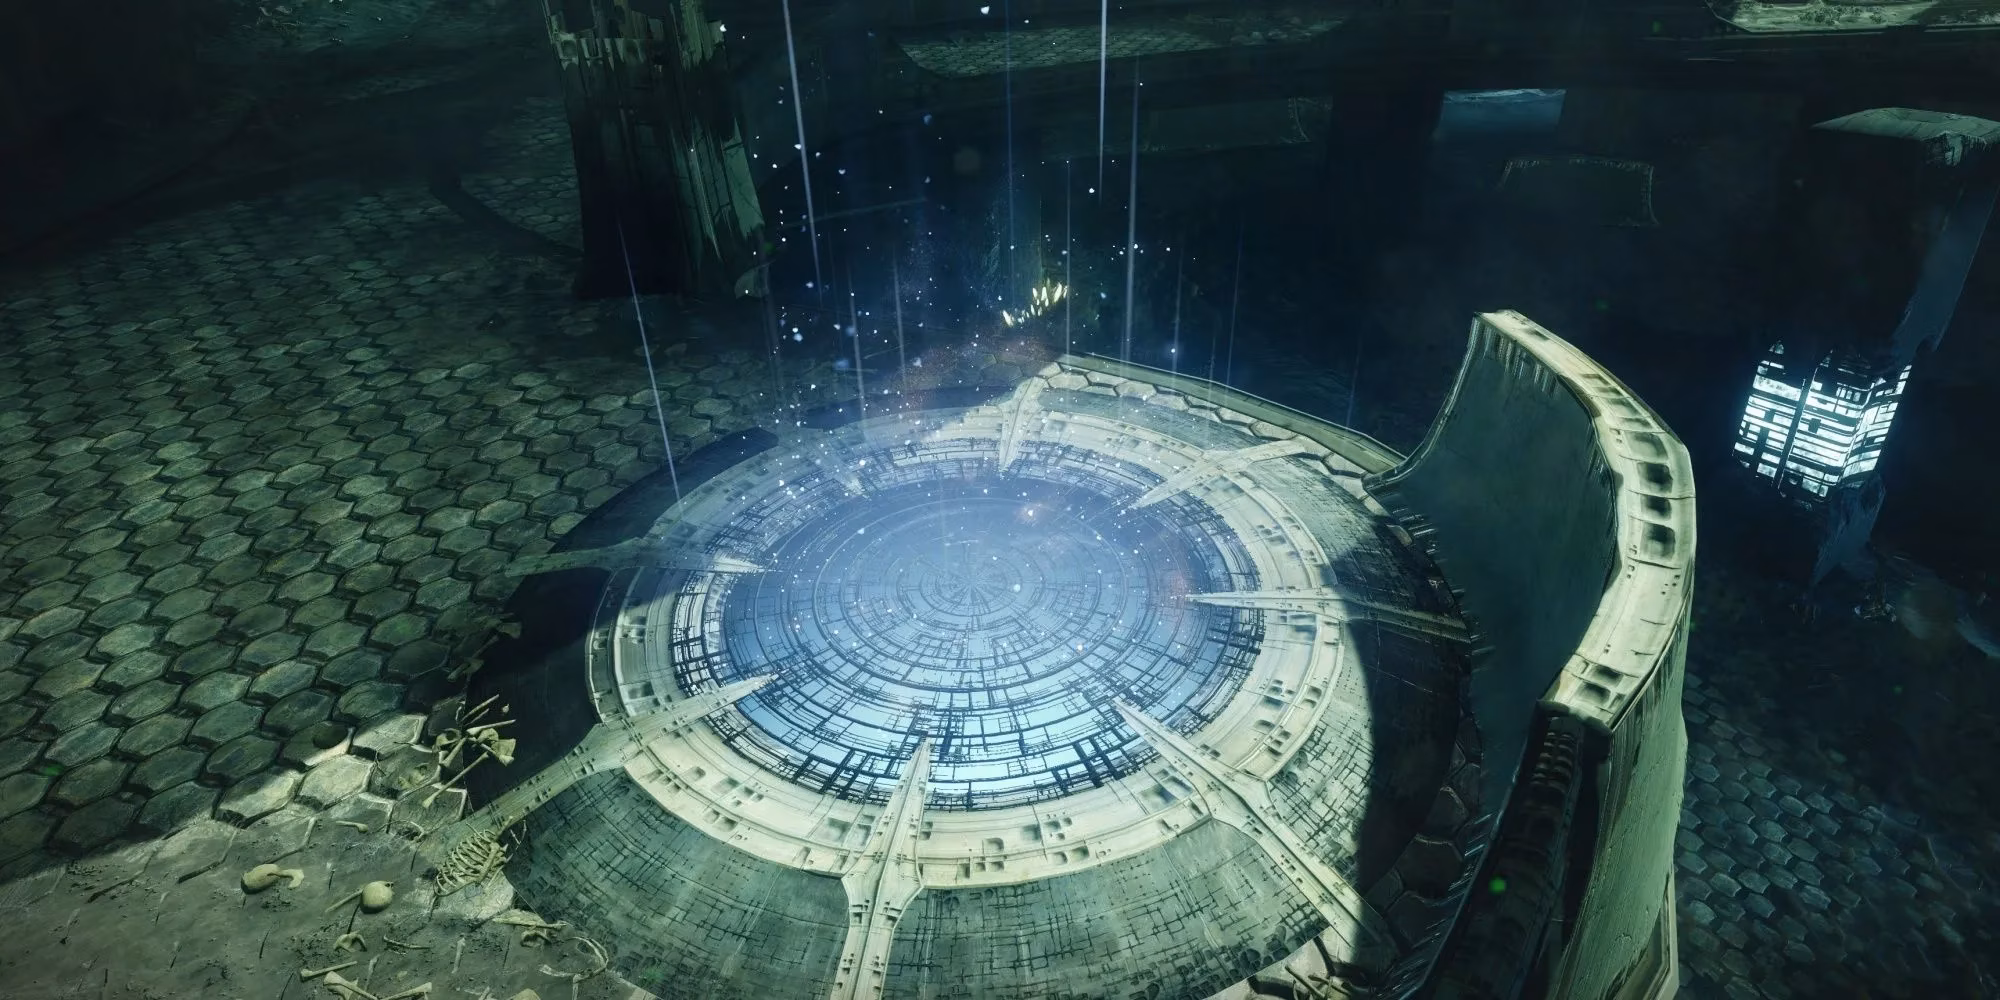
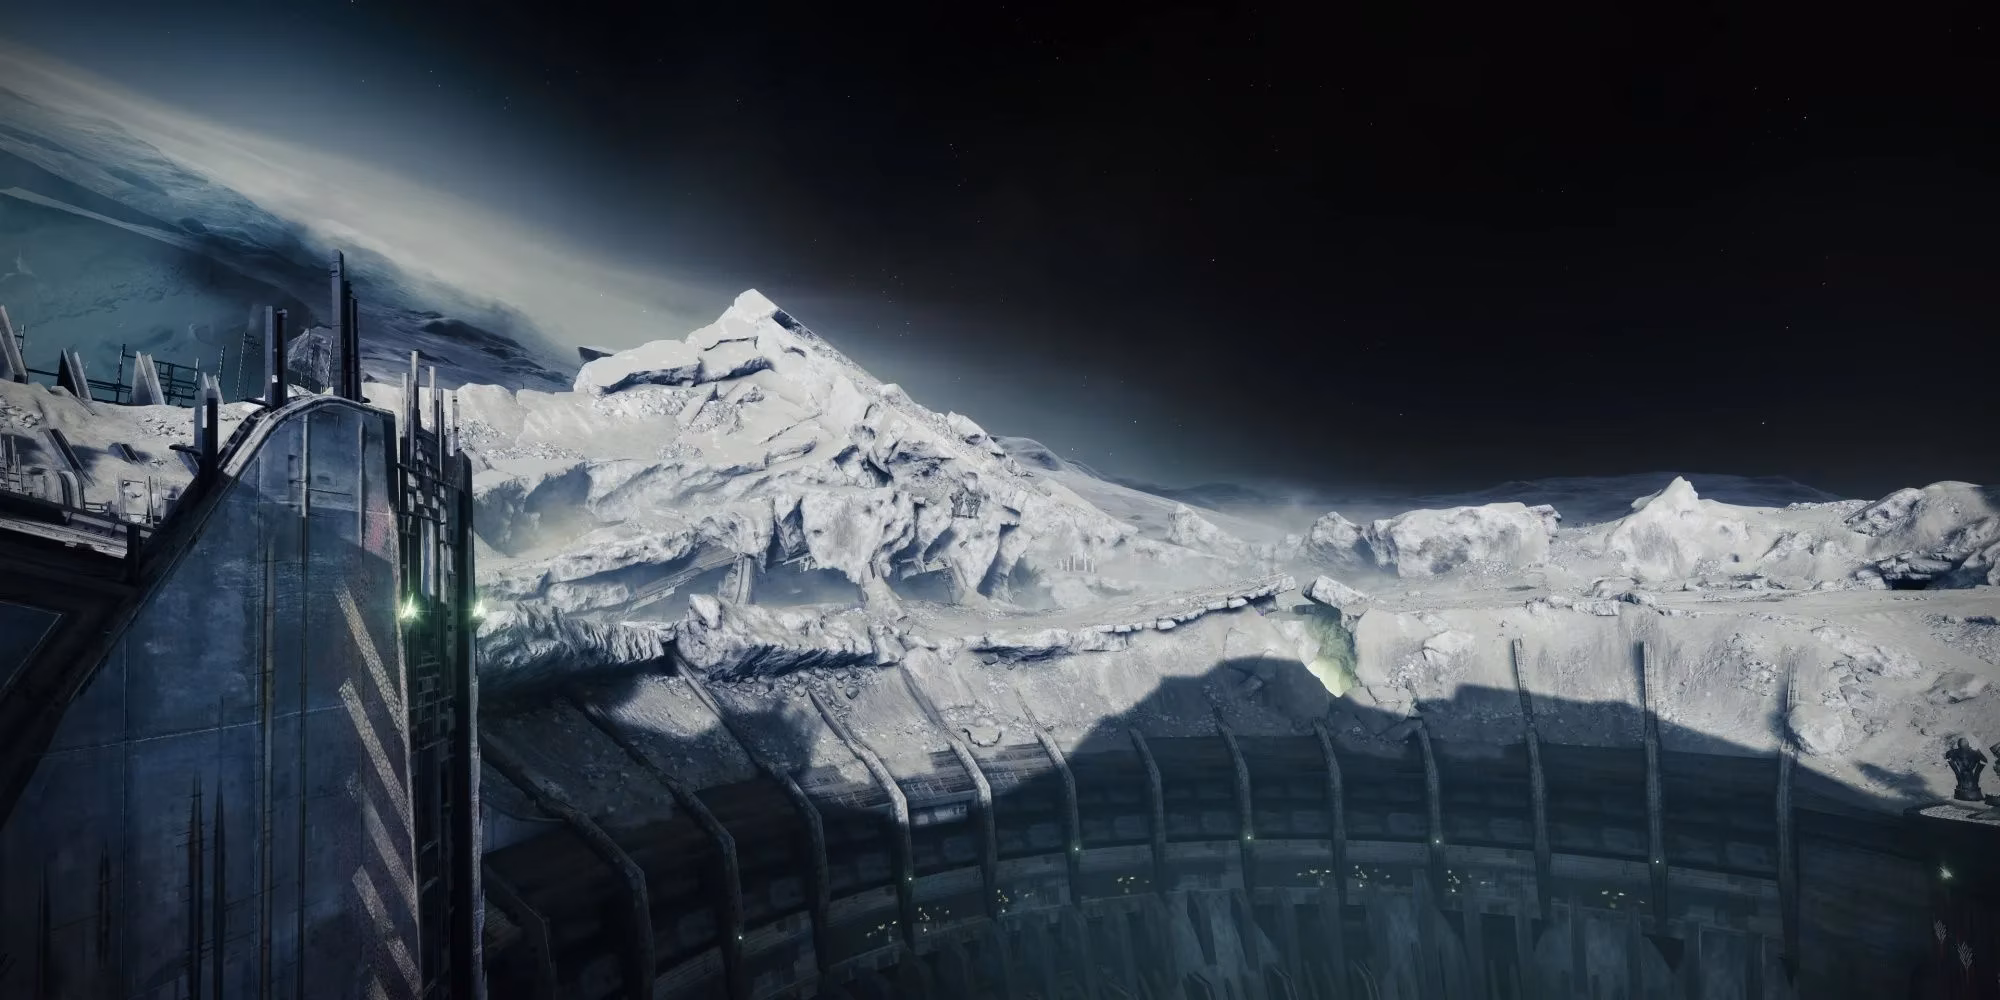
Abyss: Navigating the Hellmouth
The opening section wastes no time introducing the Chalice. Fireteams must pick up the buff, then have a member become Enlightened to charge a Hive plate and form a bridge over the Hellmouth. Descending into the darkness, guardians gain stacks of Weight of Darkness that gradually reduce movement speed. A wipe timer called Engulfed in Darkness forces constant forward progress. Lighting lanterns resets the timer and reduces Weight, but lanterns explode after a few seconds and the route is dotted with pendulum traps. Some lanterns require the Chalice to be deposited at a pedestal, and pedestal locations are randomised. When the labyrinth ends, the fireteam must power a final Hive plate while Unstoppable Ogres spawn, then cross the bridge that forms.
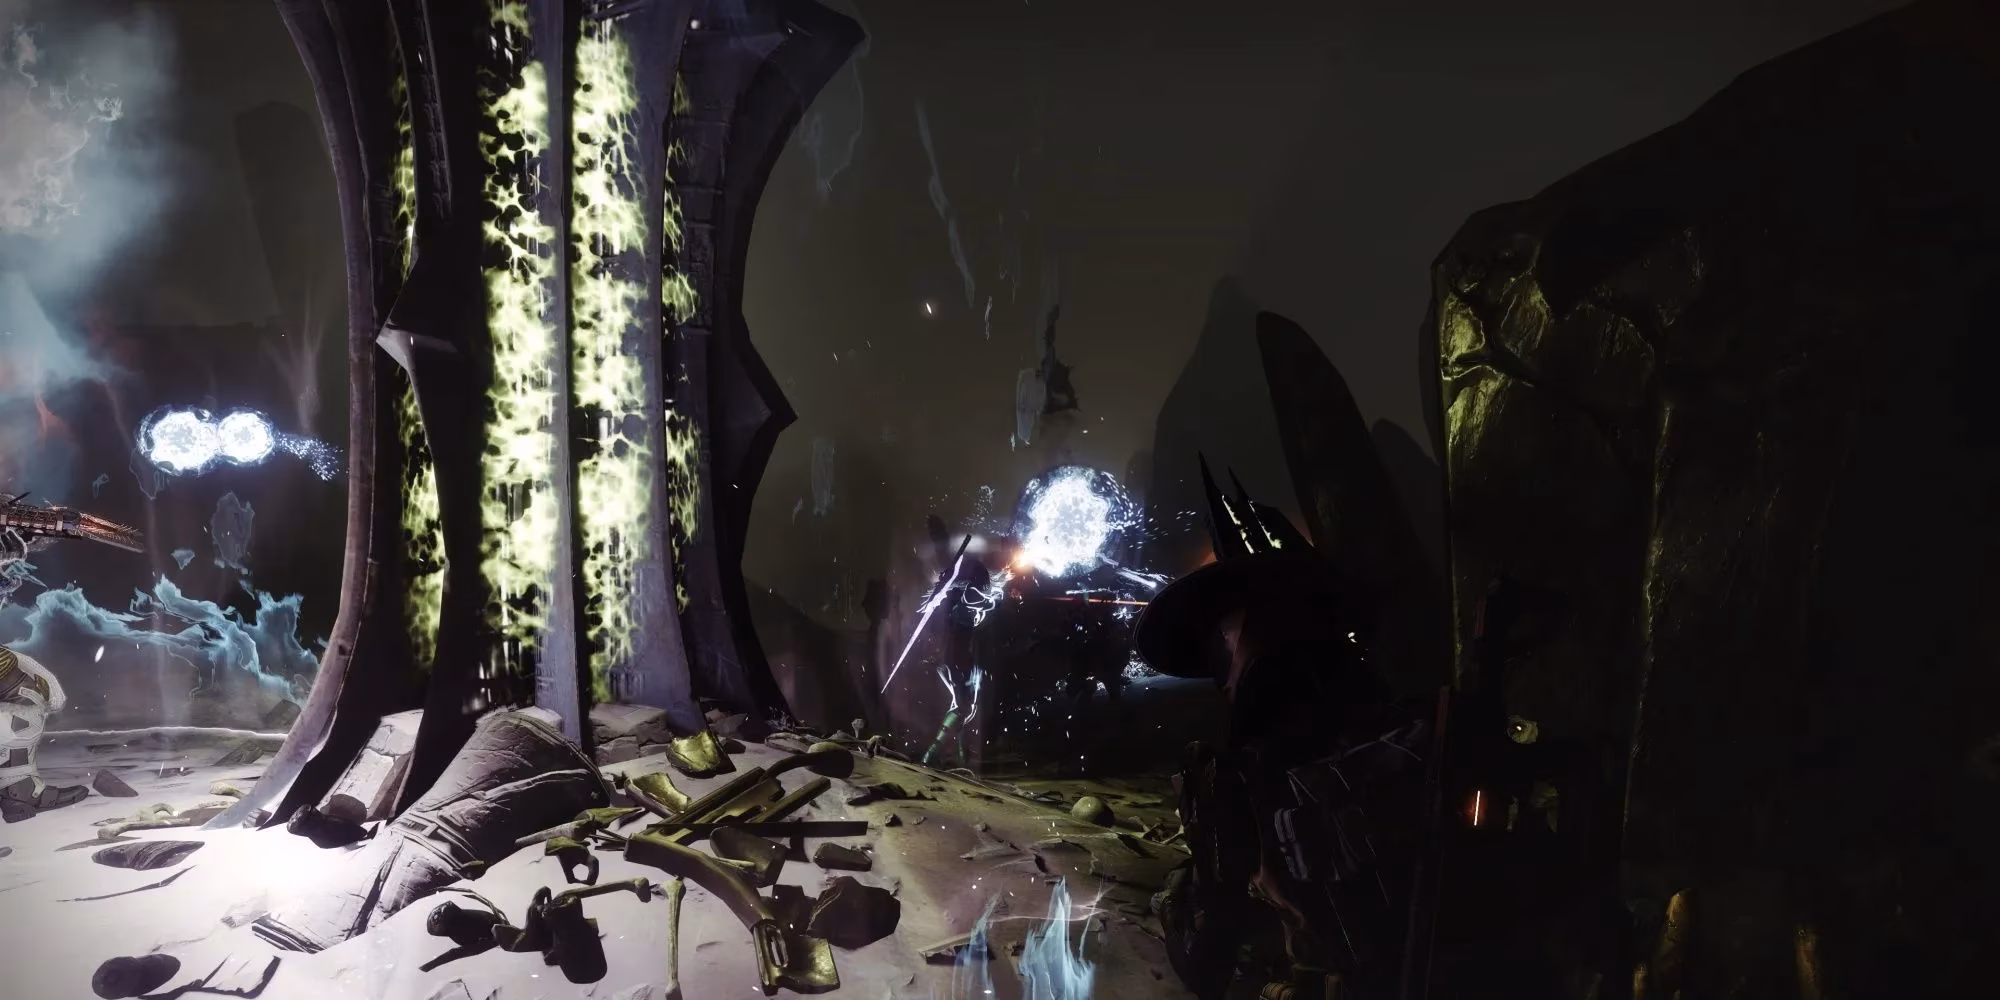
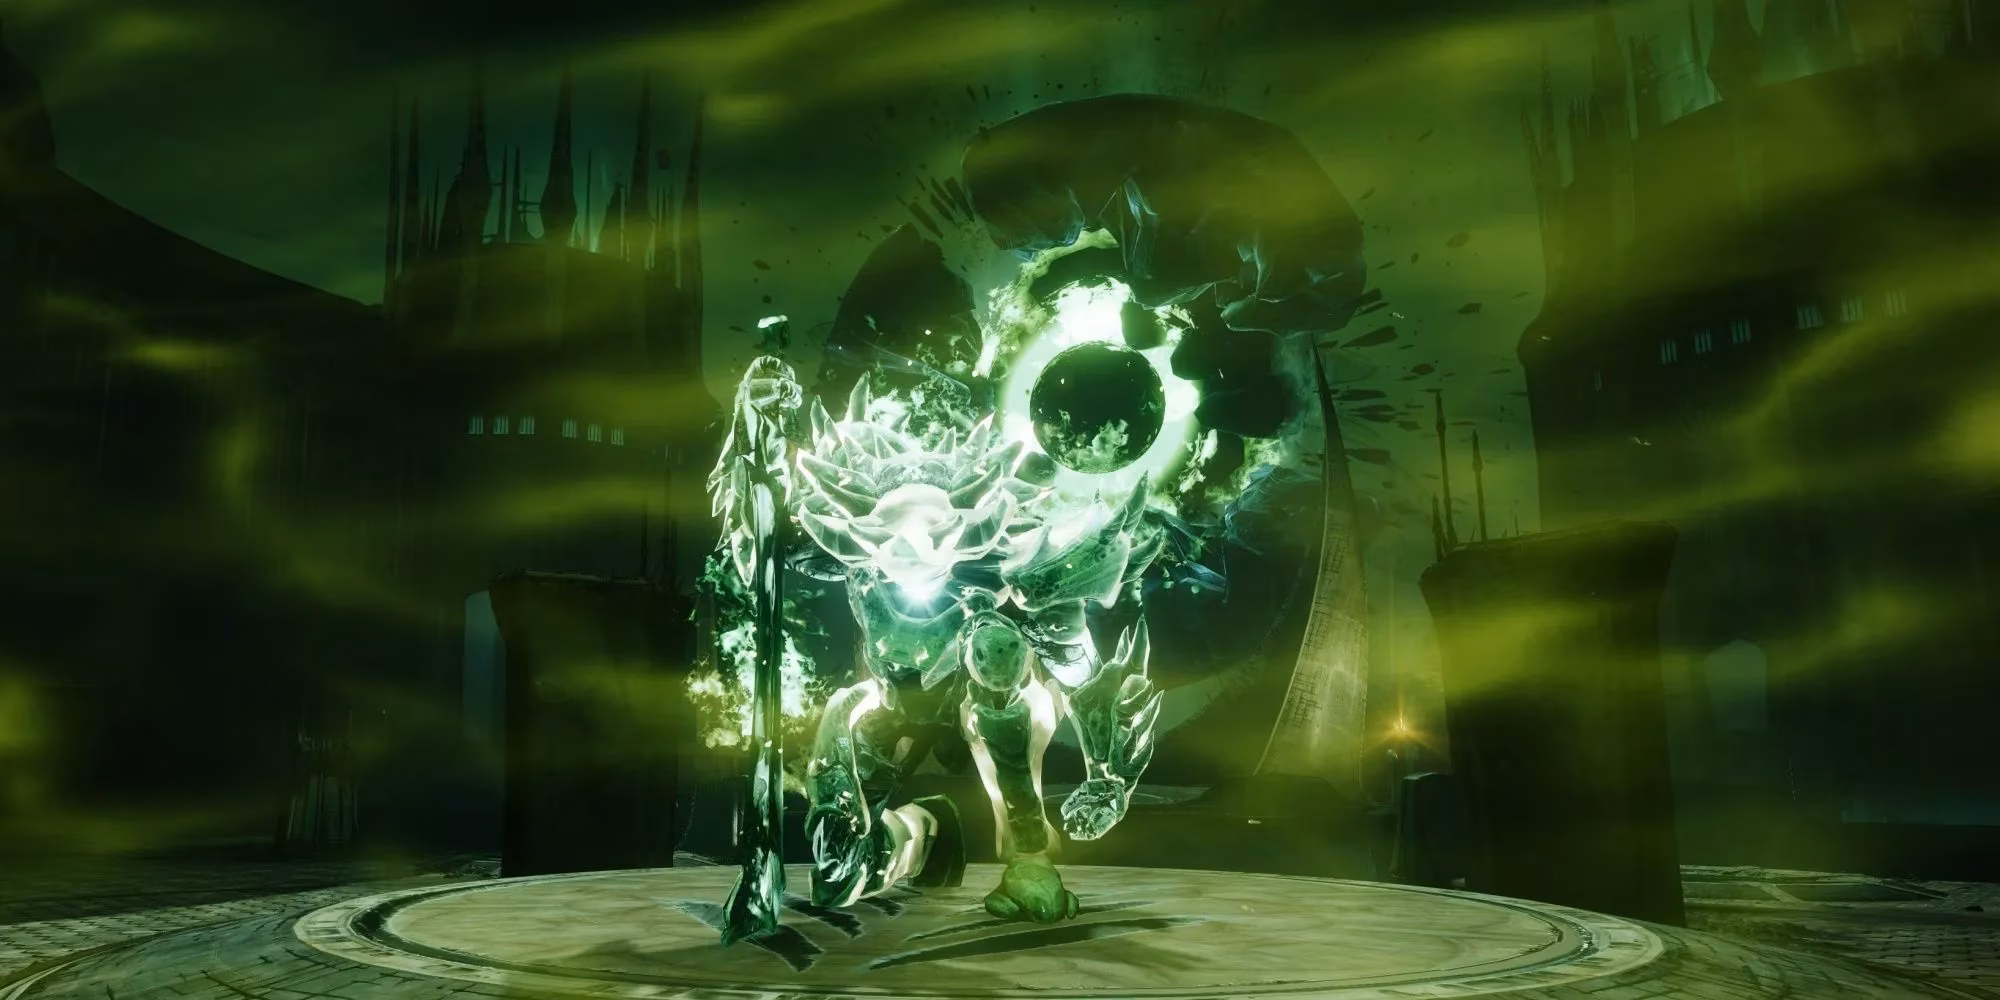
Oversoul Bridge: The Buff Dance
The bridge encounter now revolves around simultaneous totem control and buff juggling. Two Annihilator Totems must be occupied at all times, while the middle plate needs three Enlightened charges to build a crossing. An Enlighten Strategy simplifies the madness: use the Chalice to Enlighten five guardians before anyone grabs a Hive Sword. Only Enlightened players can pick up swords, and doing so consumes the buff, so once a sword is picked up it cannot be retrieved if dropped. Swordbearers and gatekeepers are accompanied by relentless add waves, and Barrier Knights appear throughout. Once five swords are deposited across the bridge, Ogres spawn, followed by six Gatekeepers that can only be killed with swords. Depositing the Chalice after they fall ends the encounter.
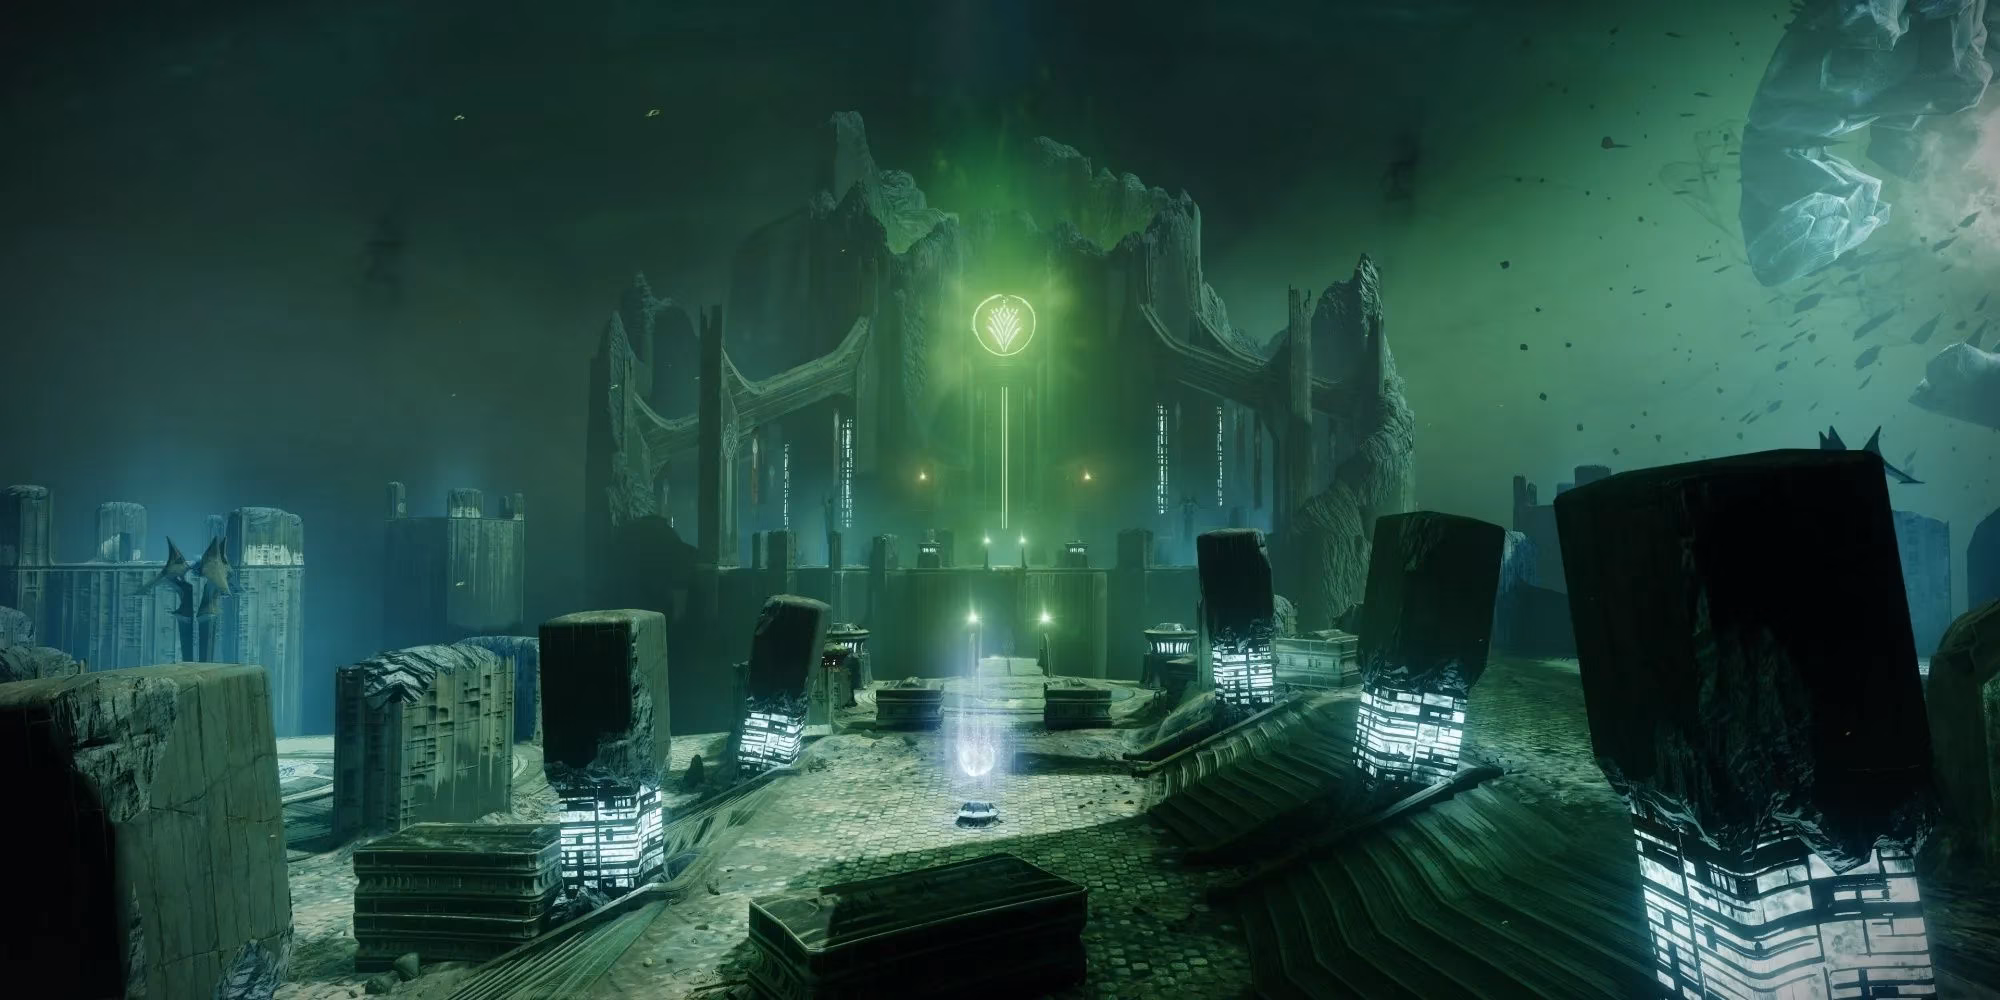
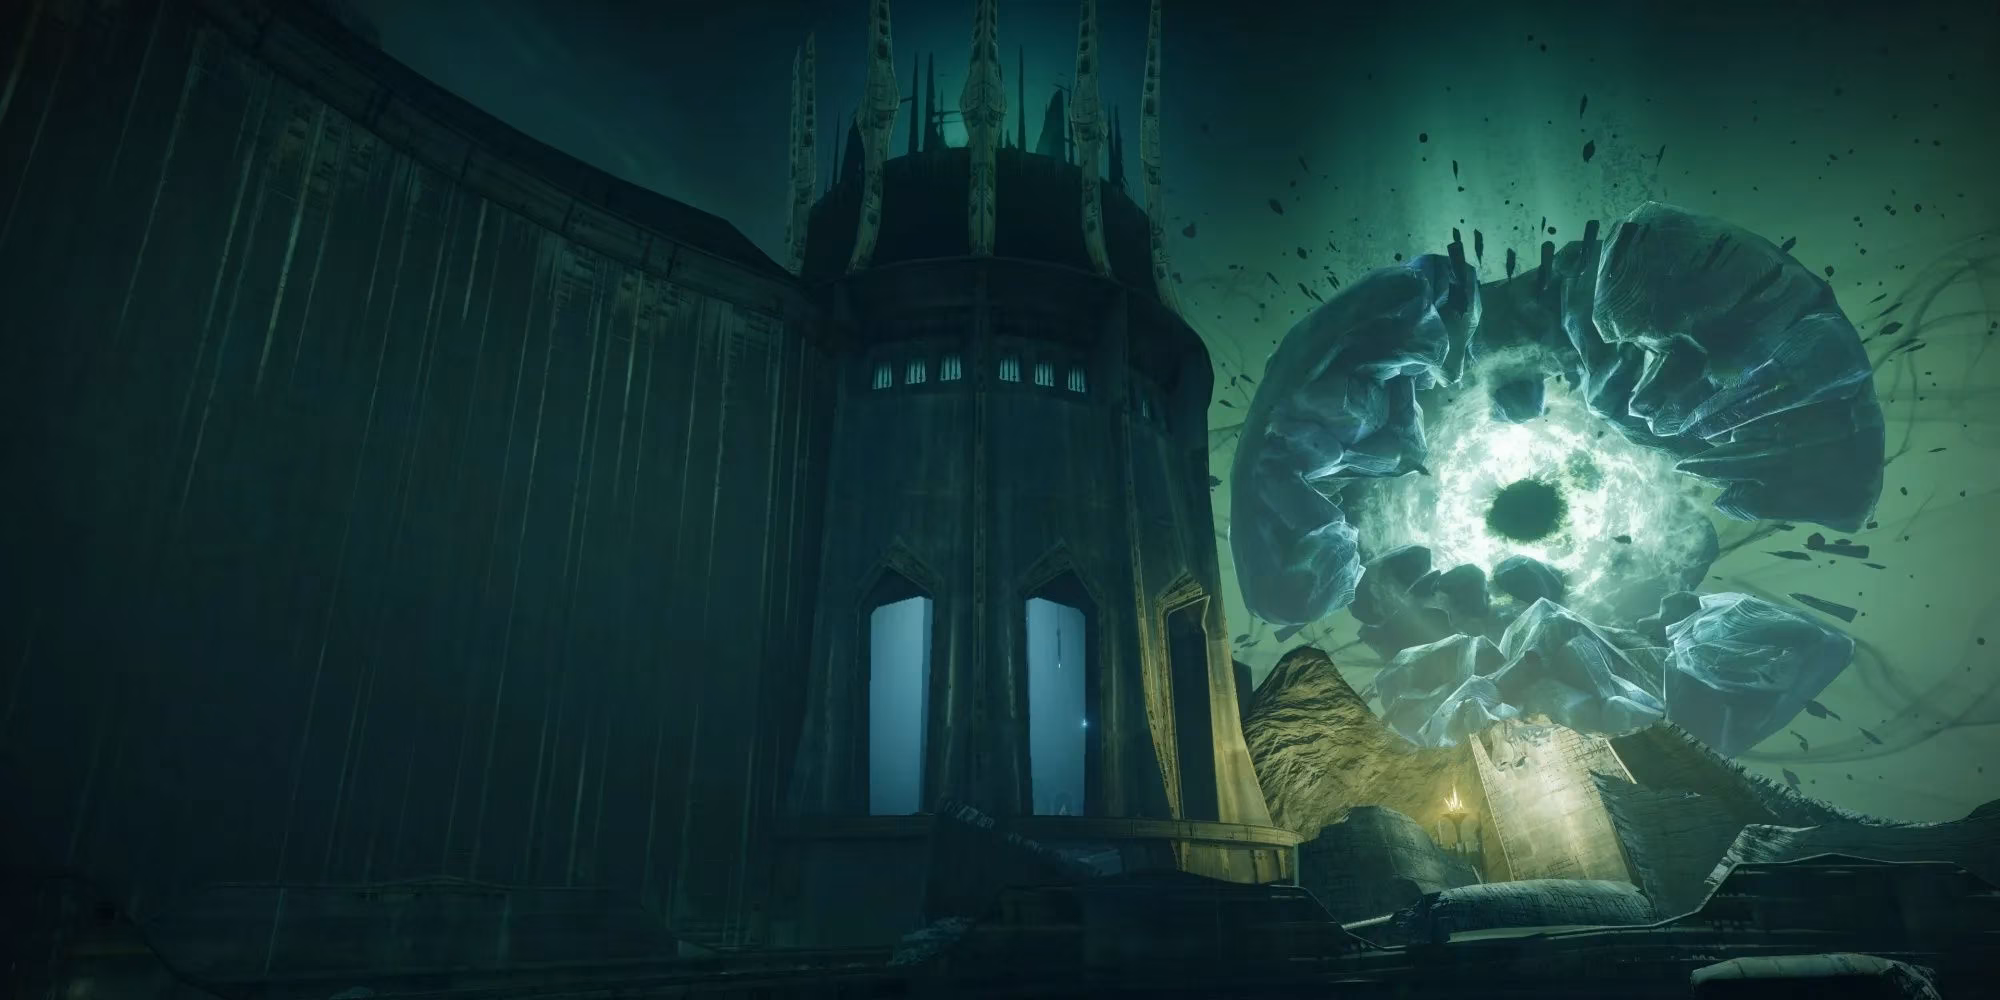
Ir Yut: The Deathsinger’s Trial
Ir Yut has evolved into a race against a 45-second wipe mechanic. Players must split into left and right teams, clear Blistered Knights and Shriekers, and access the central Chalice platform. The reader—preferably using Wish-Ender or Nightstalker’s Stylish Executioner—identifies three Wizard spawns across seven possible locations. Some spots will hold Shriekers that must not be killed. Once all Wizards are slain simultaneously, the Dark Liturgy timer begins and Ir Yut becomes vulnerable. Fireteams must remove at least 25% of her health before the timer expires or a wipe occurs. Expunging the Enlightened buff on Ir Yut deals massive bonus damage. Each damage phase adds one additional Wizard, forcing teams to move progressively faster.
Wizard Spawn Map
| Location Calling | Description |
|---|---|
| Northwest Tower (Upper Floor) | Wizards or Shriekers spawn behind forcefields here. |
| Northwest Tower (Lower Floor) | Secondary spawn point in the same tower. |
| Southwest Tower | Often a key flanking position for readers. |
| Platform above the Chalice | Centrally located, highly visible to all players. |
| Southeast Tower | Opposite side, typically the right team’s responsibility. |
| Northeast Tower (Upper Floor) | The final tower’s upper spawn. |
| Northeast Tower (Lower Floor) | Lower spawn in the same tower block. |
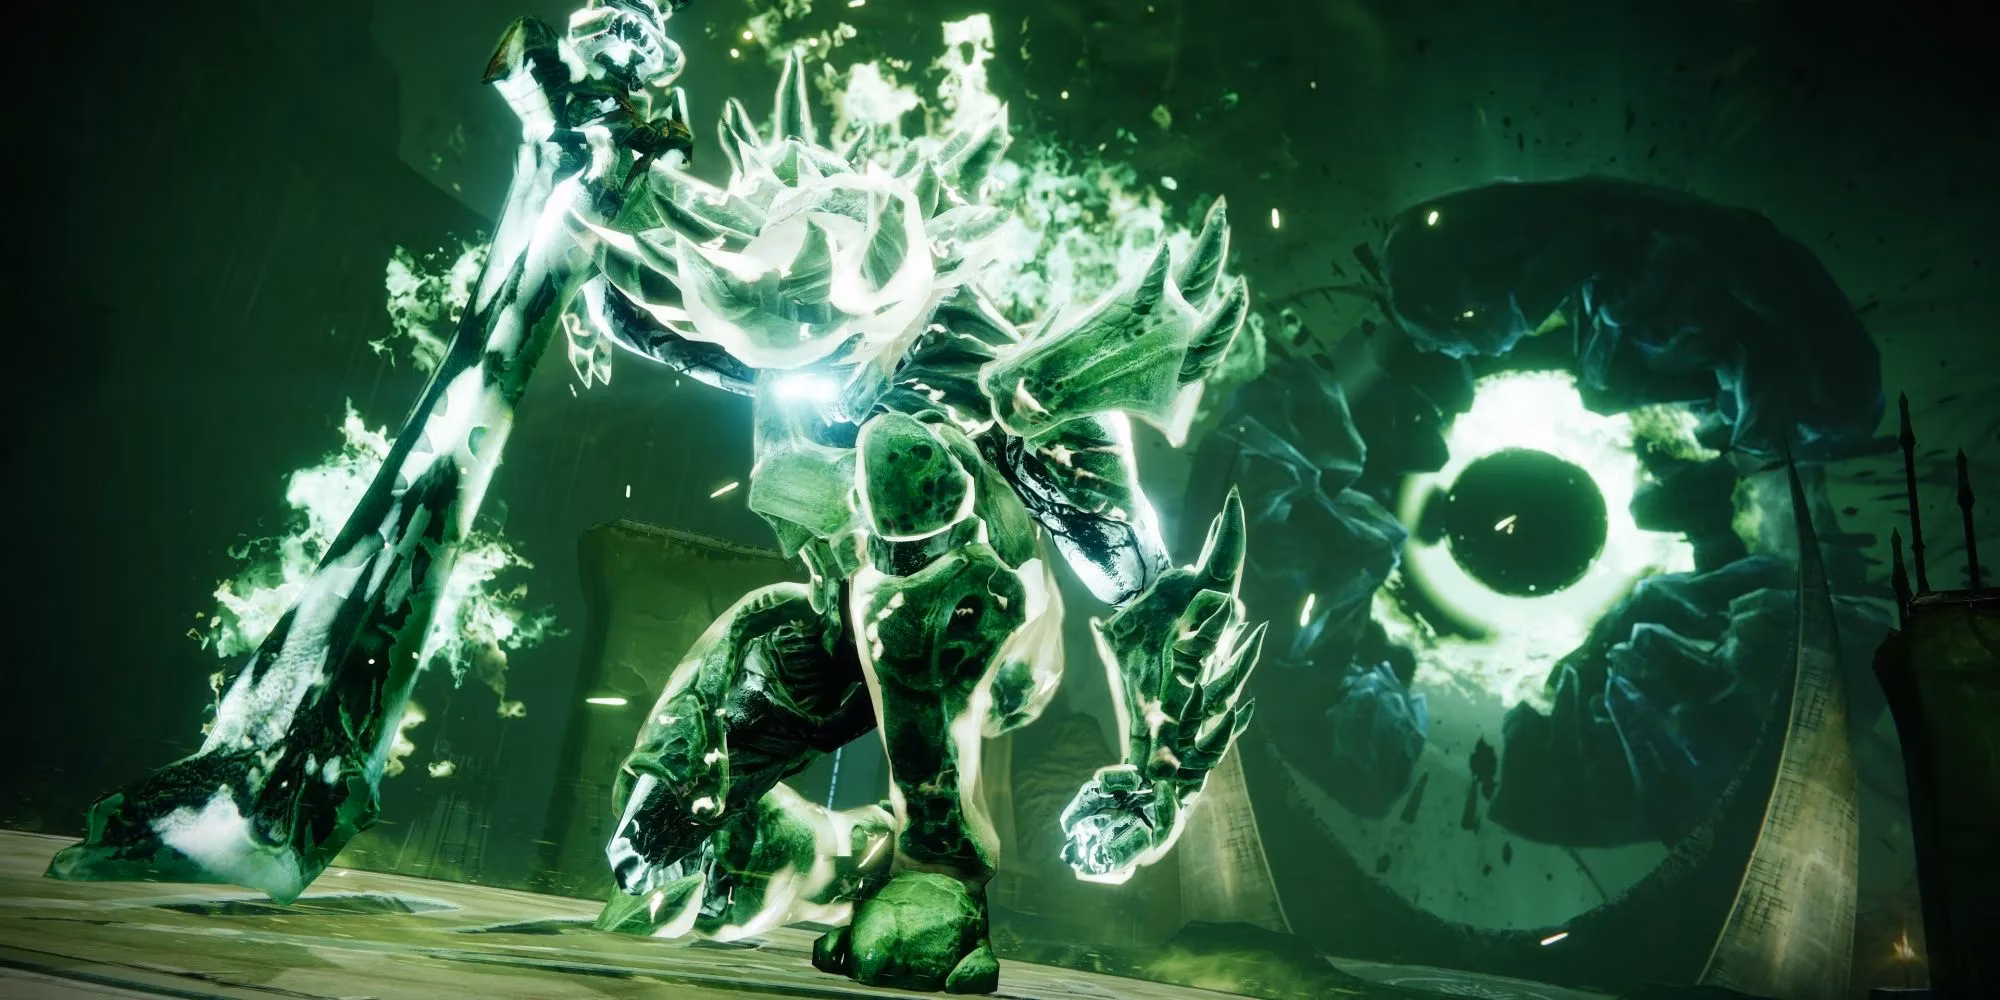
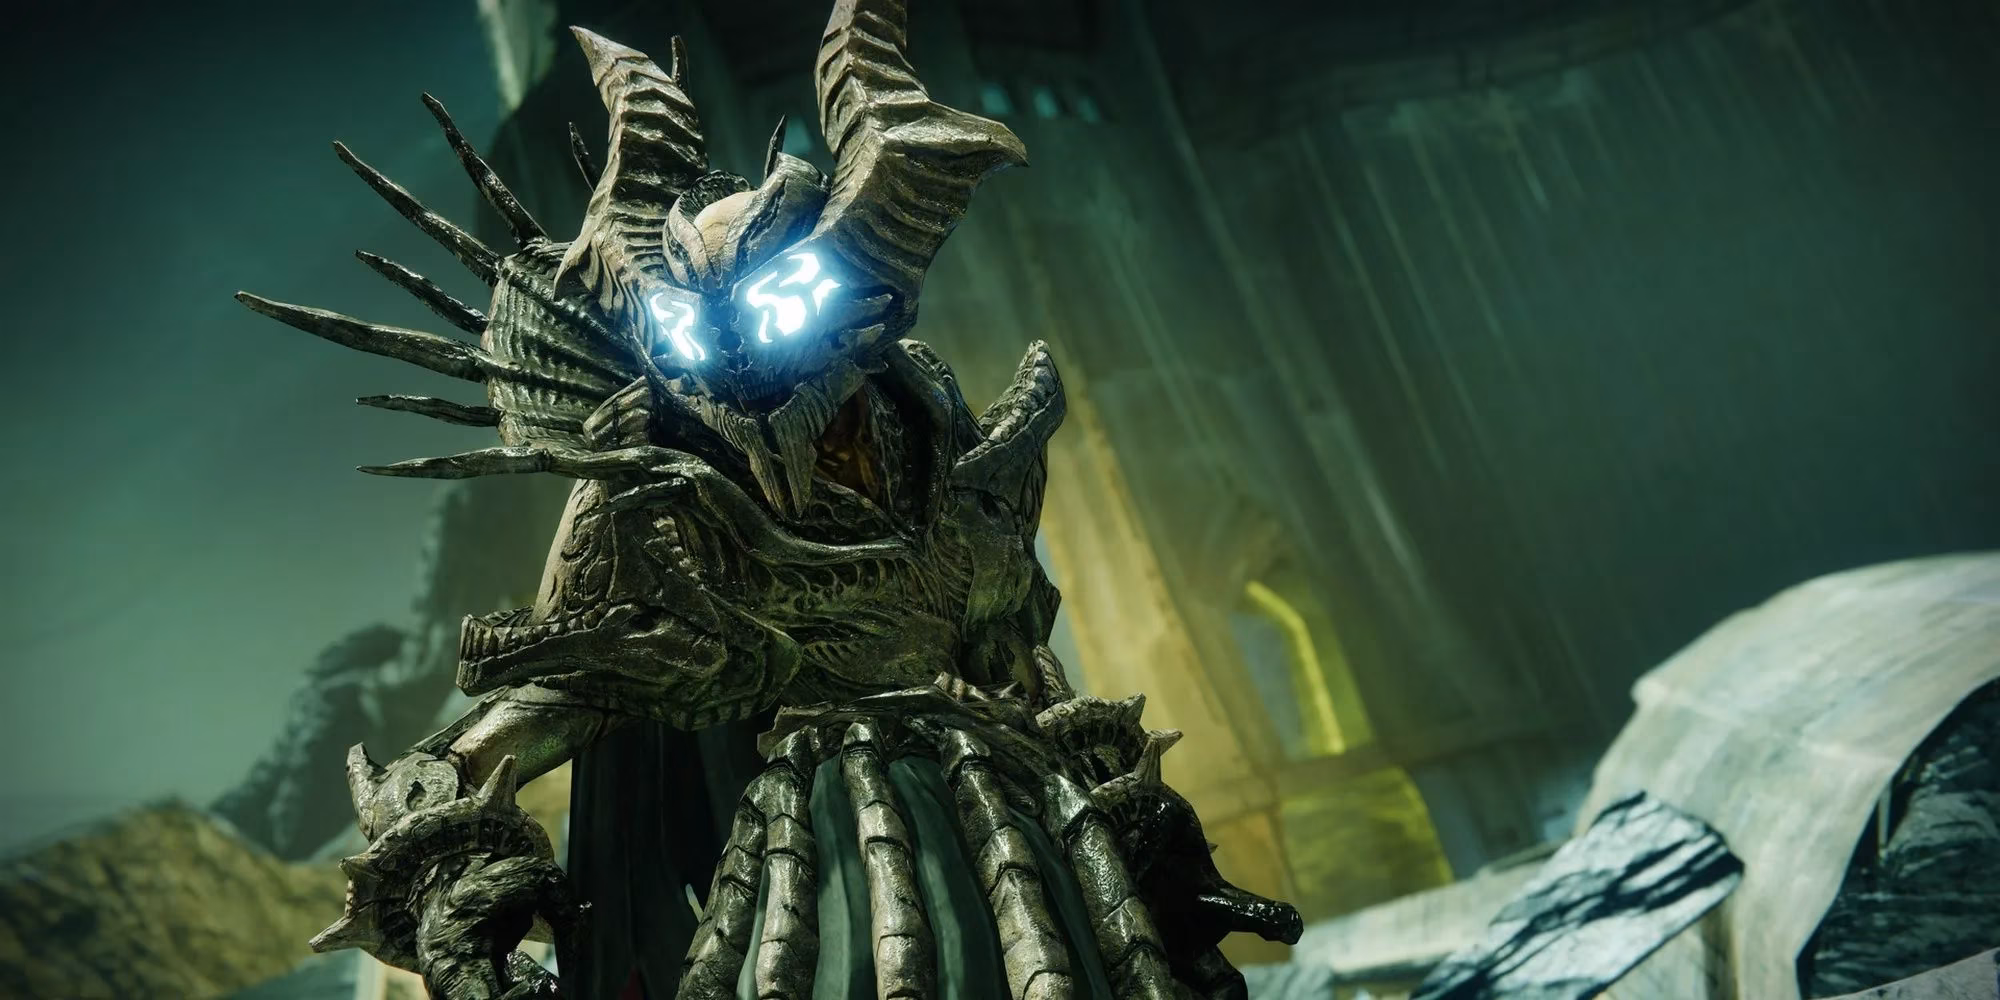
Crota, Son of Oryx: The Final Confrontation
Crota’s fight has been inverted. Instead of using the Hive Sword for damage after breaking his shield, the sword is now the tool that removes his immunity. Boomer Knights must be cleared from towers 1/2 and 6/7 to spawn a Swordbearer near the Oversoul gate. Enlightened players grab the sword and strike Crota until his shield collapses, requiring two to three swords. An Enlightened guardian must also shoot the Oversoul mid-DPS to prevent a wipe; the wipe timer starts at 30 seconds and can be reset by damaging the eye at around the five-second mark. Expunging Enlightened buffs on Crota during damage massively boosts team output. Close-range weapons like Lament and Wells of Radiance are standard due to the sheer aggression Crota unleashes. At 25% health, Crota enters a final stand, giving only 15 seconds to kill him unless an Enlightened player shoots the Oversoul for an extra 10 seconds.
Recommended Loadouts
Subclasses
| Class | Top Picks | Notes |
|---|---|---|
| Hunter | Nightstalker (Gyrfalcon’s Hauberk), Revenant (Renewal Grasps) | Nightstalker provides add clear and Wizard spotting; Revenant shines on Master difficulty with Duskfield spam. |
| Warlock | Dawnblade (Well of Radiance), Stormcaller (Vesper of Radius) | Well is the super of choice for every boss; Stormcaller can blind entire rooms and supply Arc Souls. |
| Titan | Sunbreaker (Synthoceps or Pyrogale), Sentinel | Throwing Hammer devastates on Contest mode; Sentinel offers overshields and Ward of Dawn for Crota’s DPS. |
Weapons
| Slot | Suggestions | Reason |
|---|---|---|
| Kinetic | Shotguns, Blinding GL, Wish-Ender | Close-quarter efficacy and utility against Swordbearers, Champions, and Wizard spotting. |
| Energy | Forbearance, Graviton Lance, Sunshot, Fusion Rifles | Forbearance for add hordes; exotic primaries for explosions; fusions for backup DPS. |
| Heavy | Lament, Rocket Launchers, Machine Guns | Lament for Crota’s DPS; rockets for Ir Yut; machine guns for Champions and bridge encounters. |

Hidden Chests
Deepsight Guarantee
At the Hellmouth’s edge, three pairs of statues stand along the lip. One statue in each pair is lit. Note which side is lit—left or right—because corresponding statue pairs appear later in the raid (at the bridge start, after the bridge, and before Crota). Activate the same side at each location to unlock a chest after Crota’s death that always drops a Deepsight weapon.
Abyss Chest
During the Abyss, glowing Hive doors appear along the path. One of these doors contains a chest, but its spawn is randomised. Teams must check every door they pass to claim it.
Shrieker Hallway Chest
After the Oversoul Bridge, a Shrieker-filled hallway leads to the next area. Clear this hallway quickly—seemingly under 60 seconds—and a door opposite the Chalice deposit pedestal will open, revealing the chest.
Crota’s End now stands as a worthy chapter in Destiny 2’s raid pantheon. Whether chasing Deepsight weapons or chasing the thrill of a clean finish, fireteams willing to master the Chalice and Enlightened interplay will find one of the most satisfying cooperative challenges the game has ever offered.
