Destiny 2: Find Savathun's Spire Secret Chests Fast
Savathun's Spire secret chests guide for Season of the Witch offers hidden loot tips and rune locations for Destiny 2 players.
Y’all ain’t gonna believe this, but Bungie just pulled a classic move—Week 4 of Season of the Witch sent us straight back to where it all started. Yeah, the secret chests in Savathun’s Spire? They’re lounging in the exact same spots they were during Week 1. I remember scouring every pixel for those sneaky runes back then, and guess what… they didn’t even bother to redecorate. But hey, that means if you missed ’em before, now’s your chance to scoop up that sweet loot. Strap in, Guardian, I’m gonna walk you through both chests like we’re on a chill patrol together.
This activity is part of the Season of the Witch content drop, and the Spire is basically Savathûn’s own funhouse mirror maze—only with more Hive magic and fewer clowns. The chests are tucked away behind hidden seals, and cracking them open requires a bit of elemental shooty-shooty. Nothing too brain-melty, I promise. Grab your favorite Void and Solar weapons, maybe a snack, and let’s dive into the juicy details.
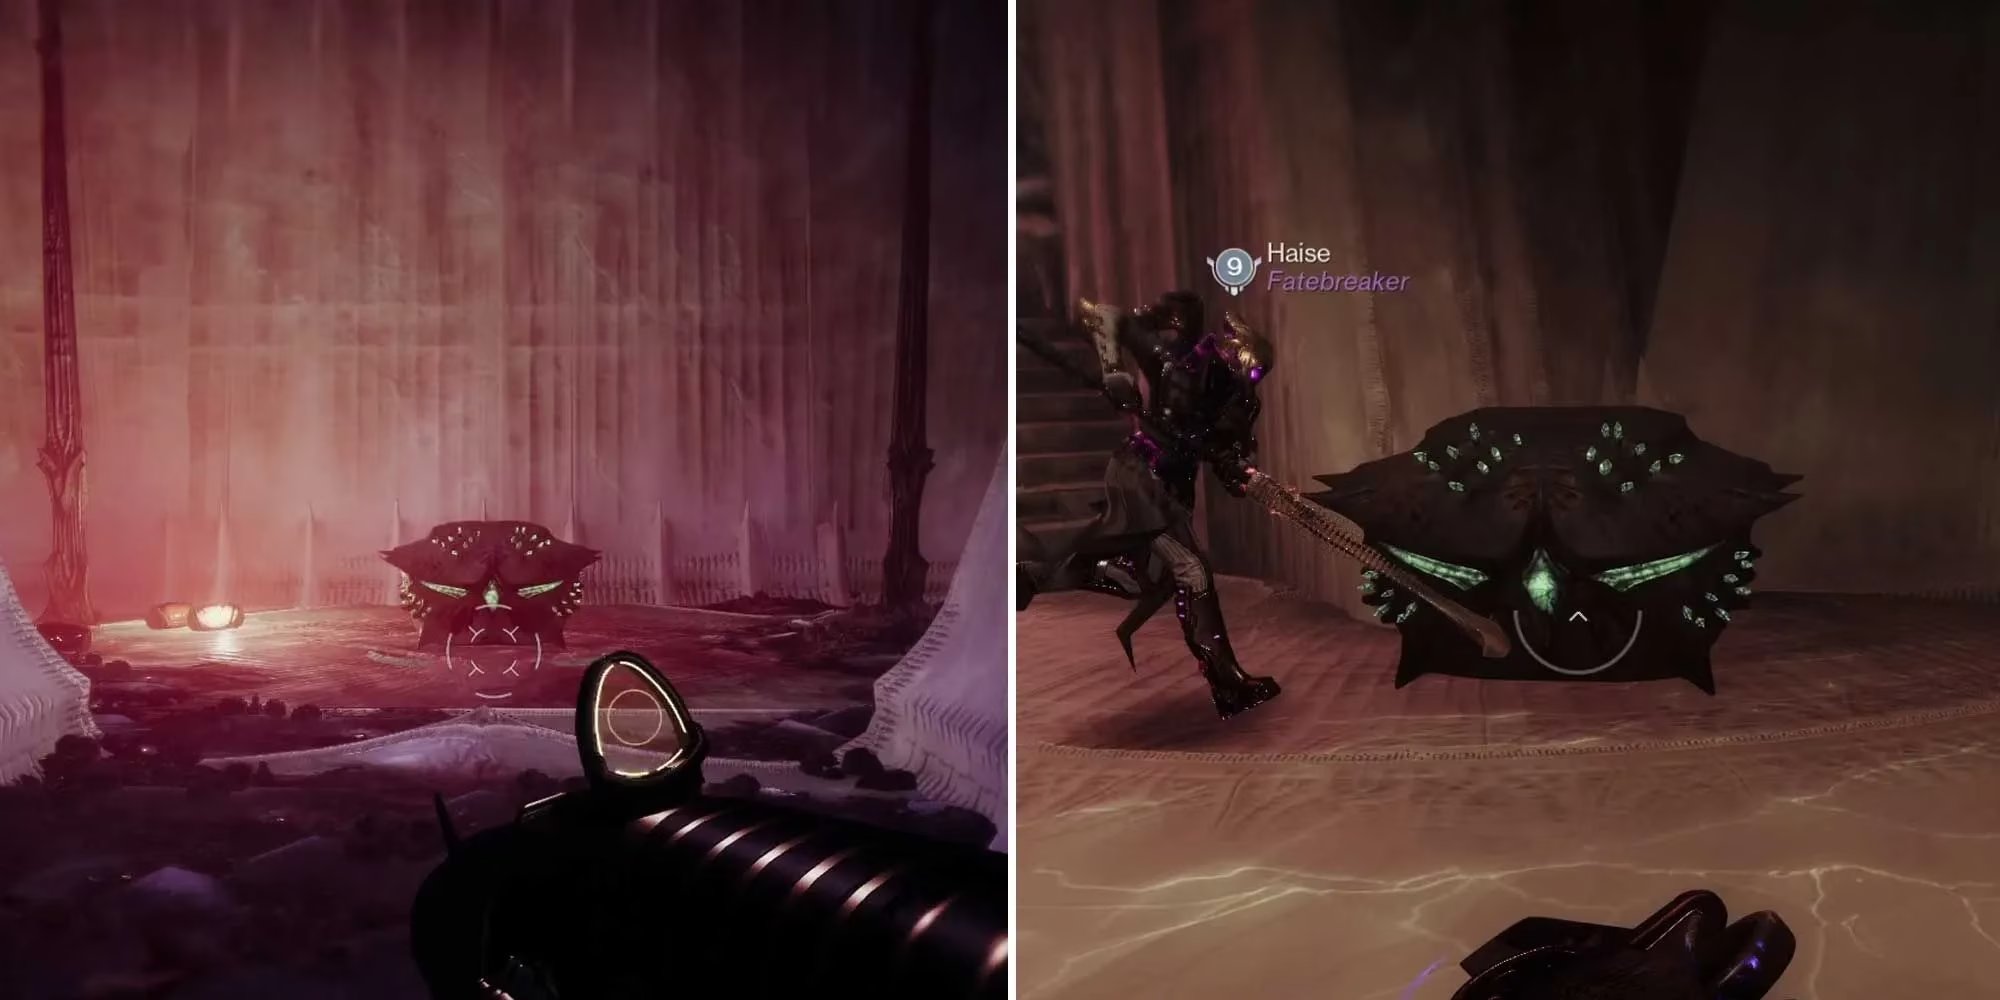
The First Chest: Right After You Stop Swinging
So you’ve just cleared the first encounter—enemies are down, your fireteam is probably flexing their kill counts. Up ahead you’ll see three giant pendulums swinging like a medieval torture device on a sugar rush. Cross those without getting smacked into the abyss (easier said than done, I know), and immediately after, look straight ahead. Three statues. The leftmost one is holding a Void Hive Rune like it’s the world’s edgiest selfie prop. Give it a blast with any Void weapon—Tractor Cannon, Graviton Lance, whatever floats your ghost—and watch the rune light up.
Now, here’s where things get a little sneaky. Use the statues on either side to hop up to the raised platform above the passage. Don’t just rush forward; instead, turn around, crouch down, and peek below the platform you’re standing on. Tucked against the wall, slightly to the left, is another statue hugging a Solar Hive Rune. Swap to your favorite solar gun and shoot it. I almost missed this one because my Exo ears were still ringing from the pendulum close calls. Take a breath, look carefully—it’s there.
Still on that same upper platform, spin around and glance behind the pillar. Above your head you’ll spot a magical seal floating like a stubborn dust bunny. Its rune needs a Void zap to activate. Pop it, and a hidden passage will open nearby. Head inside, and boom—your first secret chest is sitting there, glowing and ready to be looted. I got a decent Arc weapon out of mine last run, so keep those expectations cautiously optimistic.
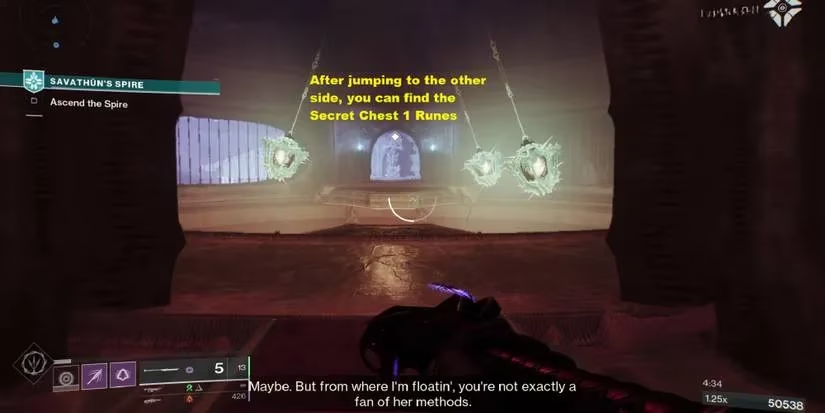
The Second Chest: Portal Shenanigans & Rune Hide-and-Seek
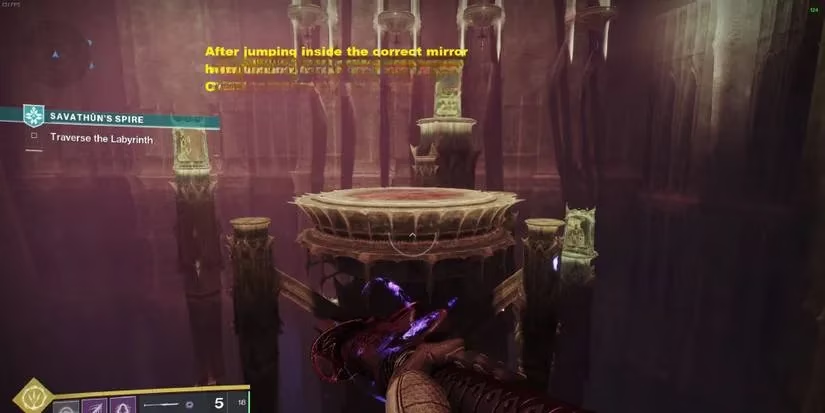
Alright, after bagging the first chest, you’ll continue through the Spire, eventually using those weird Hive elevators that go upward with all the grace of a lift from a horror movie. You’ll pass through a series of Hive portals—keep your eyes peeled for the third one. Once you jump through it, you land on a platform with a bunch of identical-looking platforms stretching ahead like a floating staircase in a Vex simulation.
Here’s the gimmick: under each of these platforms, there’s a Hive Rune plastered on the bottom. Two are Solar, two are Void. They’re placed so you have to do a bit of gentle platforming and maybe some awkward mid-air shooting. I like to start from the leftmost and work my way right—just drop down a level, look up, and shoot. Solar first, then Void, or mix it up; order doesn’t matter as long as all four get activated. You’ll hear a distinct sound cue, like a Hive version of a doorbell ringing, when they’re all lit.
Once all runes are glowing, proceed into the next room. Before you reach the Rally Flag (that checkpoint banner you usually sprint toward), glance to your right. There, lounging against the wall like it owns the place, is the second secret chest. No extra seal, no tricky platforming—just a reward waiting for your attention. I gotta say, the first time I found this one in Week 1, I did a little victory dance. This week, it felt like visiting an old friend who still had presents.
Wrapping Up the Loot Run
If you already grabbed these chests in Week 1, you won’t get double rewards—Bungie isn’t that generous. But if you slept on ’em, this is your second chance to snag some extra gear. The loot pool seems to include seasonal weapons and armor, and who knows, maybe a high-stat roll is hiding in there. Also, these chests are completely optional, but why skip free shinies, right?
Just a heads-up: I ran this activity three times today for science, and the rune activations can be a bit finicky if someone in your fireteam already triggered them. Communication helps, or just run it solo if you want the full “I’m a lone wolf” fantasy. The platforming area with the pendulums remains the most dangerous part—adds can spawn and knock you off, so stay frosty.
So there you have it, two secret chests waiting for you in Savathun’s Spire, Week 4 style. Simple, quick, and satisfying. Now go make Savathûn wonder why her spire’s treasures keep vanishing. Eyes up, Guardian—and may your RNG be ever in your favor.
—
This guide is based on September 2023’s Season of the Witch Week 4 content, but the memory of these chests still shines bright in 2026. Good luck out there!