Destiny 2: Scavenger's Den Legendary Lost Sector Guide for 2026
Destiny 2's Scavenger's Den Legendary Lost Sector offers efficient Exotic armor farming with Solar subclass and Champion tools.
In 2026, the EDZ's Scavenger's Den remains one of the most compact and punishing Legendary Lost Sectors in Destiny 2. A Guardian who enters with a Solar subclass and the right Champion tools can finish the run in minutes. A Guardian who enters with a mismatched loadout will meet a wall of Overload Captains, Barrier Servitors, and trip mines. The Lost Sector was first popularized during Season of the Splicer, later updated after the Solar 3.0 rework, and its core lessons still apply to modern Exotic-armor farming. The arena is small, the enemies are dense, and the margin for error is thin.
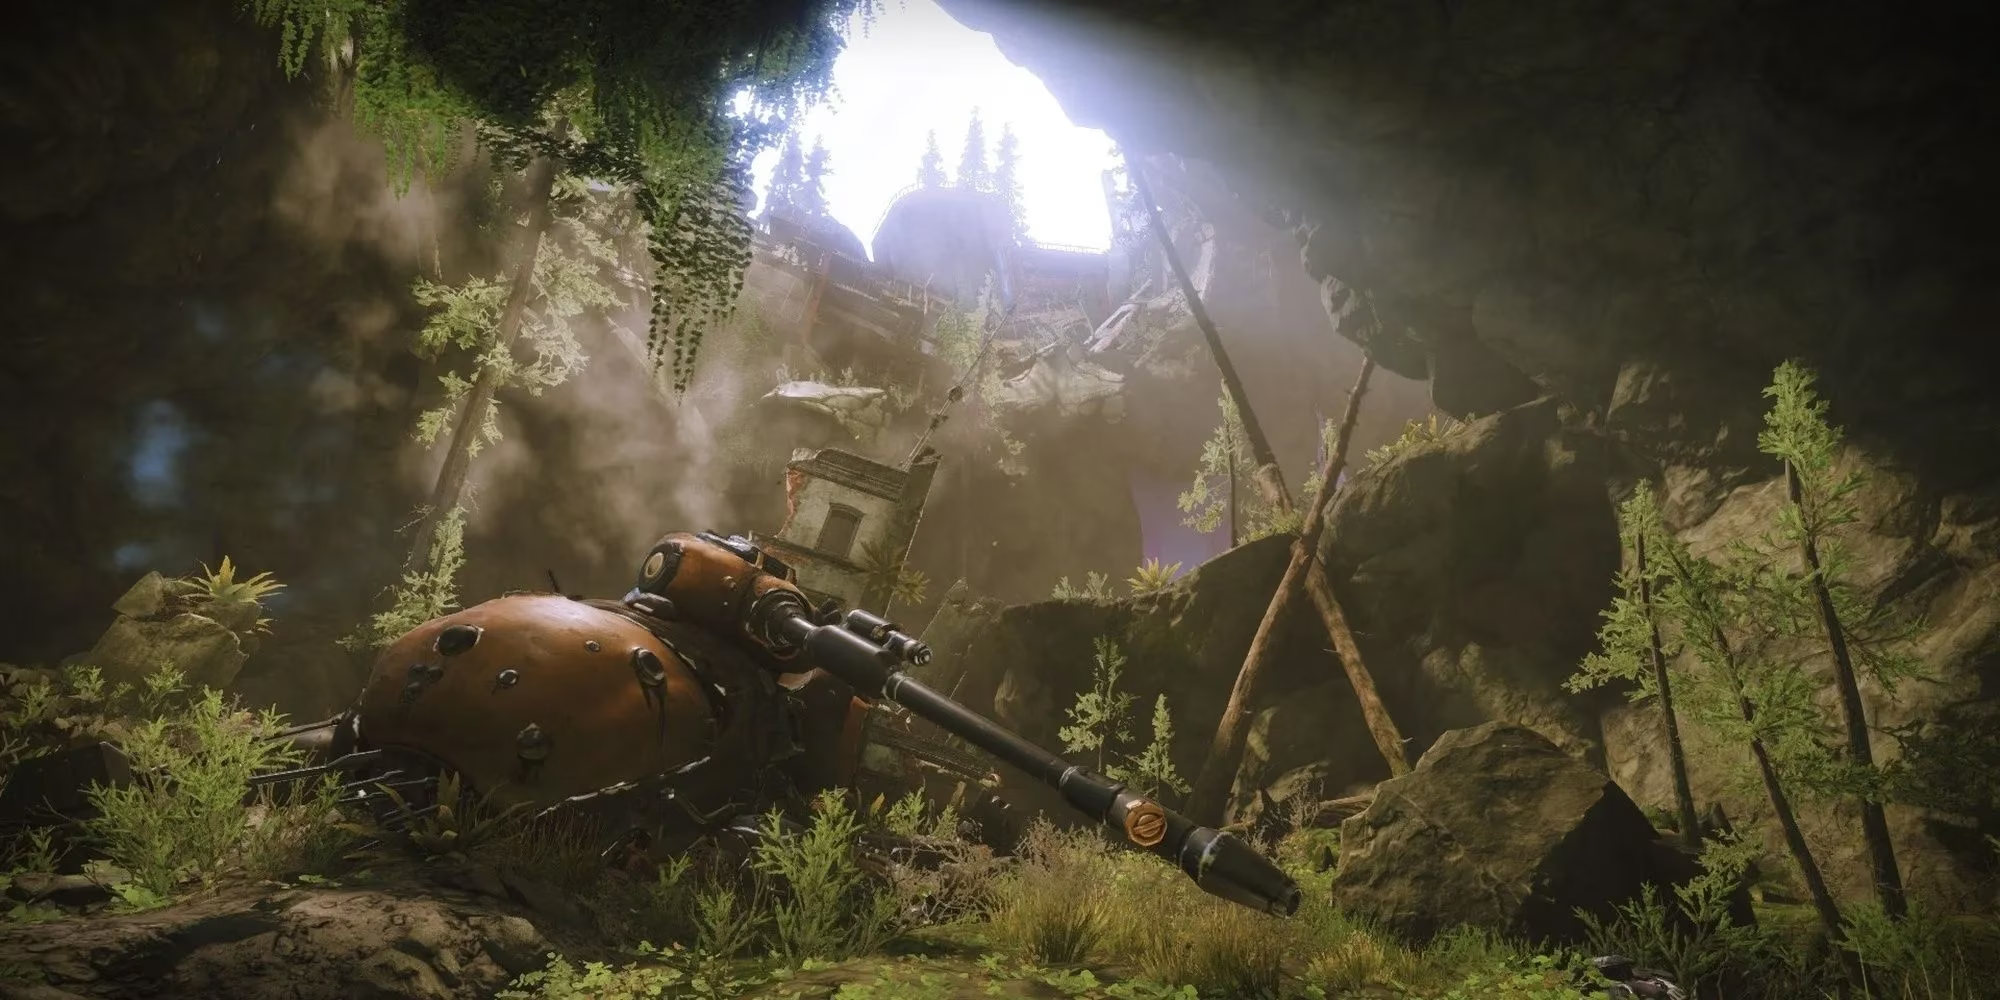
Why Scavenger's Den Still Matters
Scavenger's Den is not the longest Lost Sector, but it is one of the most efficient when played correctly. The reason is simple: it packs multiple Champions into a short route, then ends with a boss that can be burned down quickly if the adds are handled first. For players chasing high-stat Exotic armor in 2026, the Den offers a fast loop with very little downtime.
-
🏆 High-stat Exotic armor drops on Legendary difficulty.
-
⚡ Short traversal between entrance, cavern, and boss arena.
-
🎯 Constant Champion practice against Overload and Barrier enemies.
-
🔥 Solar builds can trivialize large portions of the run.
-
💀 Poor loadouts will struggle with add clear and survivability.
The Lost Sector's difficulty scales with preparation more than raw power. Solar subclasses remain excellent because Radiant, Restoration, and Ignite solve the two biggest problems in the Den: killing clustered Fallen and staying alive while Champions push. Builds without strong add clear or healing will feel every Overload Captain and every Barrier Servitor.
Modifiers and Recommended Loadout
The modifiers that matter most are the Champion types and the elemental shields. Overload Captains regenerate health aggressively, while Barrier Servitors shield themselves and nearby allies. Players should bring reliable stun tools and enough burst damage to kill a Champion before it recovers.
| Challenge | Recommended Answer |
|---|---|
| Overload Captains | Overload rounds, sustained fire, and stun discipline |
| Barrier Servitors | Barrier rounds, distance, and burst damage |
| Fallen shields | Solar damage for fast shield pops and Ignites |
| Survival | Restoration, healing grenades, and cover |
| Add clear | Ignite, chain reactions, and area damage |
| Heavy ammo | Save it for Champions or the boss |
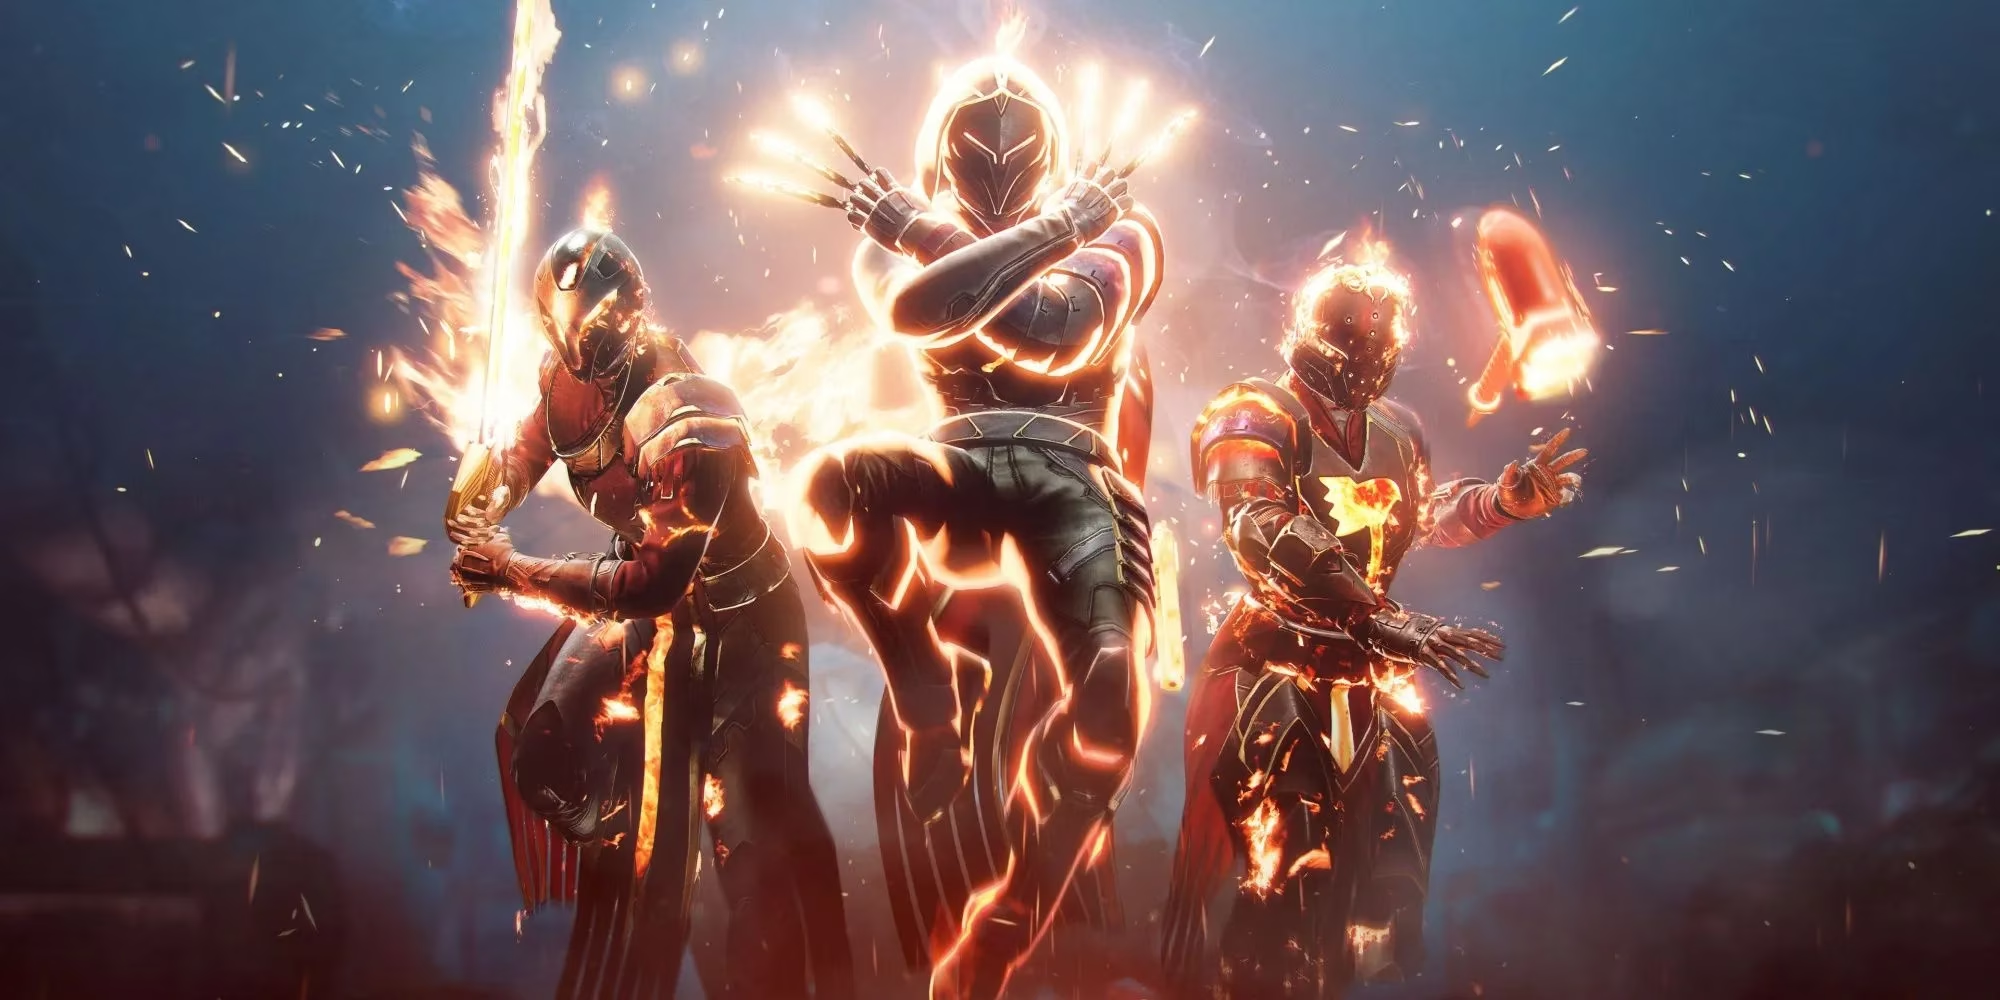
A Solar subclass is the safest recommendation. A single Ignite can erase a room of Dregs, Shanks, and Marauders. Radiant increases damage against Champions, and Restoration keeps the Guardian alive during chaotic pushes. Players without Solar should lean harder on cover, long-range weapons, and careful Champion stunning.
Entrance: The First Overload
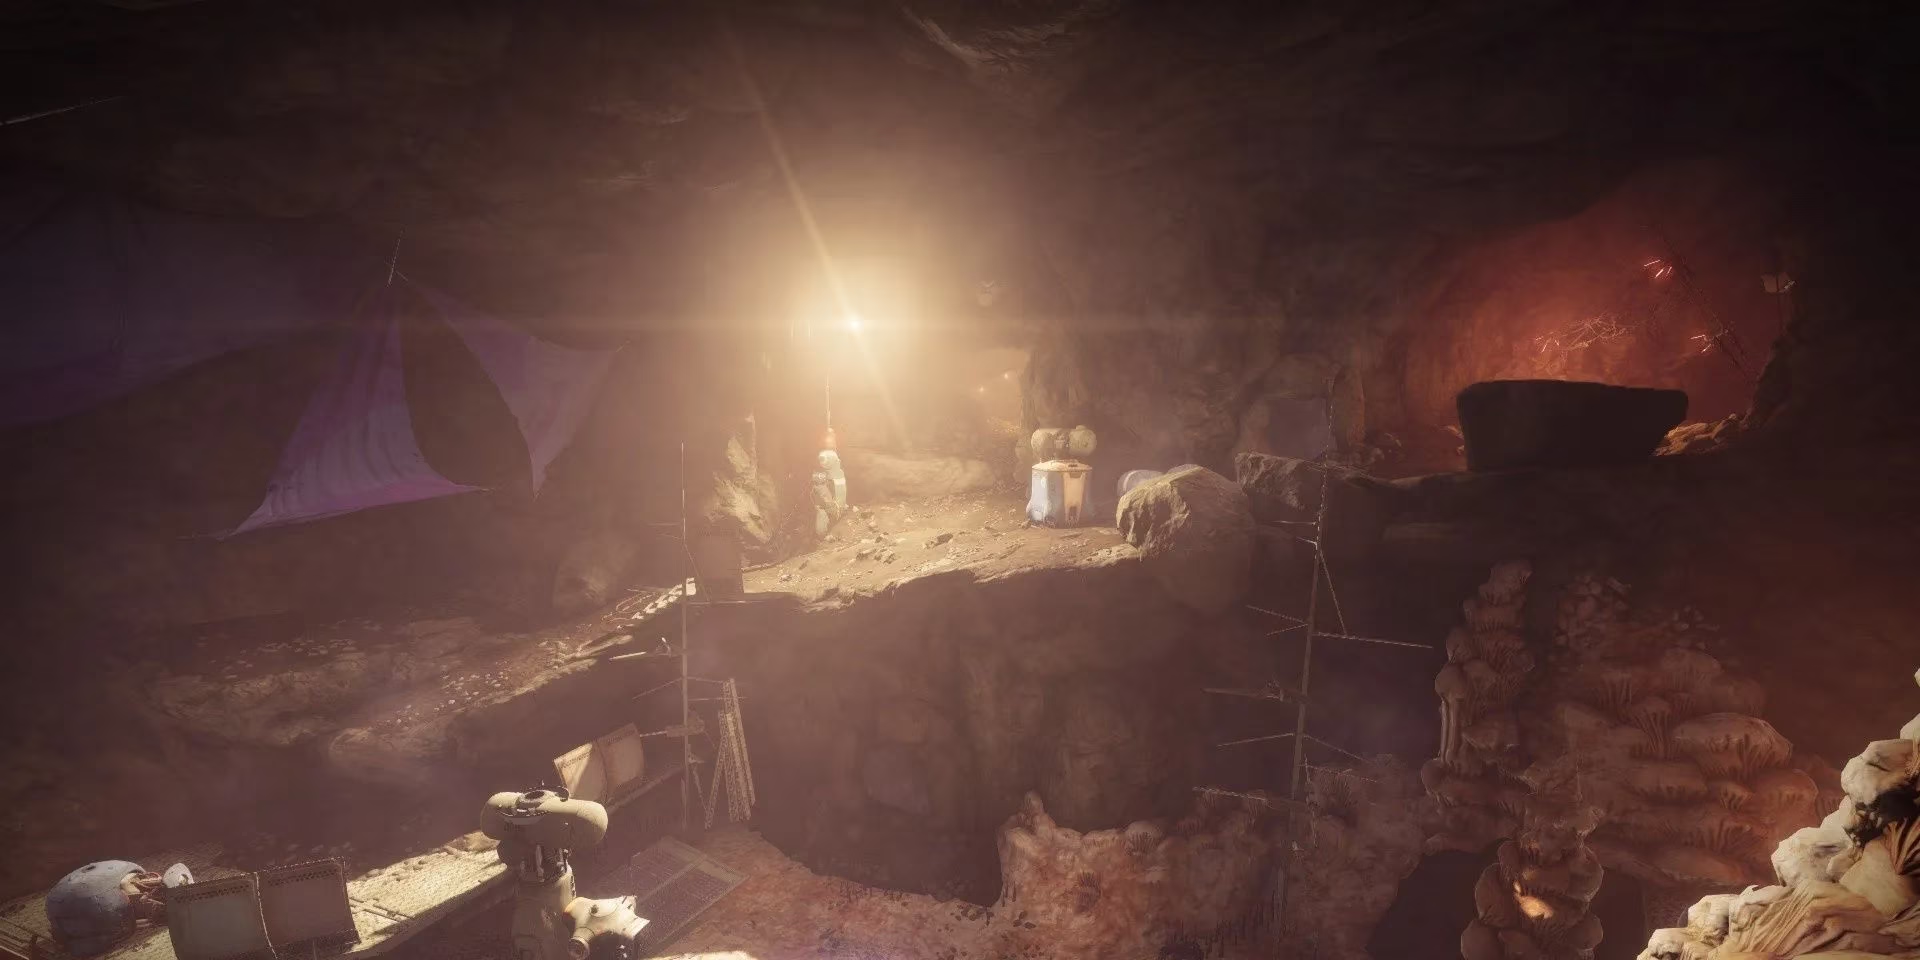
The Guardian drops into the entrance and immediately faces a small group of Dregs. The real threat is not the fodder. Two Overload Captains and one Barrier Servitor anchor this first section, and the Captain on the right ledge must be handled first. If it is ignored, it will shred the Guardian before the rest of the room is cleared.
The correct opening is to stun the right-side Overload Captain, clear the nearby Dregs, then finish the Captain. Descending to the lower floor too early is a mistake. A Barrier Servitor and multiple Fallen spawn below, and fighting them from low ground gives the enemy too many angles.
Once the first Captain is dead, the Barrier Servitor becomes the next target. It is surrounded by adds, so players may need to reposition for a clean shot. Break the barrier, kill the vulnerable adds, then destroy the Servitor. On the opposite side of the entrance, a new wave of Shanks and another Overload Captain appears. That Captain is manageable once stunned. Defeat the Champion, clear the Shanks, and push forward.
Cavern: Two Captains and a Minefield
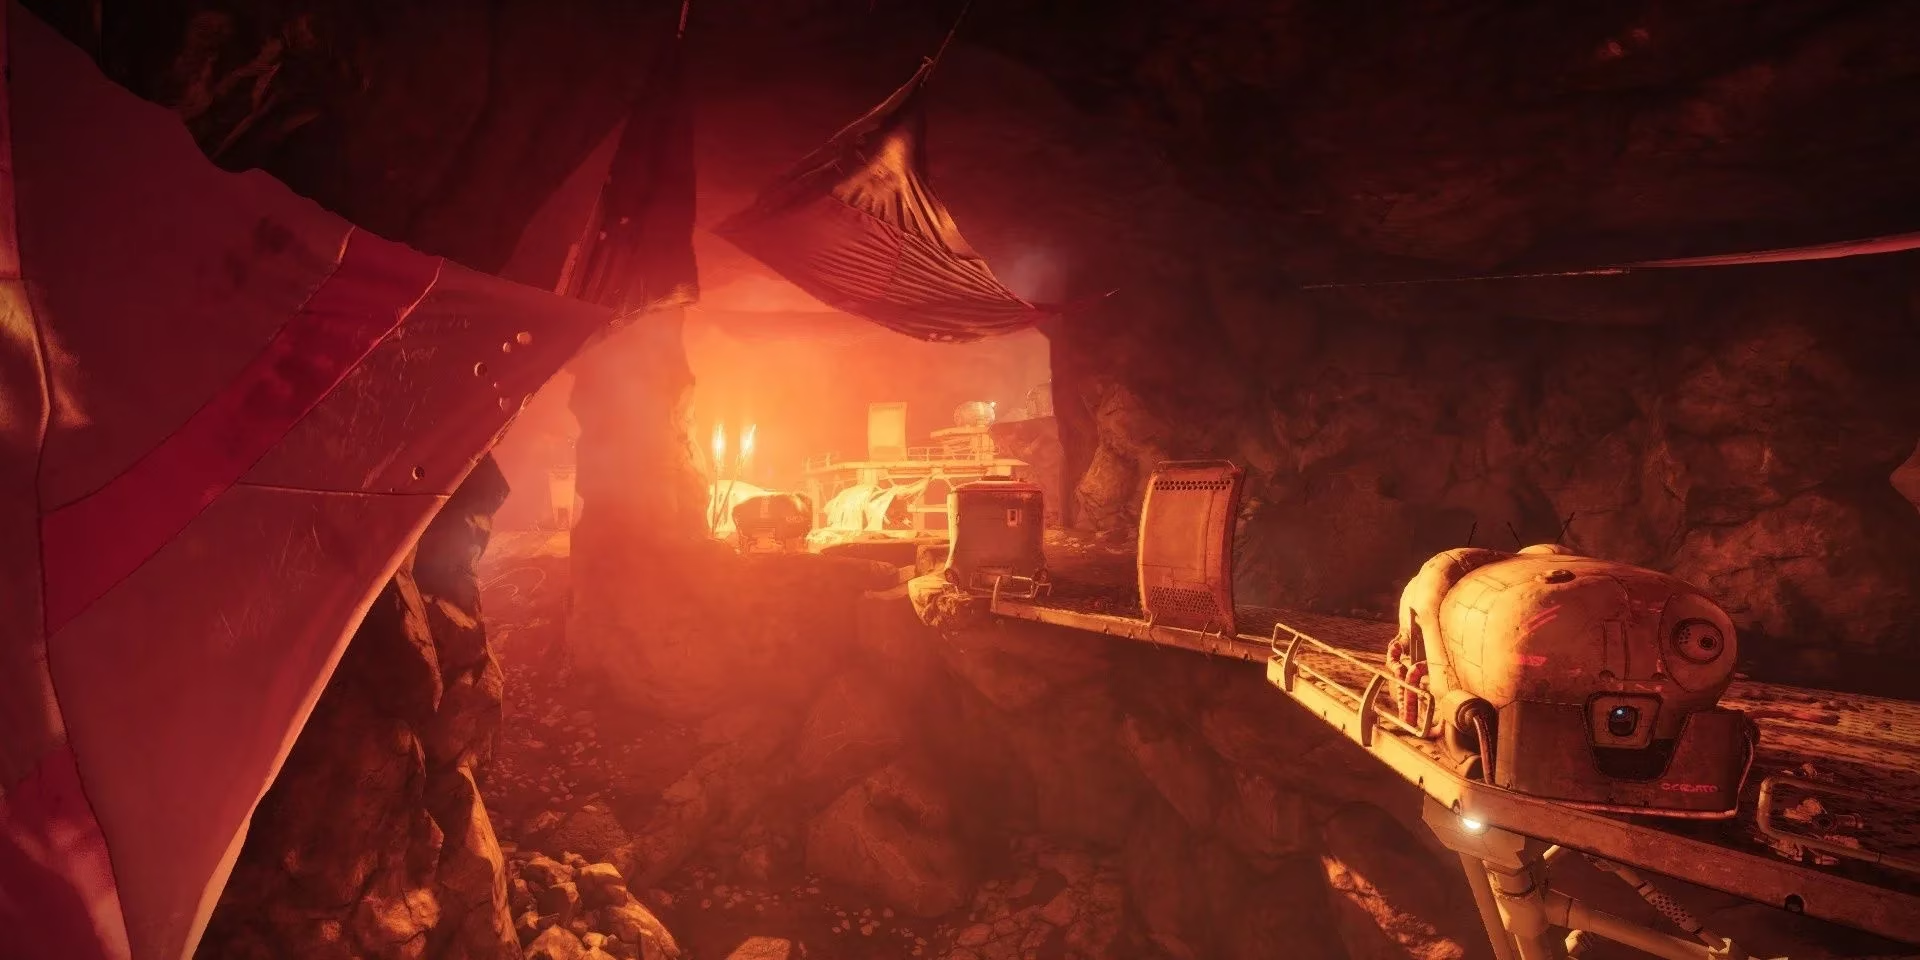
The cavern is where Solar builds separate themselves from everything else. A few fodder enemies support two Overload Captains near the exit. A single Ignite can clear the weaker Fallen, leaving the Champions exposed. If the Guardian is not running Solar, the safer play is to stay near the lower level and lure enemies into a controlled kill zone.
The Overload duo at the end of the room is dangerous because they can push together. Both Champions should be stunned before either is damaged. Players should focus one Captain with Heavy or Super damage, then swap back to Overload rounds as soon as the stun ends. Even when a Captain cannot be stunned, continuing to hit it with Overload rounds disables its health regeneration for a short time. That detail is the difference between a clean kill and a prolonged disaster.
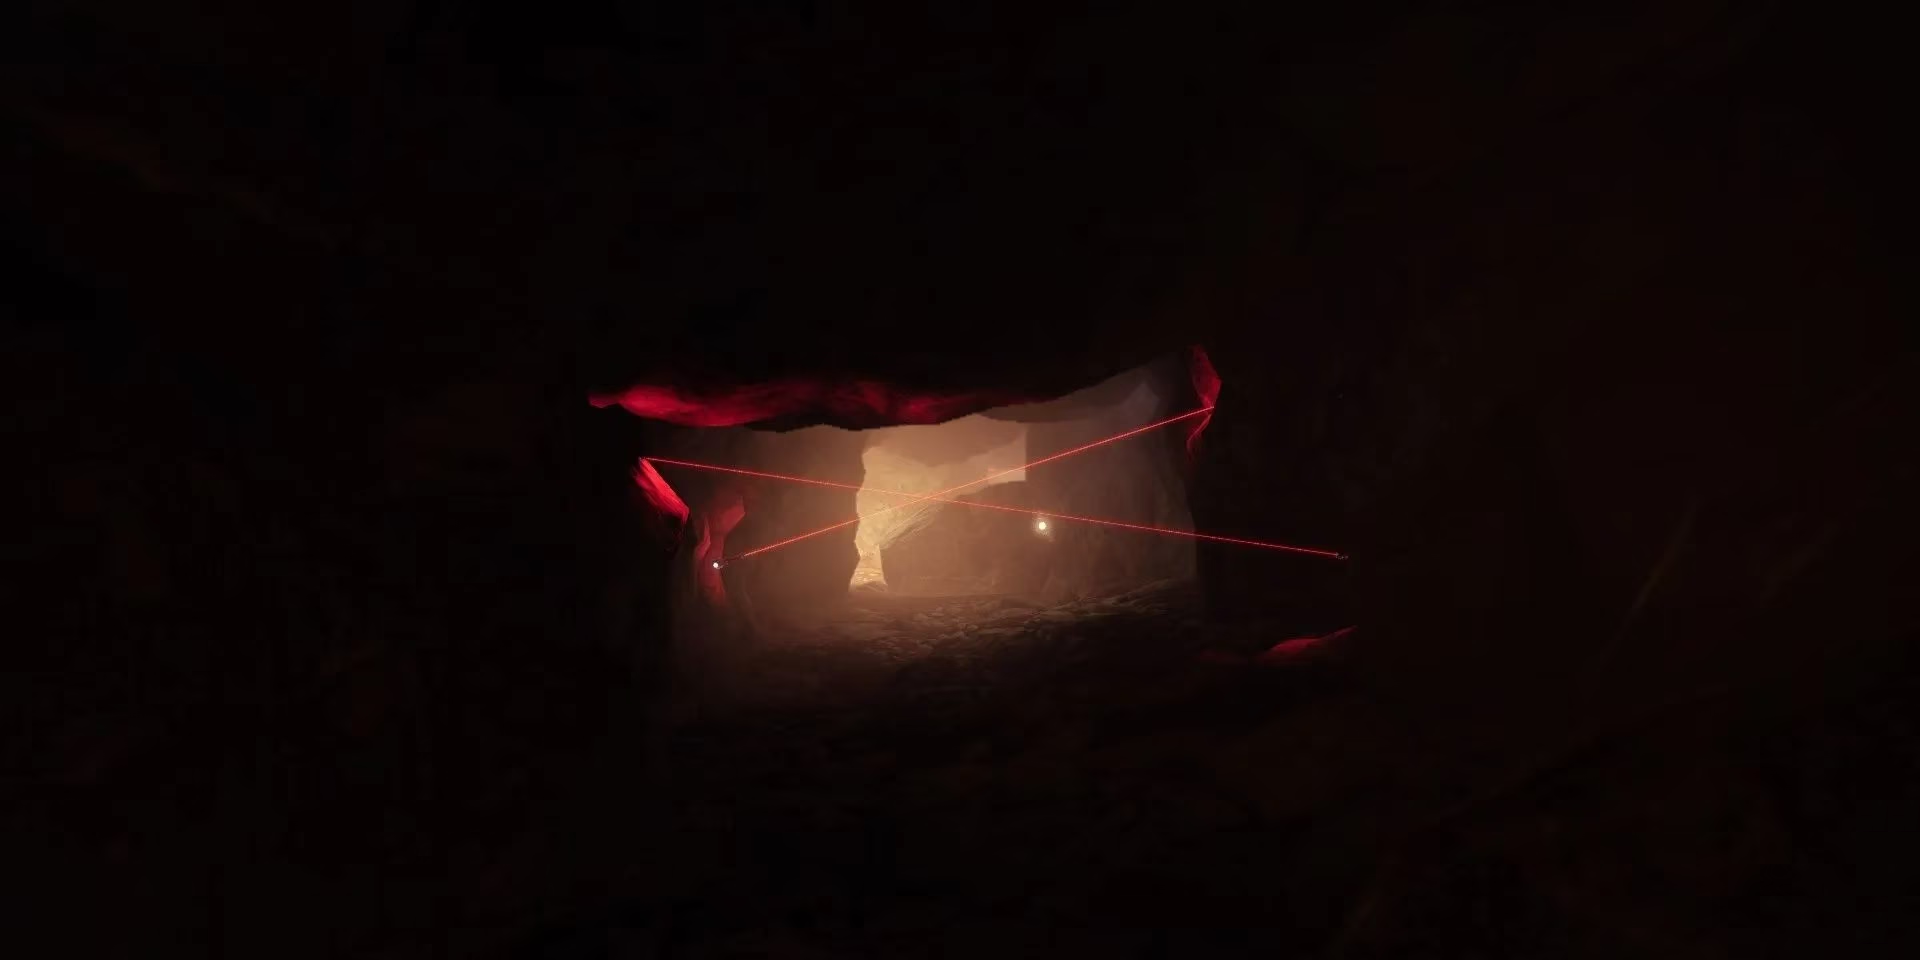
After the Captains fall, the tunnel ahead is filled with trip mines. They deal absurd damage and should never be sprinted through. The Guardian should shoot them from a long distance, preferably near the tunnel entrance, because their effective range is surprisingly large. Disable the cluster before proceeding.
Boss Arena: Graxus, Blind Captain
The final arena contains one Barrier Servitor, one Overload Captain, Graxus, Blind Captain, and a supporting army of Vandals, Marauders, Wretches, Shanks, and Dregs. Depending on the loadout, this is either a quick execution or a painful war of attrition.
Solar builds have the cleanest plan. Activate Radiant and Restoration on the Shanks ahead, then trigger an Ignite when a Fallen Skiff arrives. Clean up the Champions and boss with the remaining damage. Everyone else should lure the Overload Captain toward the entrance if possible. If that fails, focus the Barrier Servitor first.
The entrance has a few Shanks guarding a destroyed Spider Tank. Kill the Shanks, then immediately direct attention to the Overload Captain, because it will try to push at that moment. Stun it, then either retreat or commit to killing it. A Barrier Servitor arrives shortly afterward with more Fallen. Use Heavy or a Scout Rifle to damage the Servitor from a distance, break its barrier, kill the fodder, and repeat. Pushing up too early is a common death sentence because cover past the entrance is scarce.
When the fodder and Champions are dead, the boss becomes the final problem. The Guardian should move to Graxus, break its Arc shield, then use remaining ammo and abilities to finish it off. The chest at the end of the arena holds the reward, and on Legendary difficulty, that reward can be the high-stat Exotic armor that makes the entire farm worthwhile.
Final Tips for 2026
-
🔫 Bring both Overload and Barrier answers. Do not rely on teammates in a solo Lost Sector.
-
☀️ Solar remains the easiest path because Ignite clears adds and Restoration keeps the Guardian alive.
-
🧠 Stun Champions before damaging them, and keep firing Overload rounds to suppress regeneration.
-
💥 Save Heavy ammo for Captains, Servitors, and the boss.
-
🚫 Never rush the trip mines. Shoot them from safety.
-
🎁 Farm the chest only when the run is fast and consistent.
Scavenger's Den has survived multiple sandbox eras because its design is simple and brutal. In 2026, the names of perks and artifact mods may have changed, but the rhythm is the same: control the entrance, survive the cavern, respect the mines, and dismantle the boss arena one Champion at a time. For any Guardian hunting Exotic armor in the EDZ, the Den is still a worthy stop.