Destiny 2: The Final Shape Iconoclasm Walkthrough - How to Beat the Final Campaign Mission Before Salvation's Edge Raid
Destiny 2 The Final Shape Iconoclasm mission offers an exhilarating showdown with the Witness, demanding tactical mastery and epic teamwork.
Alright Guardians, gather 'round! Let's talk about one of the most epic missions in Destiny 2: The Final Shape - Iconoclasm. This ain't just another campaign mission, folks. This is the grand finale before the legendary Salvation's Edge raid drops, and trust me, it's one hell of a ride. We're talking about the mission where everything comes together, where we finally confront the Witness on its own turf. But here's the tea - the Witness isn't going down without a fight, and this mission is designed to test every ounce of skill you've developed since the Red War.
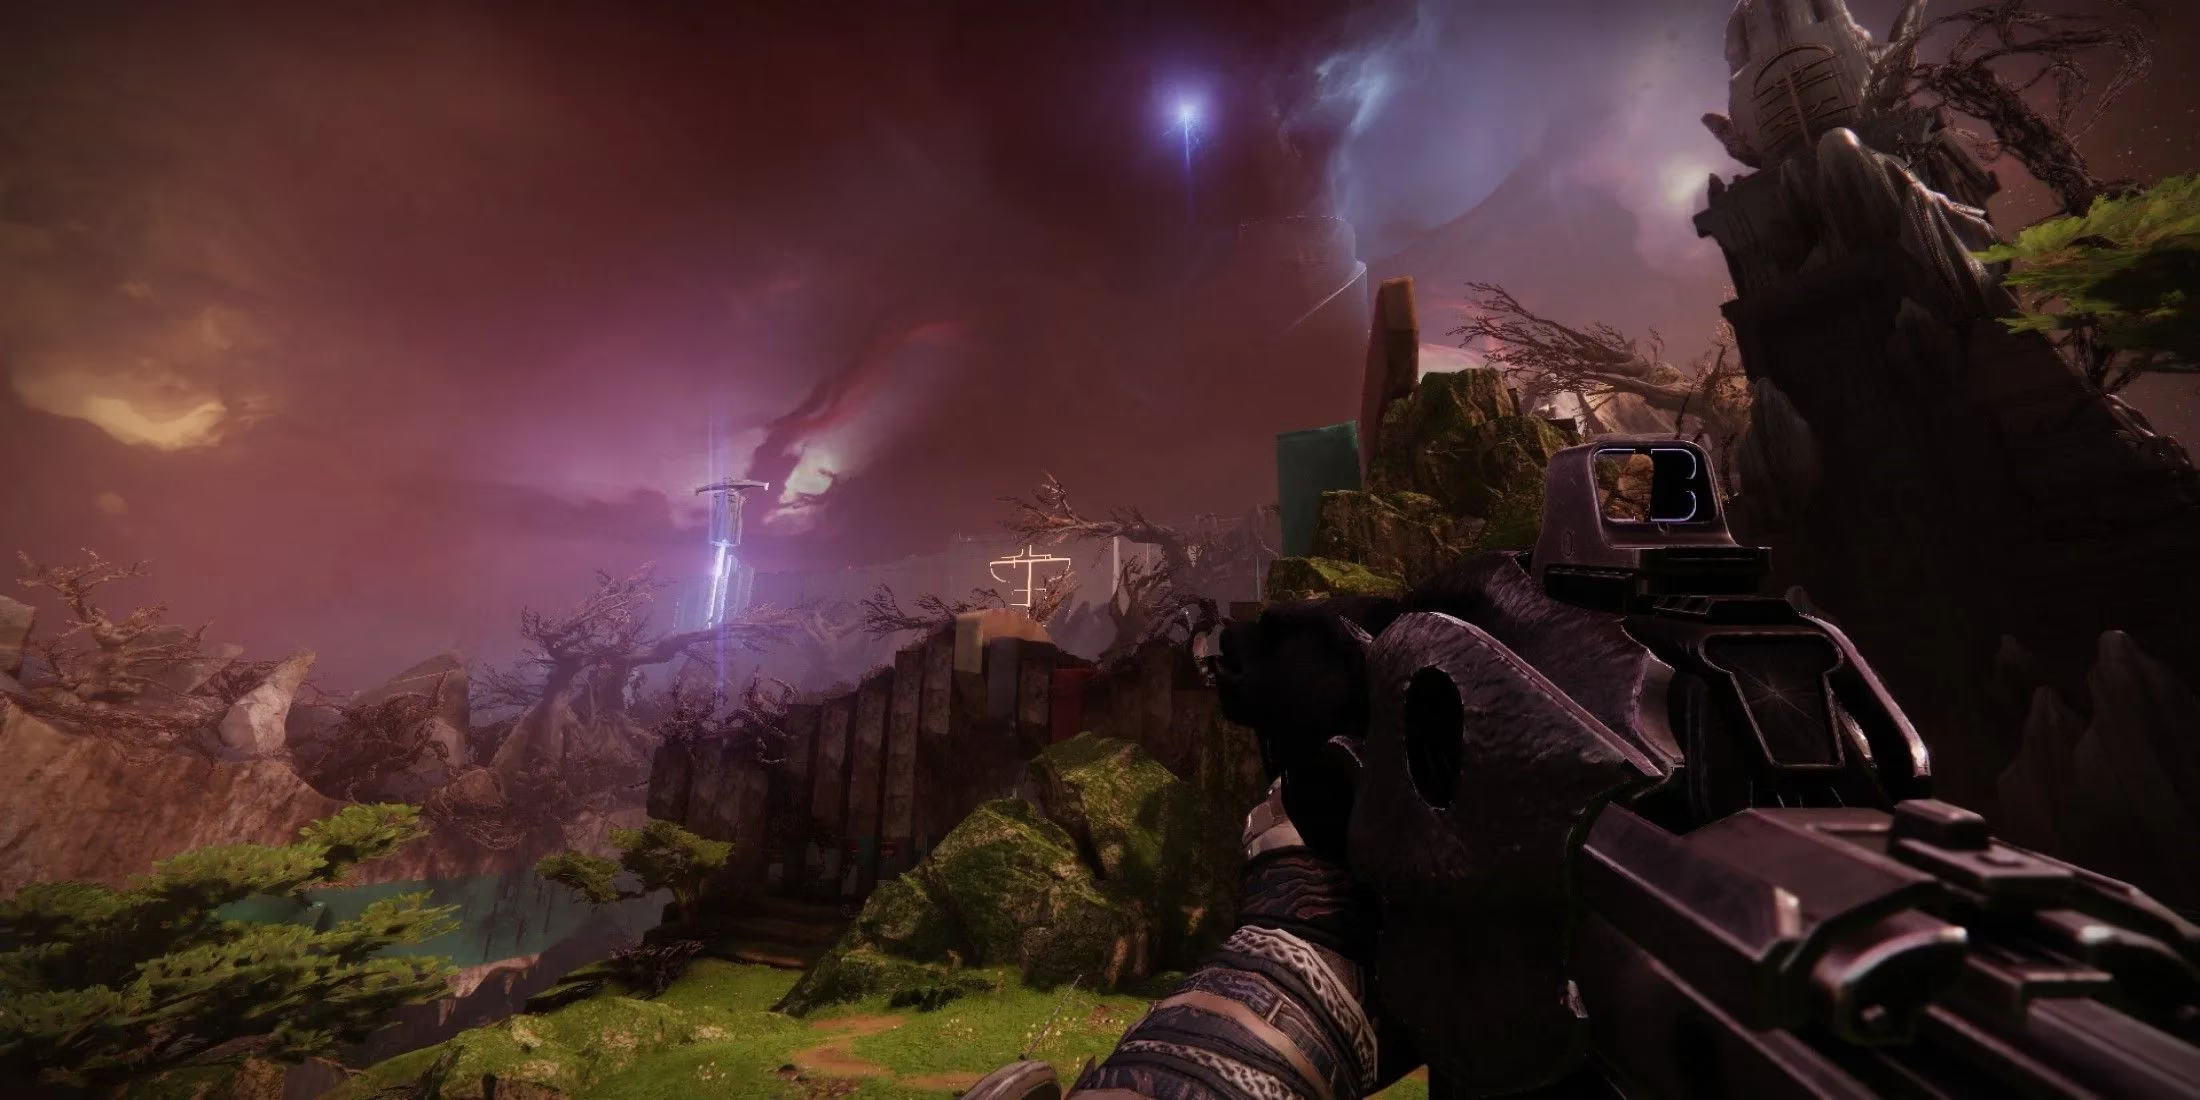
Let's break it down, step by step. The mission kicks off with you following waypoints through some seriously trippy environments. We're talking crop fields that look like they were ripped straight from a fever dream - classic Witness aesthetic, am I right? You'll be dealing with Taken and Dread enemies along the way, so make sure your loadout is on point. Pro tip: Bring weapons that can handle both close-quarters combat and ranged engagements.
First Encounter: Getting Your Feet Wet 🌊
Okay, so you reach the first rally point and encounter. This is where things start getting real. The first thing you'll notice? Those pesky Bound enemies with Prismatic shields. Here's the deal:
-
Prismatic Shield Strategy: You've got two options:
-
Use Transcend (if you're running that subclass)
-
Grab the nearby energy fields to break those shields
Once you've cleared enough adds, get ready for the main event - a Tormentor spawns! Remember the drill:
-
Shoot the shoulders first
-
When the chest starts glowing, unload everything into it
-
Rinse and repeat until it's down
This encounter is pretty straightforward, but don't get cocky - it's just the warm-up!
The Twisted Path and Darkness Mechanics 🔮
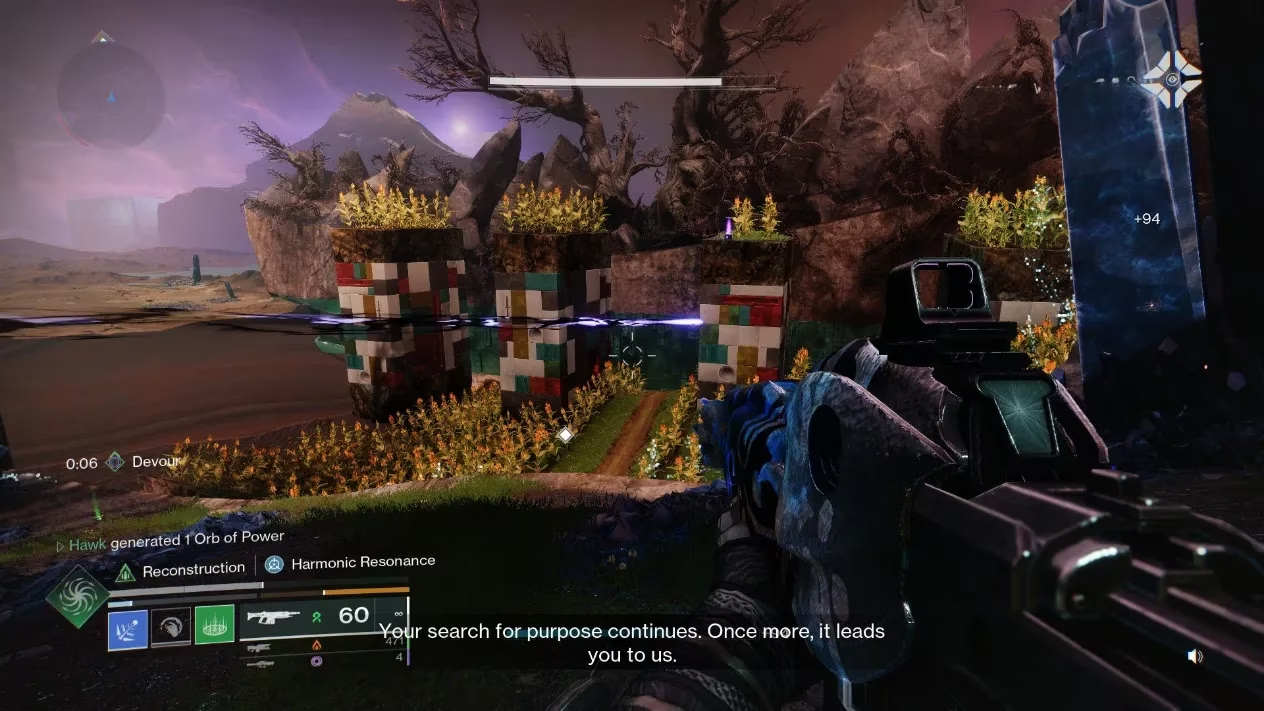
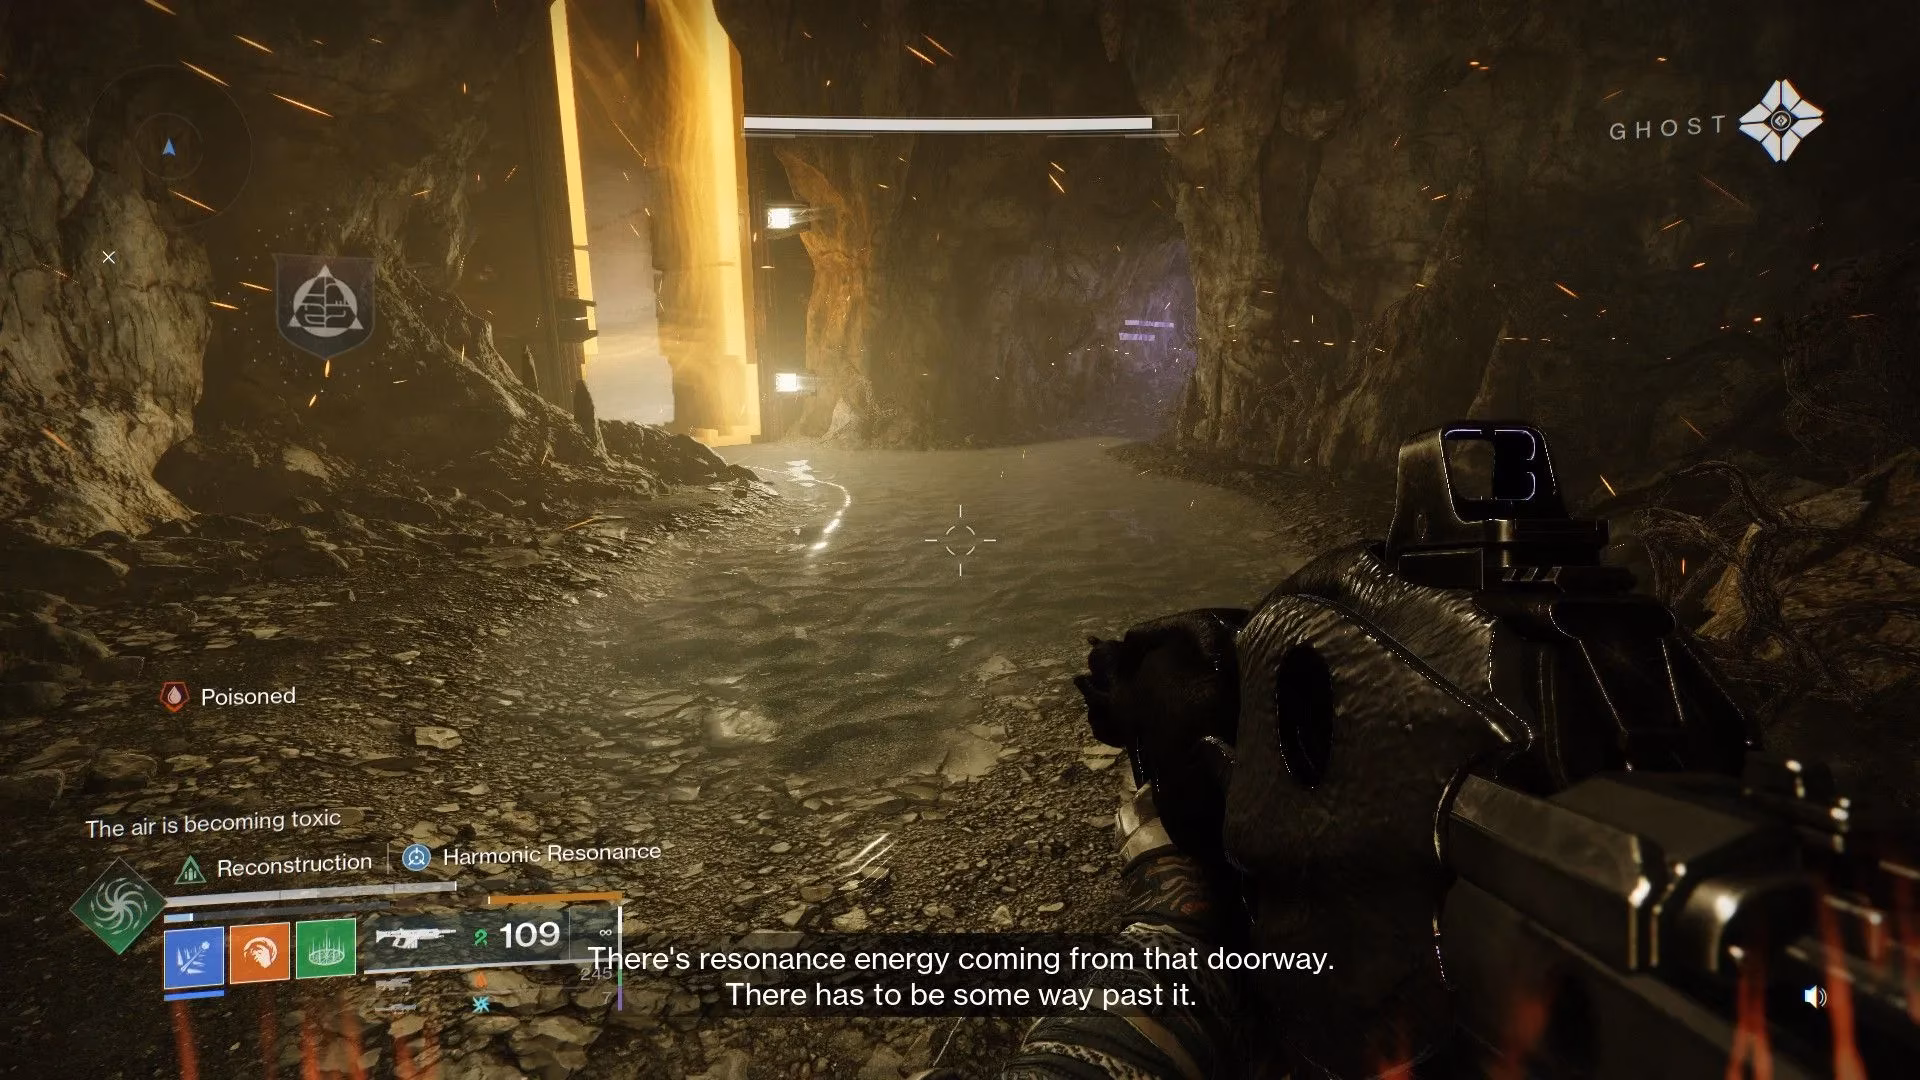
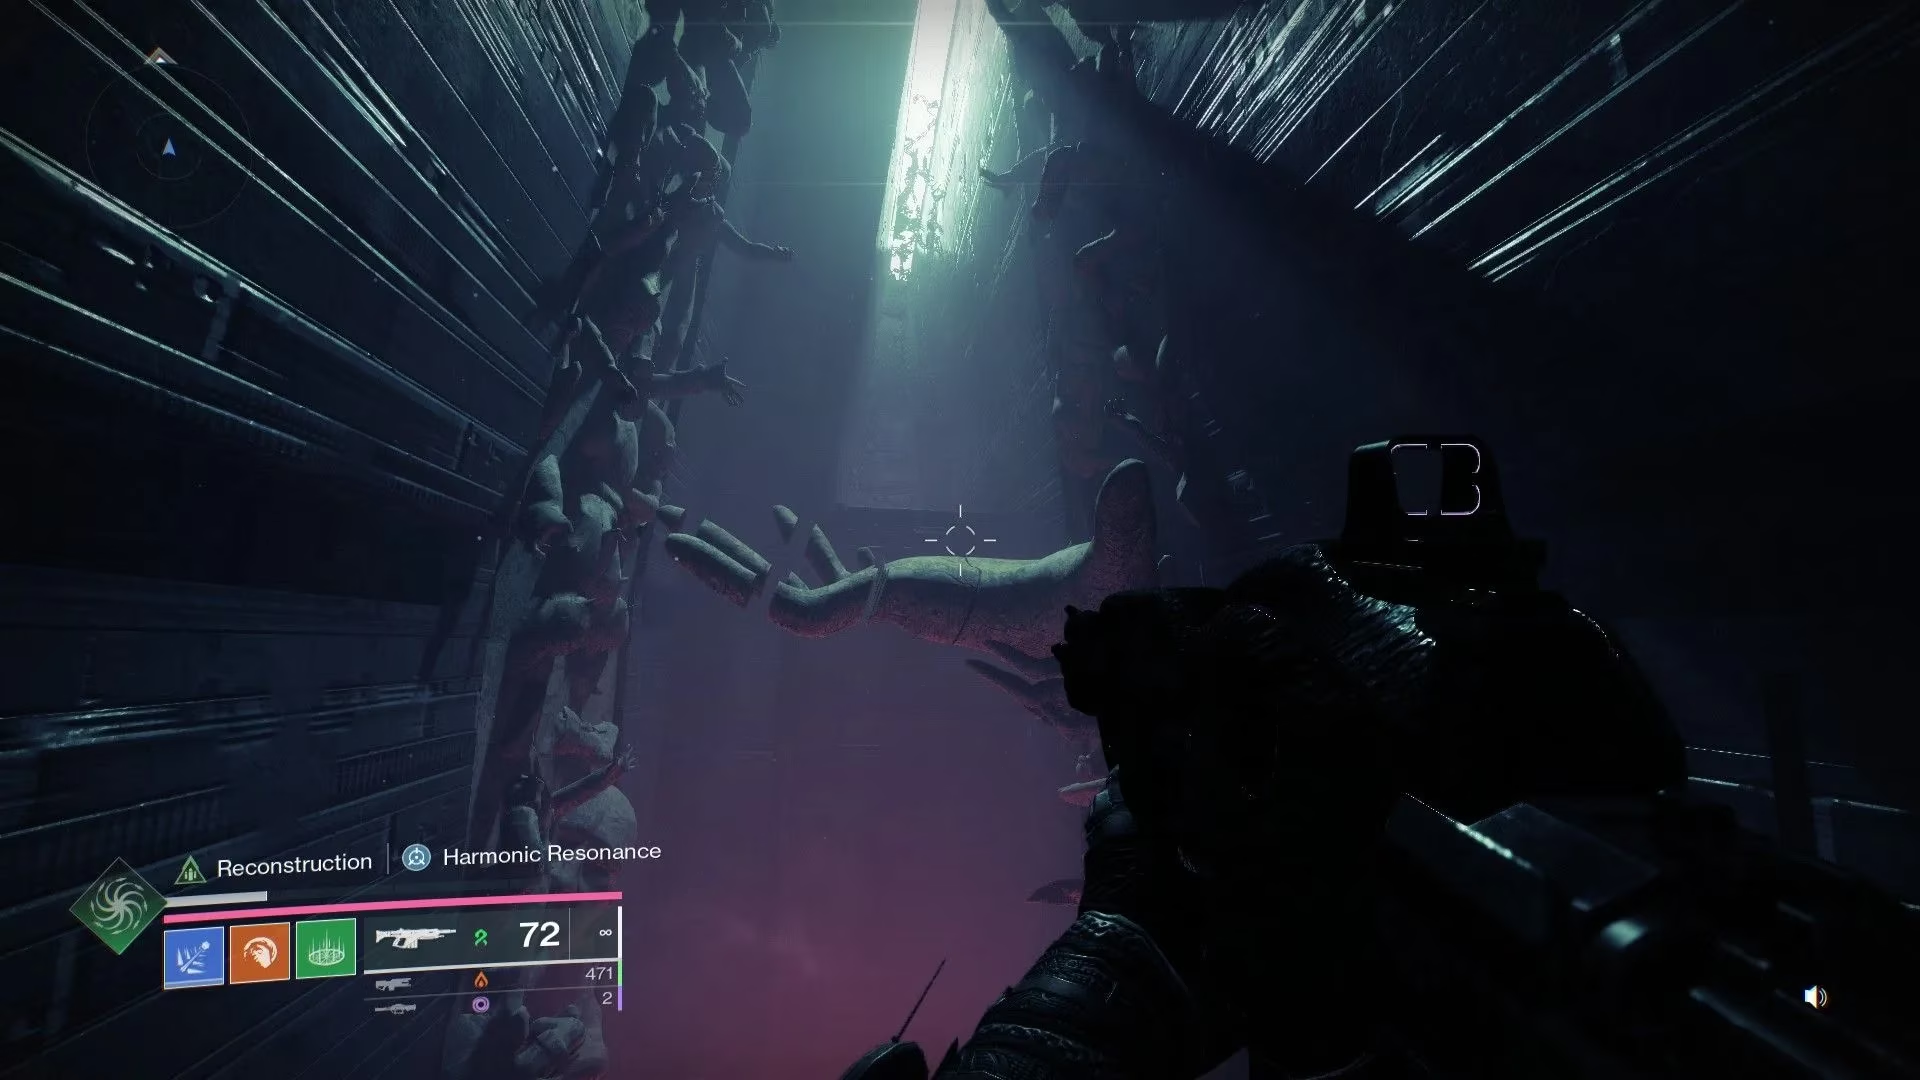
After the first encounter, you'll move through some wild architecture - twisted hallways, floating colorful blocks, the whole nine yards. Eventually, you'll hit a cave where the Witness tries to tempt you (classic villain move). This is where you get introduced to the darkness nodes.
Darkness Node Mechanics 101:
-
Grab the buff from darkness nodes
-
It lasts 45 seconds
-
Protects you from "poisoned air" areas
-
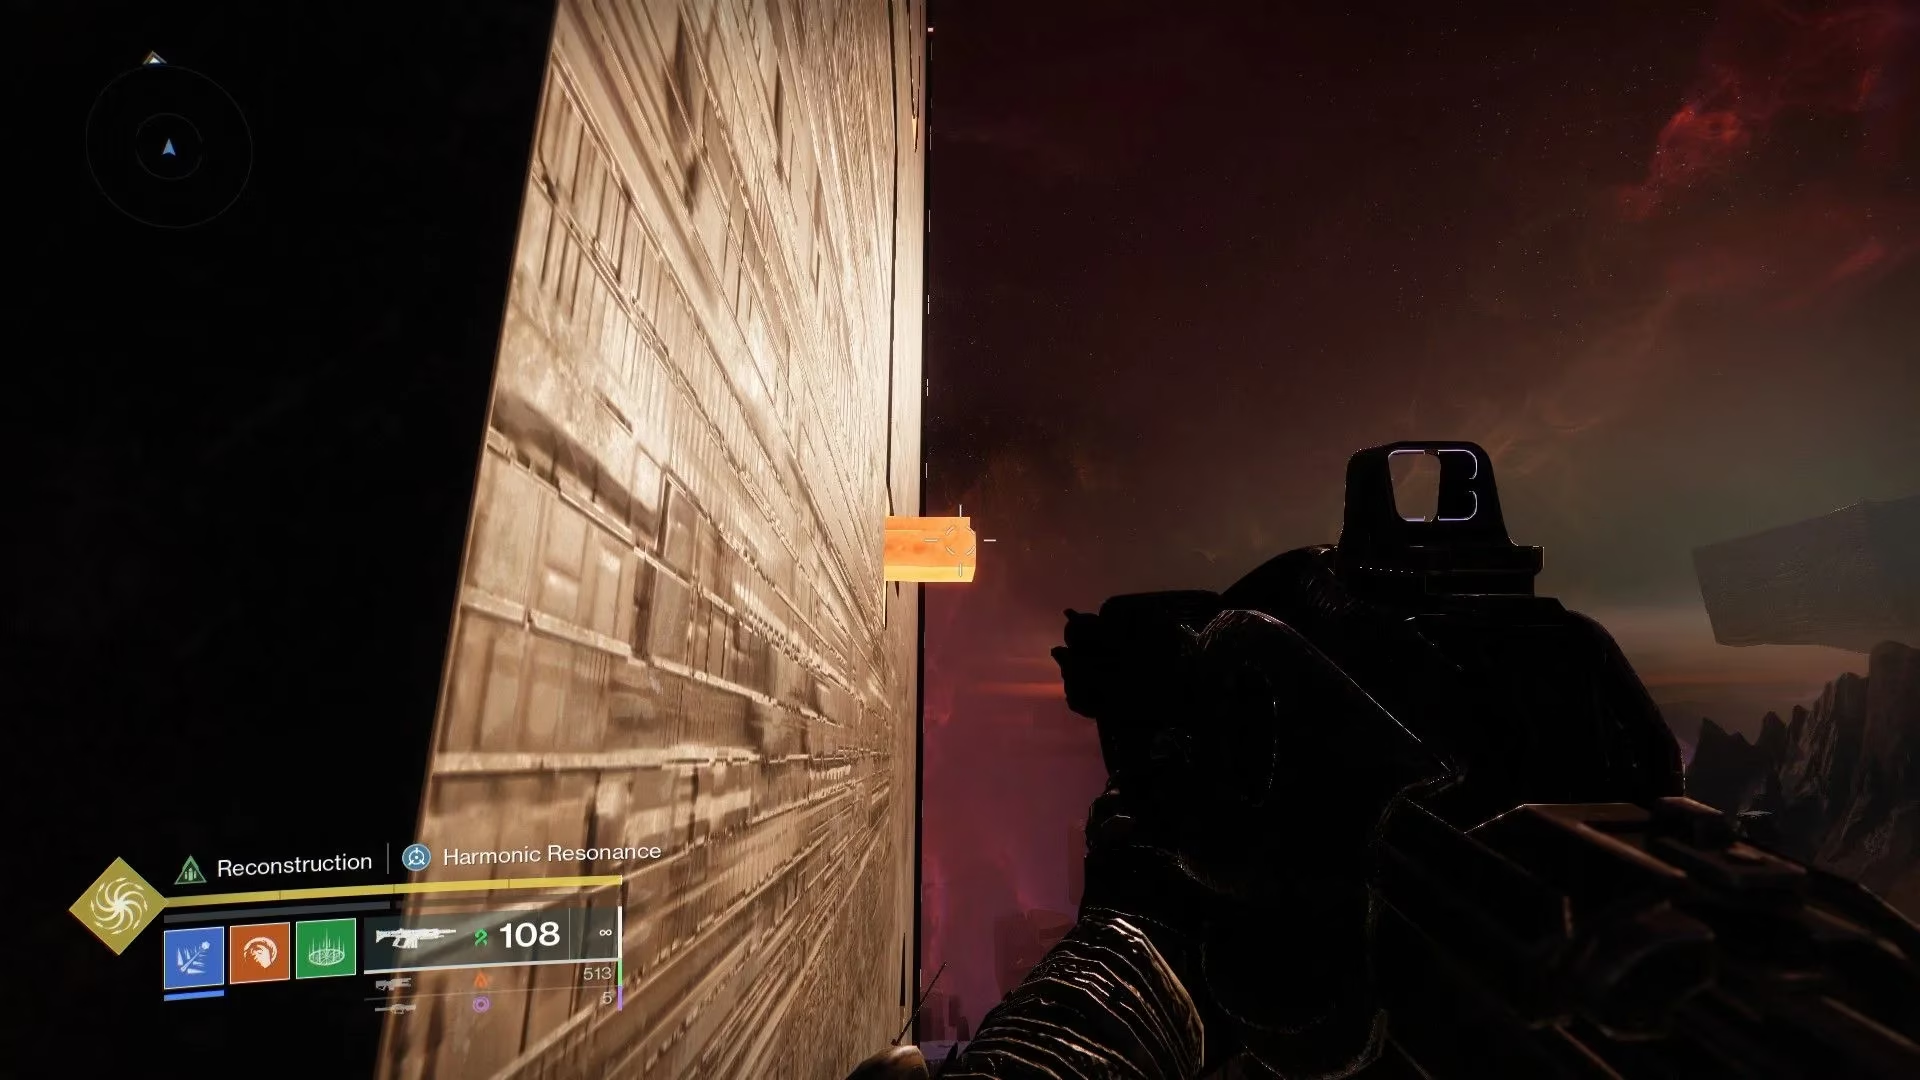
Lets you pass through orange barriers
-
CRITICAL: If the buff expires while you're in a toxic area, you're dead, Guardian!
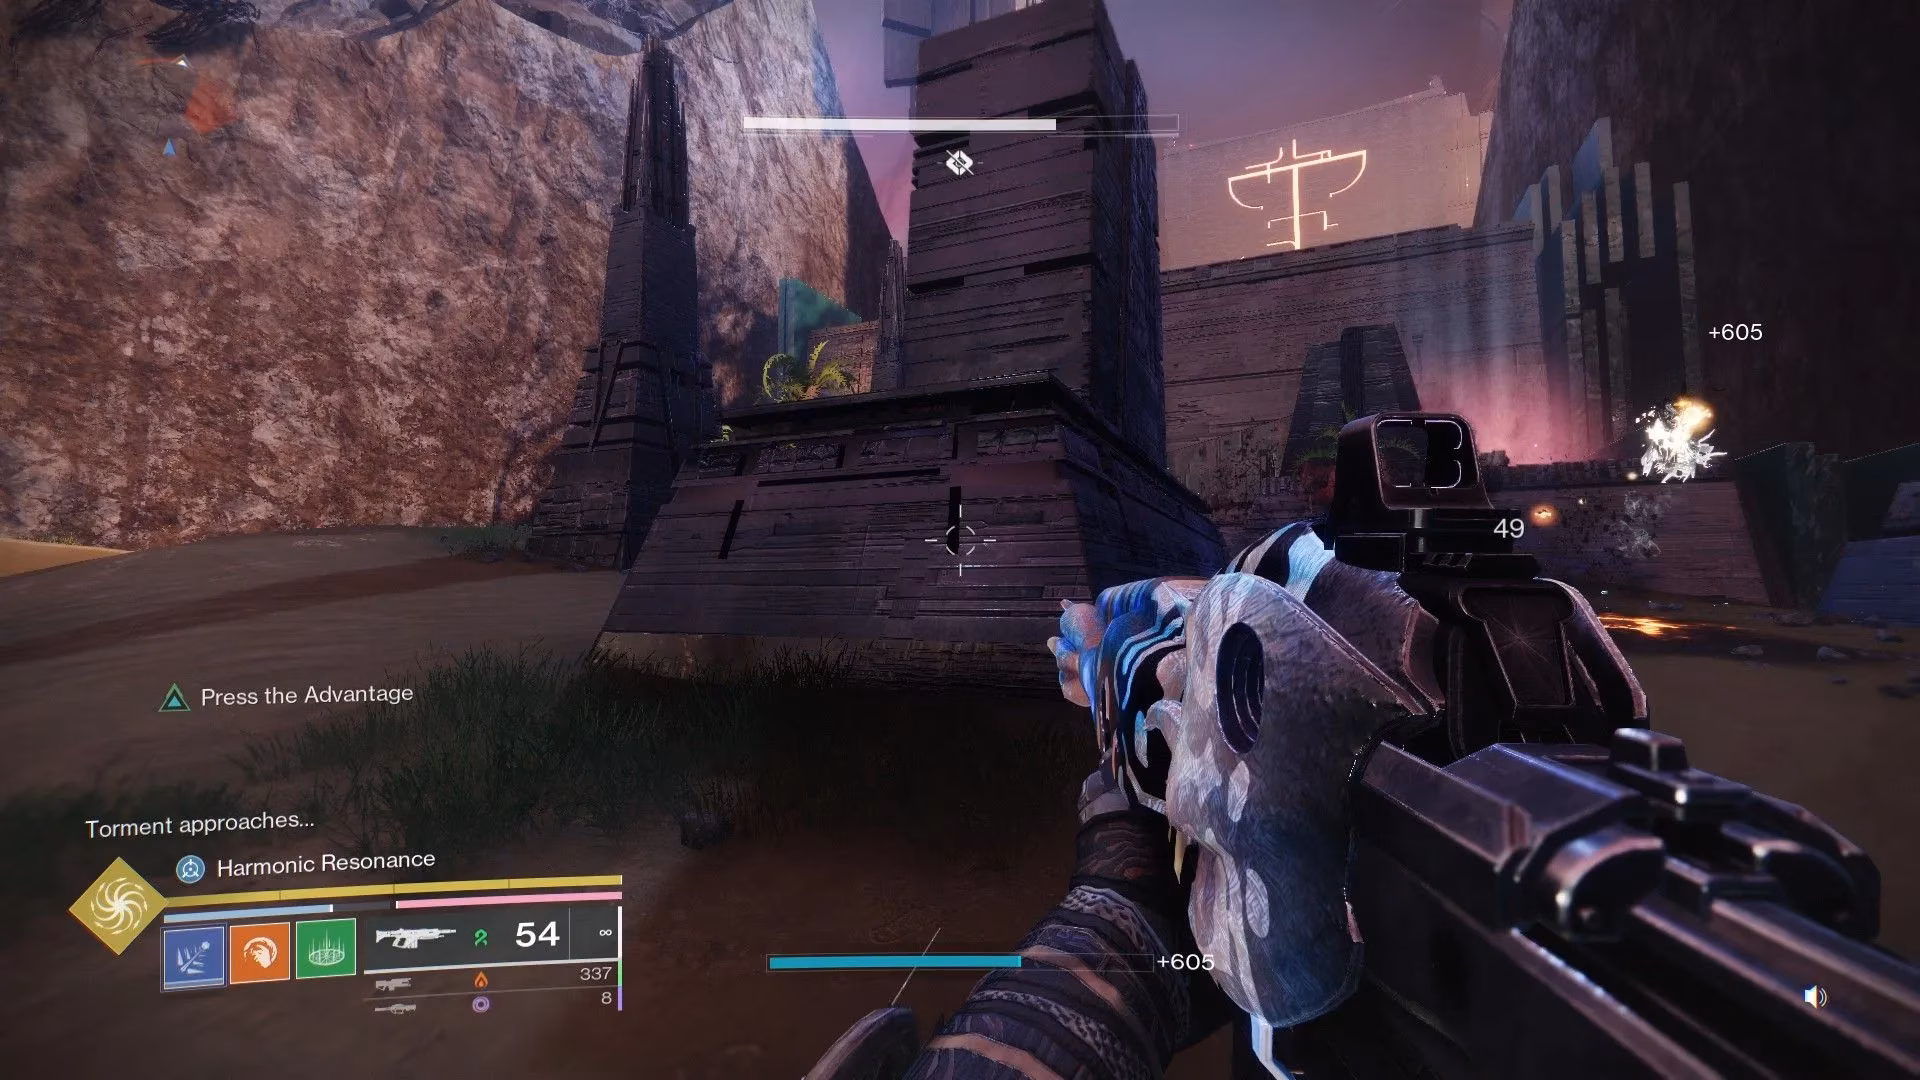
Second Encounter: Symbol Hunting Time 🔍
This is where things get interesting. After using the rally point, you'll need to:
-
Clear all enemies
-
Shoot the floating splinter
-
Two darkness nodes spawn below - grab that buff!
-
Jump down the hole
Down in the chamber, you'll find Hive Knights. Here's the important part:
-
Each knight drops a symbol when killed
-
MEMORIZE THESE SYMBOLS - seriously, write them down if you have to!
-
Watch your buff timer like a hawk
-
Use the portal to return upstairs
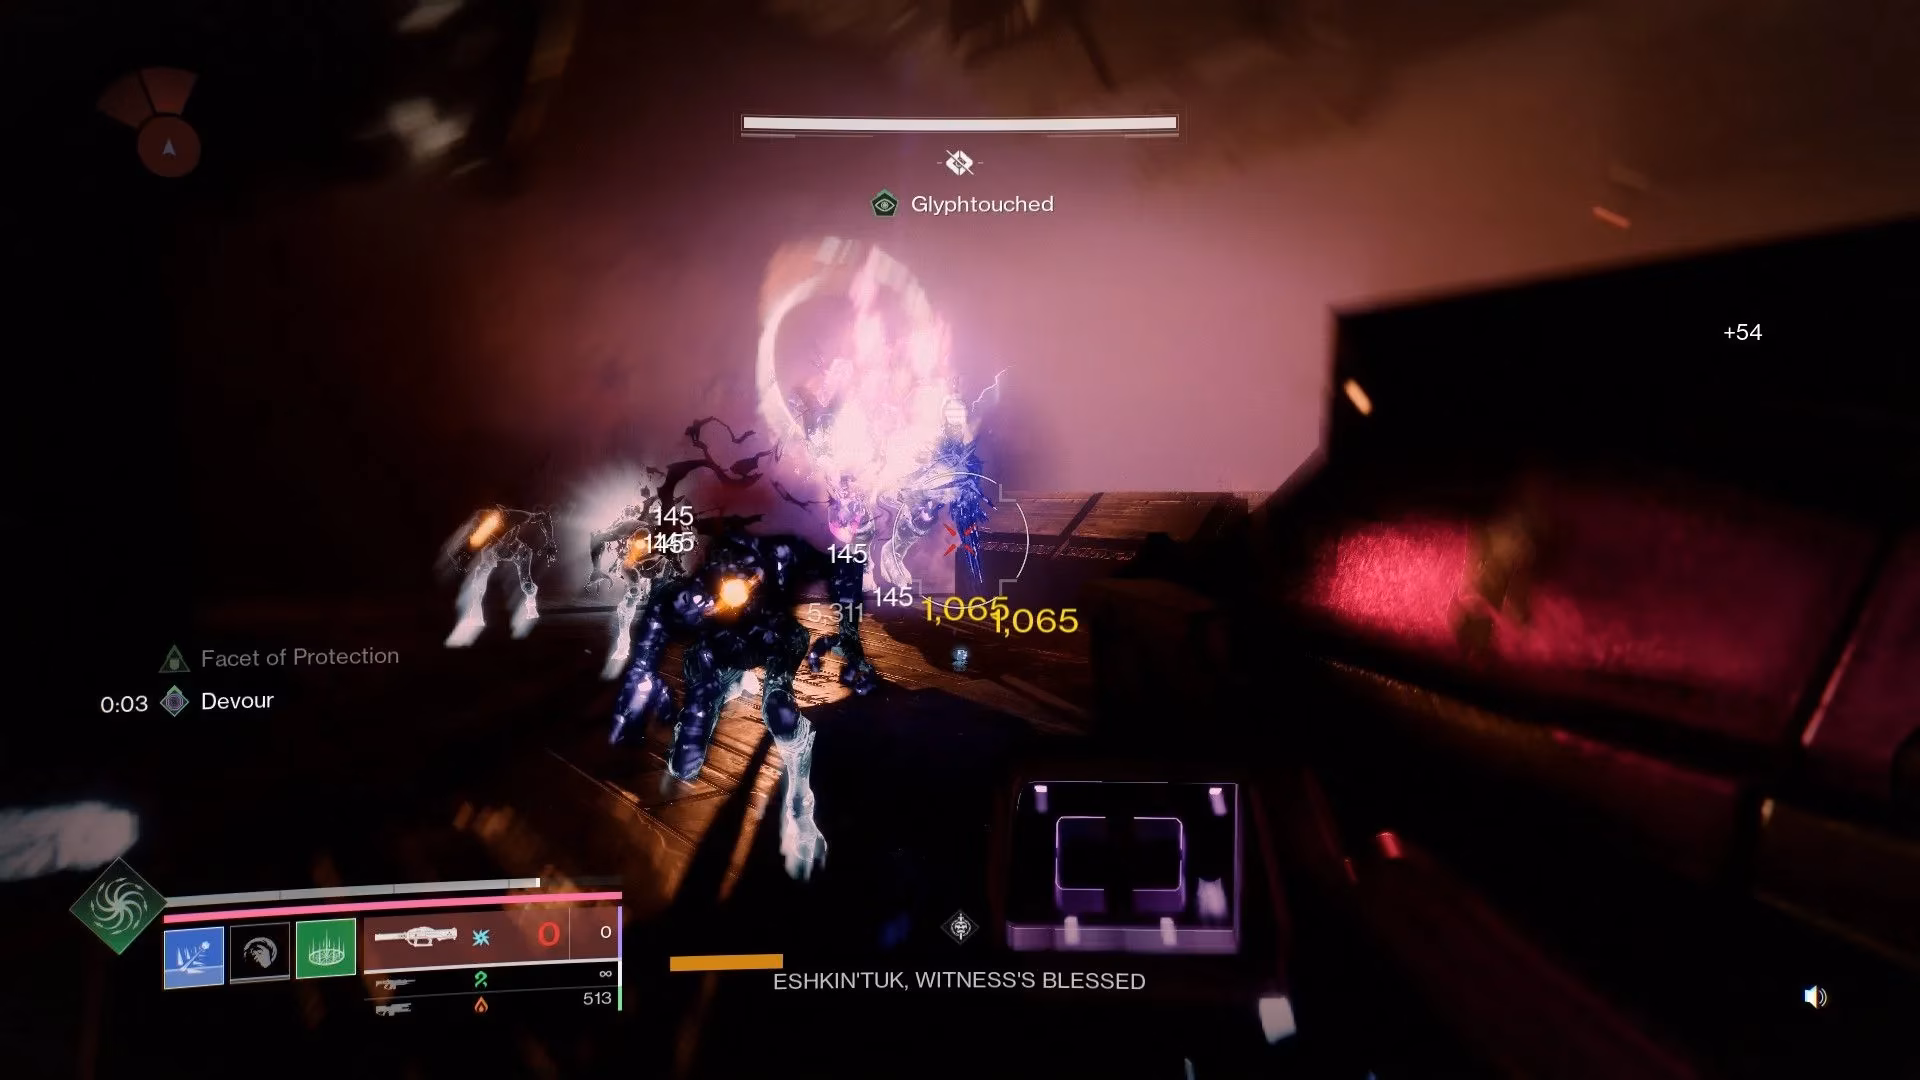
Once back upstairs, find the circles matching your symbols. Stand in both to summon Eshkin'tuk, Witness's Blessed. This boss has no shield, so go nuts with your heavy and super. Melt it quickly and move on!
Third Encounter: Ogre Boss Battle 💀
After more Witness monologuing (seriously, does this guy ever shut up?), you reach encounter three. This is similar to encounter two but on steroids. A giant ogre spawns, and here's your game plan:
Phase 1: Blight Clearance
-
Take out the blights on left and right
-
Each contains two Bound enemies with prismatic shields
-
WARNING: One is a Taken Phalanx, and the boss has a nasty push-back attack
-
Pro Strategy: Throw grenades into blights, then reposition
-
Keep moving - don't stay in the boss's line of sight!
Phase 2: Symbol Hunt 2.0
-
Destroy splinters after blights are gone
-
Portal appears - grab buff and go through
-
Find Hive Knights in a larger, maze-like arena
-
NEW COMPLICATION: Darkness nodes move after use!
-
Remember those symbols!
Phase 3: Relic Time
-
Match symbols in circles upstairs
-
Vault of Glass shield appears - grab it!
-
Wait for super charge
-
Use super to drop ogre's shield
-
Clear adds, damage boss
-
At 50% health, repeat the whole process
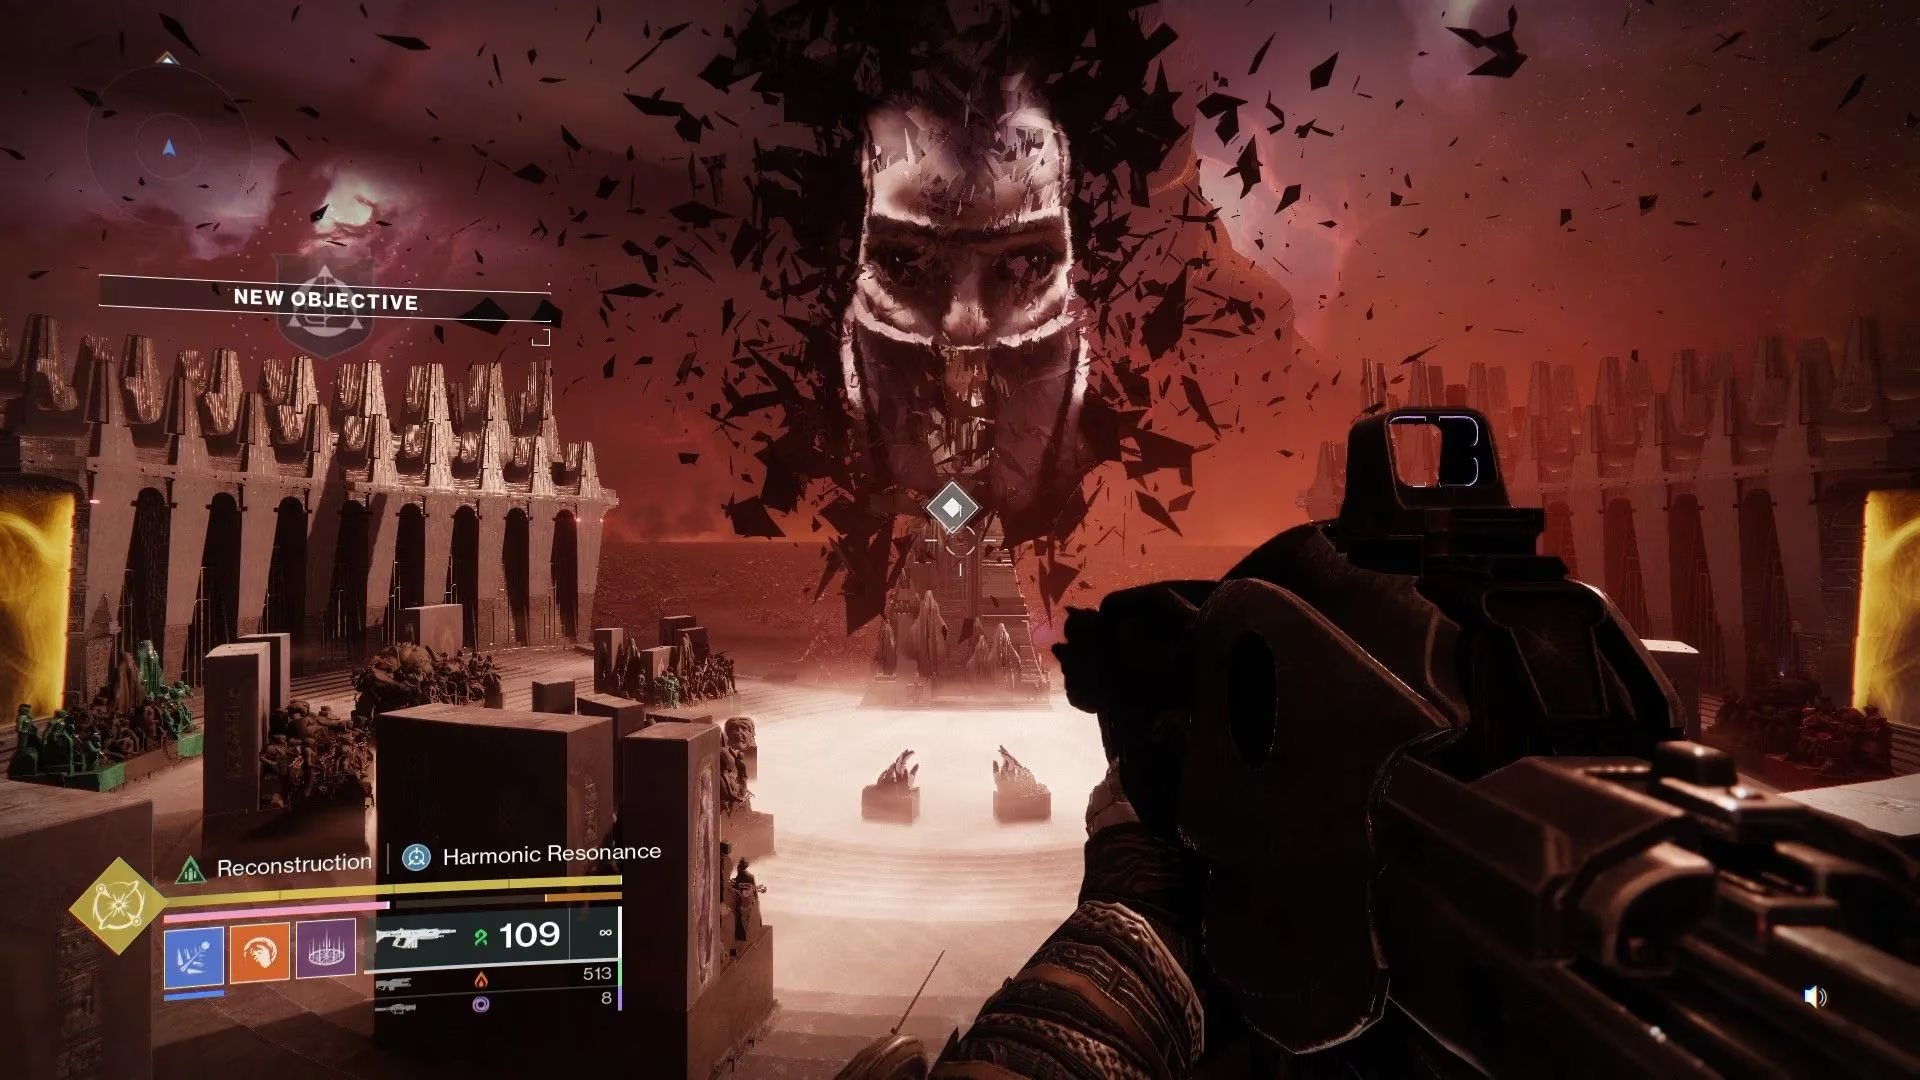
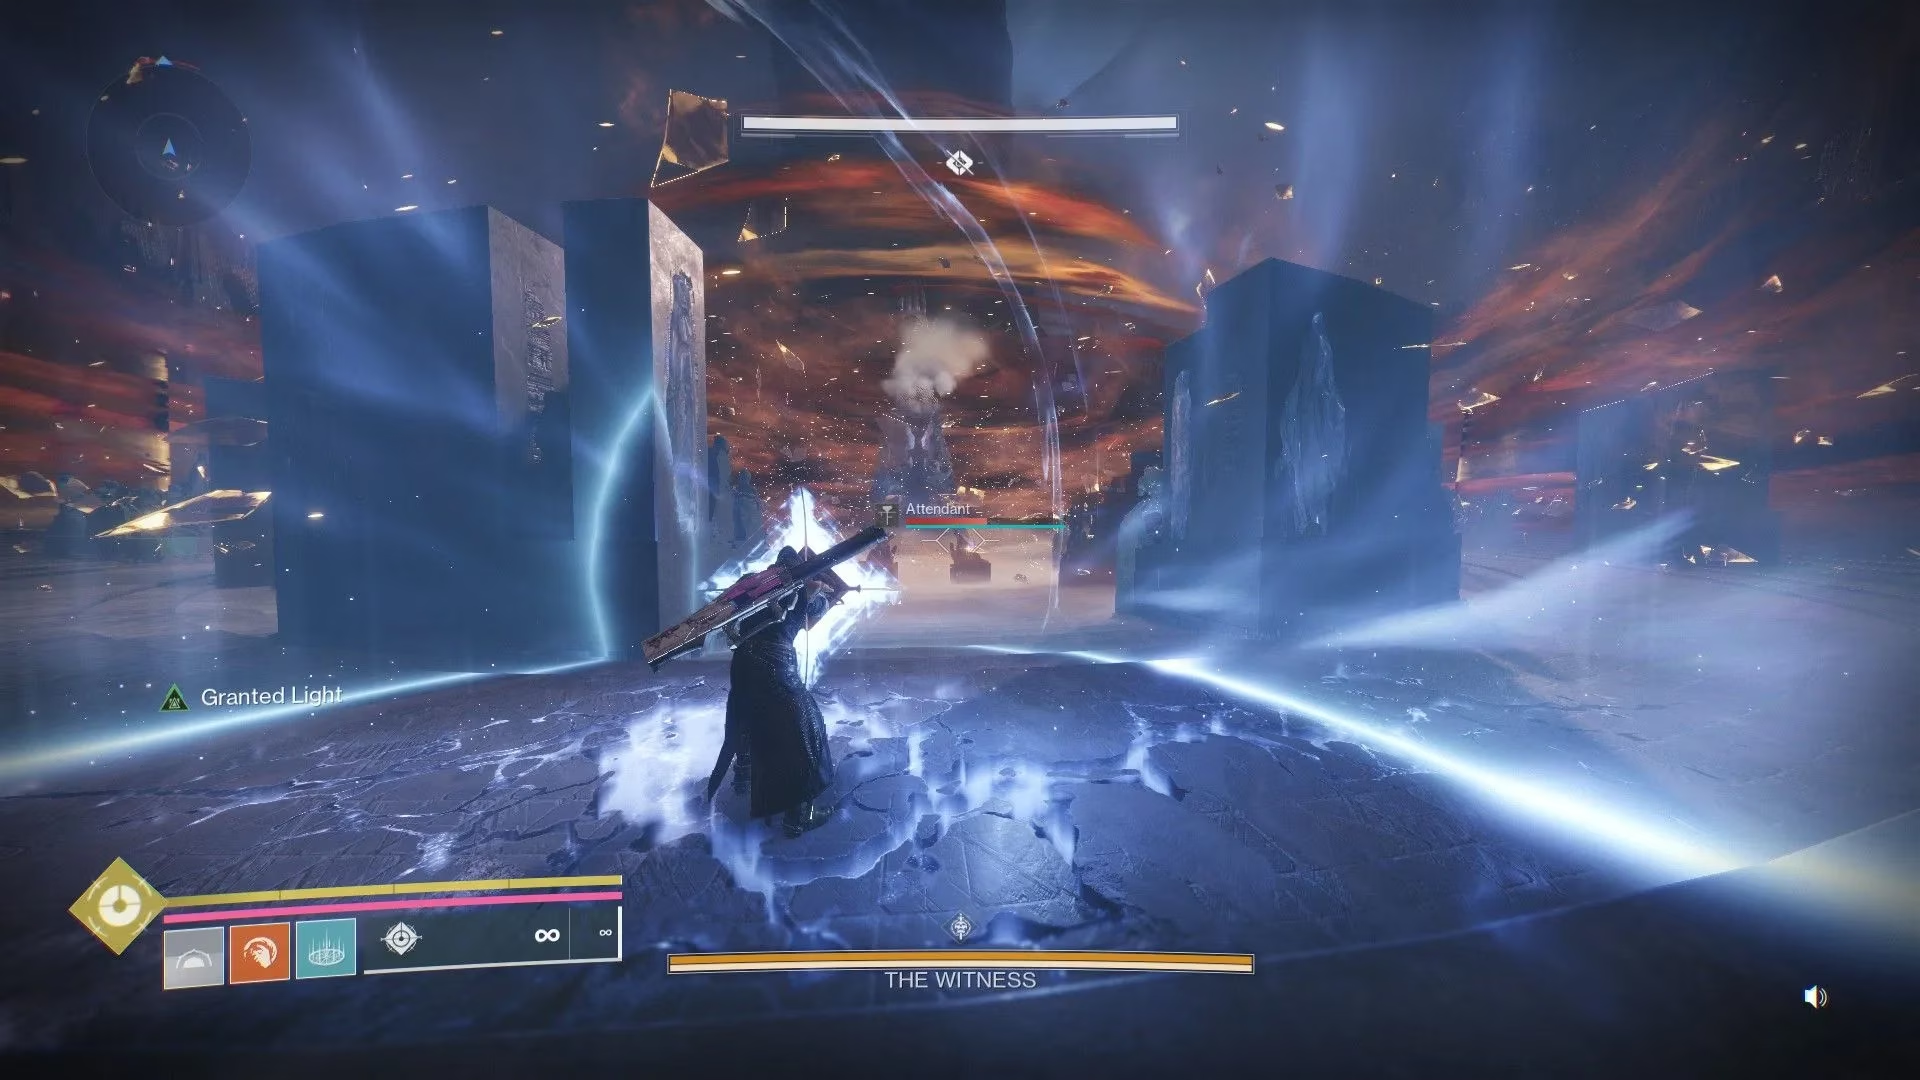
The Final Confrontation 🗡️
After some platforming (look up if you get stuck!), you reach the ritual site. The Witness makes its big pitch - offering you disciplehood. Spoiler: You don't get to choose. Then comes the final encounter.
Subjugator Fight - Round 1
-
Fight a large Subjugator with periodic adds
-
WARNING: Witness attacks can one-shot on Legendary!
-
At 50% health, Subjugator gets invulnerable shield
-
Shoot darkness node, grab buff, enter side room
-
Pick up relic, use super to drop shield
-
Field of light appears in arena
-
Run to it, use relic shield ability (unlimited energy here!)
-
Hold shield during Witness attacks
-
Kill Subjugator
-
Sword appears - pick it up!
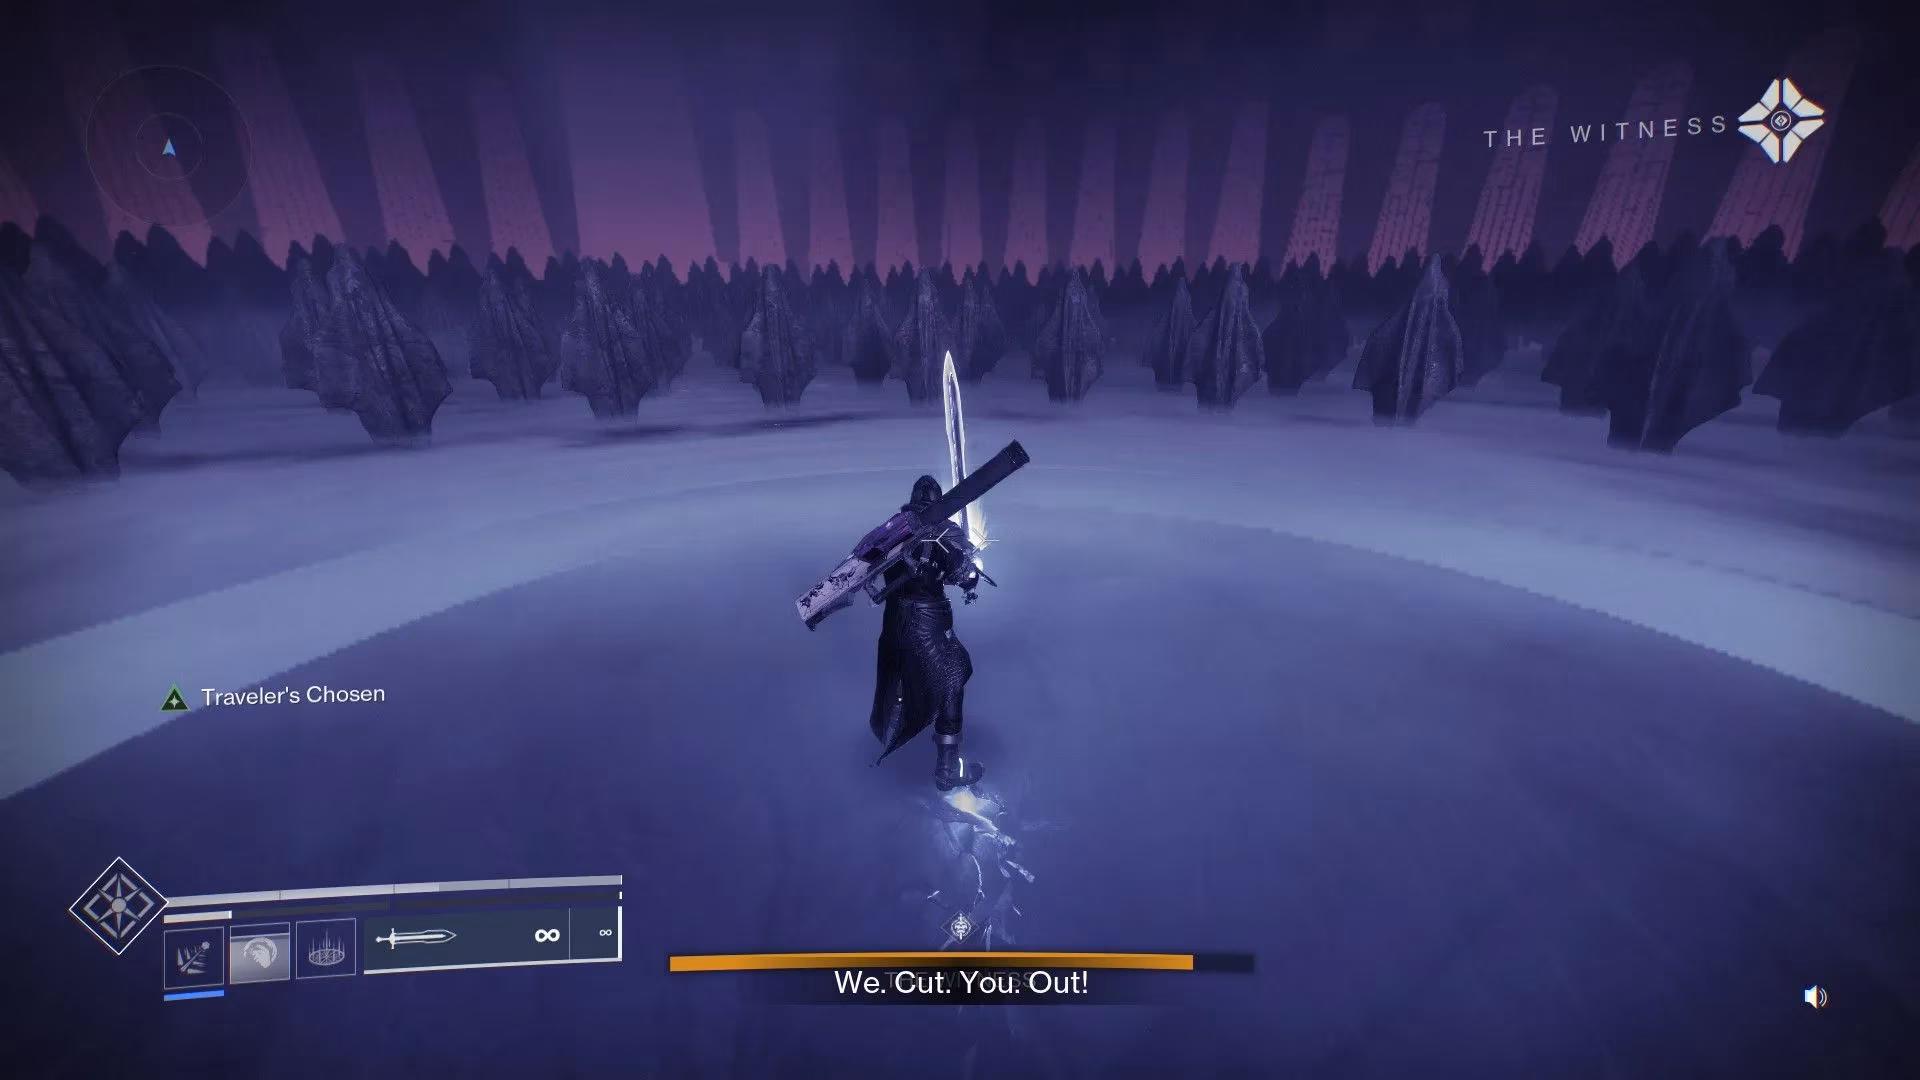
Statue Destruction Sequence
-
Use sword to destroy splinter
-
"Embrace the Darkness" prompt appears
-
Teleported to circular statue room
-
Destroy one statue with sword
-
Return to arena
Subjugator Fight - Round 2
-
Same as Round 1, but with added complication:
-
Must maintain darkness buff to avoid poison air!
-
Destroy second statue
Final Phase
-
No third Subjugator!
-
Pick up sword while allies hold off endless waves
-
Destroy third and final statue
-
Witness throws you out with minimal health
-
Pick up relic, hold shield, and KEEP MOVING
-
Shield won't deplete as long as you're moving
-
Continue until cutscene triggers
Pro Tips and Loadout Recommendations 🎮
Weapon Suggestions:
| Weapon Type | Recommended | Why |
|---|---|---|
| Primary | Auto Rifle/SMG | Good add clear |
| Special | Fusion Rifle | Shield breaking |
| Heavy | Rocket Launcher | Boss DPS |
Subclass Recommendations:
-
Solar Warlock: Well of Radiance for survivability
-
Void Hunter: Invisibility for revives and positioning
-
Arc Titan: Punch everything (obviously)
General Tips:
-
Communication is key if running with a team
-
Watch those buff timers - they're life or death
-
Positioning matters - don't get cornered
-
Save your super for critical moments
-
Practice the symbol mechanics - they're consistent throughout
The Big Picture 🎯
Iconoclasm isn't just another mission - it's the culmination of everything we've learned about the Witness. The mechanics introduced here (darkness nodes, symbol matching, relic usage) all hint at what's to come in Salvation's Edge. This mission serves as both a narrative climax and a mechanical tutorial for the raid.
Remember, Guardians: This is 2026, and Destiny 2 has evolved significantly since The Final Shape launched. The strategies outlined here have been tested and refined by the community over the past couple years. Whether you're a veteran or a new light, Iconoclasm represents some of the best content Bungie has ever created.
So gear up, grab your fireteam (or go solo if you're feeling brave), and get ready to make history. The Witness awaits, and it's time to show them what Guardians are made of. Eyes up, and may the Light (and Darkness) be with you! ✨