Destiny 2: The Investigation — A Cheeky 2026 Legendary Walkthrough
Master Destiny 2 The Investigation with our Legendary mission guide: smart loadouts, crowd control, and solo-flawless tips.
Even in 2026, Destiny 2’s The Witch Queen campaign remains a rite of passage, and The Investigation is where the training wheels come off. It is the second mission of the campaign, a guided tour through Savathûn’s Throne World that introduces the Lucent Lightbearer menace and the Deepsight mechanic. The mission is not the longest in the game, but the Legendary variant can turn a confident solo Guardian into a very humble one. Solo flawless runs are no joke, and a fireteam that treats the mission like a casual strike will quickly learn why. The golden rule is simple: bring crowd control, bring burst damage, and do not get cocky.
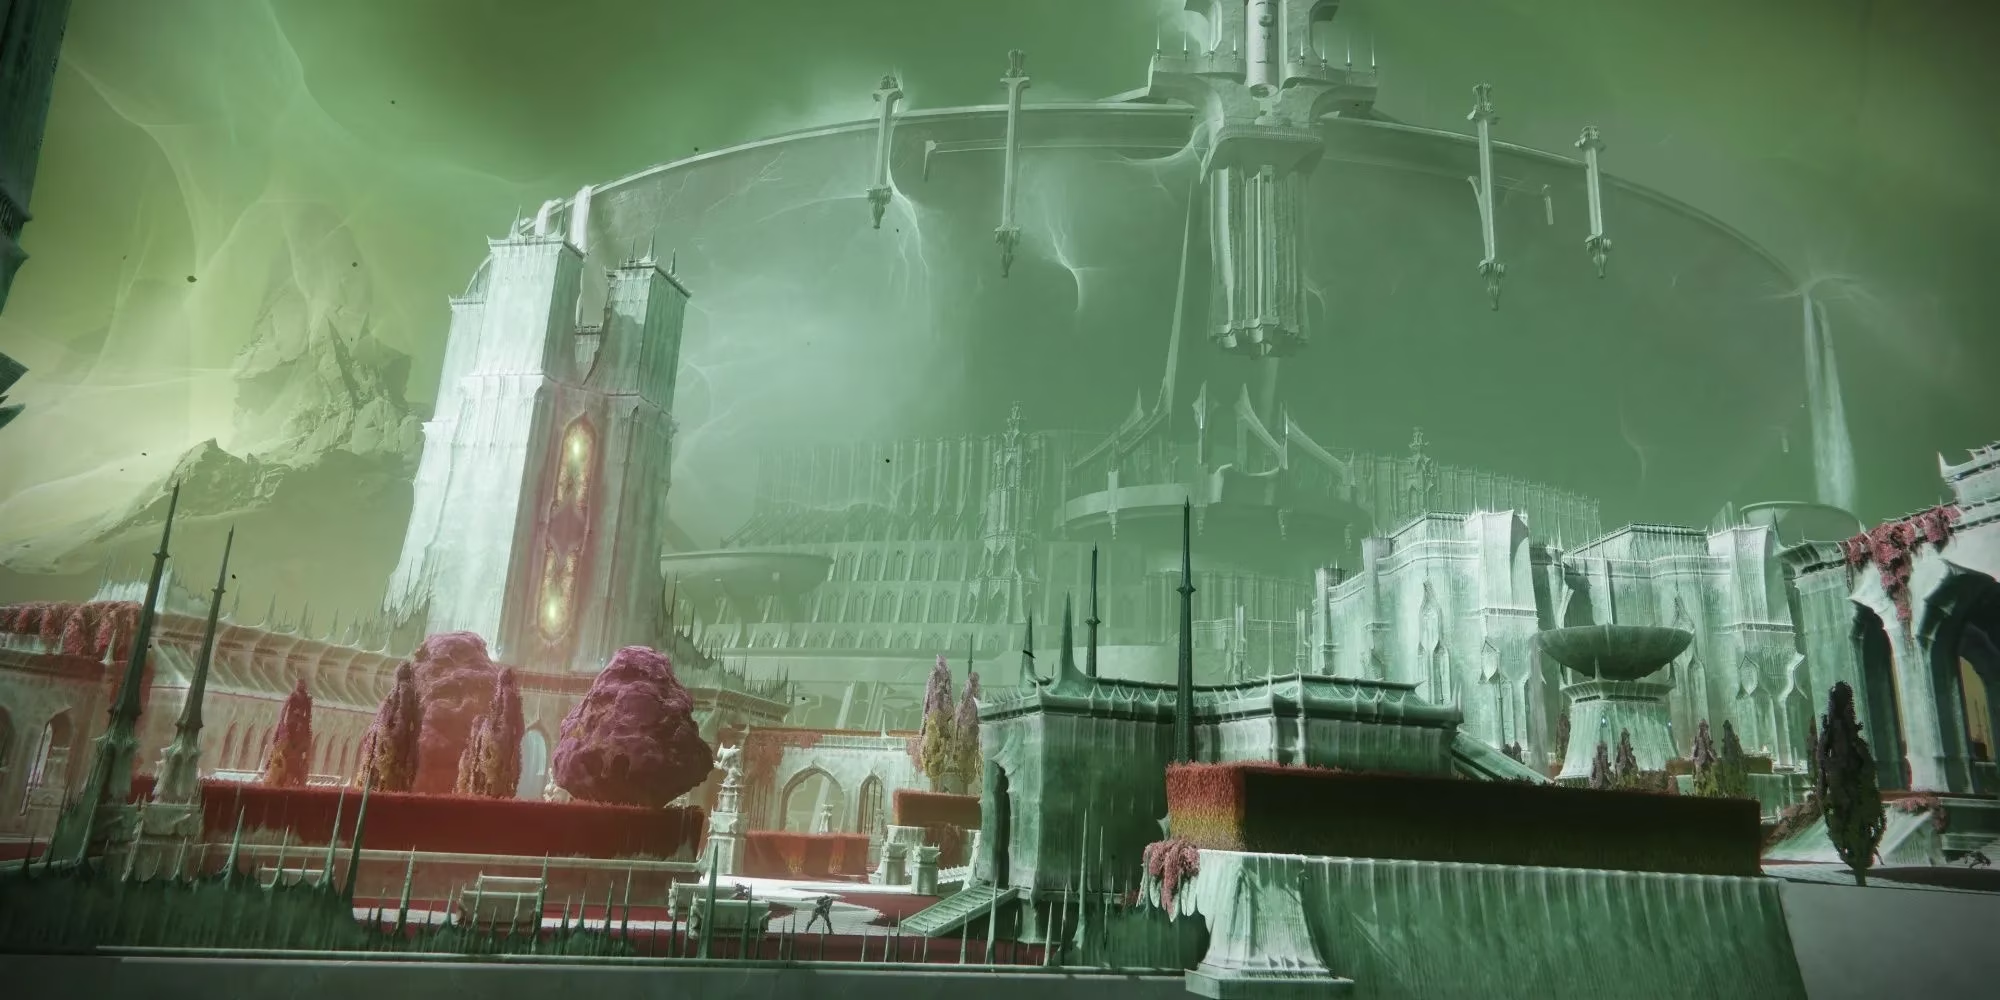
The Short Version
The Investigation sends players back into Savathûn’s Throne World, then asks them to chase a signal through a dark maze, sprint across the Florescent Canal, defend a Hive pillar, and finally punch through a chaotic Hive-versus-Scorn battle. The mission is a Greatest Hits album of nasty little surprises: Lucent Lightbearers, Arc-shielded Knights, Cursed Thralls, Taken Knights, a Hive Ogre, Barrier Guard Knights, Scorn Abominations, and one very rude Lucent Wizard who thinks Stormtrance is a personality.
| Beat | Objective | Notable headache |
|---|---|---|
| Cathedral Approach | Find another way into the Throne World | First Lucent Lightbearer |
| Dark Maze | Follow the signal with Deepsight | Cursed Thralls in a tight room |
| Florescent Canal | Reach the contact | Taken Knights and a Hive Ogre |
| Pillar Defense | Hold the area until the gate opens | Hive Knights and Moths |
| Fortress Escape | Defeat the Hive and Scorn guarding the exit | Three-sided arena plus a Lucent Wizard |
Loadout Notes That Save Grey Hair
The mission’s Legendary difficulty rewards patience and area denial. Stasis is the MVP because it can stunlock a Lucent Lightbearer, freeze the Knight out of its Super, and give a player breathing room when the arena gets spicy. Solar with Sunspots is also a fine choice for roasting packs of adds. For weapons, Witherhoard remains a beautiful little problem-solver, and a burst Heavy such as Gjallarhorn makes Lightbearers, Ogres, and Barrier Knights bite the dust in a hurry. Arc damage deserves a slot because several Hive Knights in the opening and defense beats carry Arc shields.
| Slot | Good pick | Why it earns its keep |
|---|---|---|
| Subclass | Stasis or Solar with Sunspots | Freezing and burn effects control dangerous packs |
| Special | Witherhoard or a strong fusion rifle | Area denial and tanky Knight removal |
| Heavy | Gjallarhorn or another burst Heavy | Deletes Lightbearers, Ogres, and Barrier Knights |
| Shields | Arc damage | Hive Knights in key beats carry Arc shields |
Step One: Knock, Knock, Savathûn’s Cathedral
A Guardian begins outside the cathedral in Savathûn’s Throne World and heads back toward the entrance. A few Hive guards stand in the way, including a tanky Hive Knight that charges like it has somewhere to be. A Special weapon is the polite way to remove that problem. Shortly afterward, a Lucent Lightbearer spawns to the left of the cathedral entrance. Players should avoid its shield throws when it enters its Super and use Heavy damage to shorten the argument. Stasis can freeze it long enough to force the Knight out of its Super, and once the Knight falls, its Ghost must be crushed. No ghost, no glory.
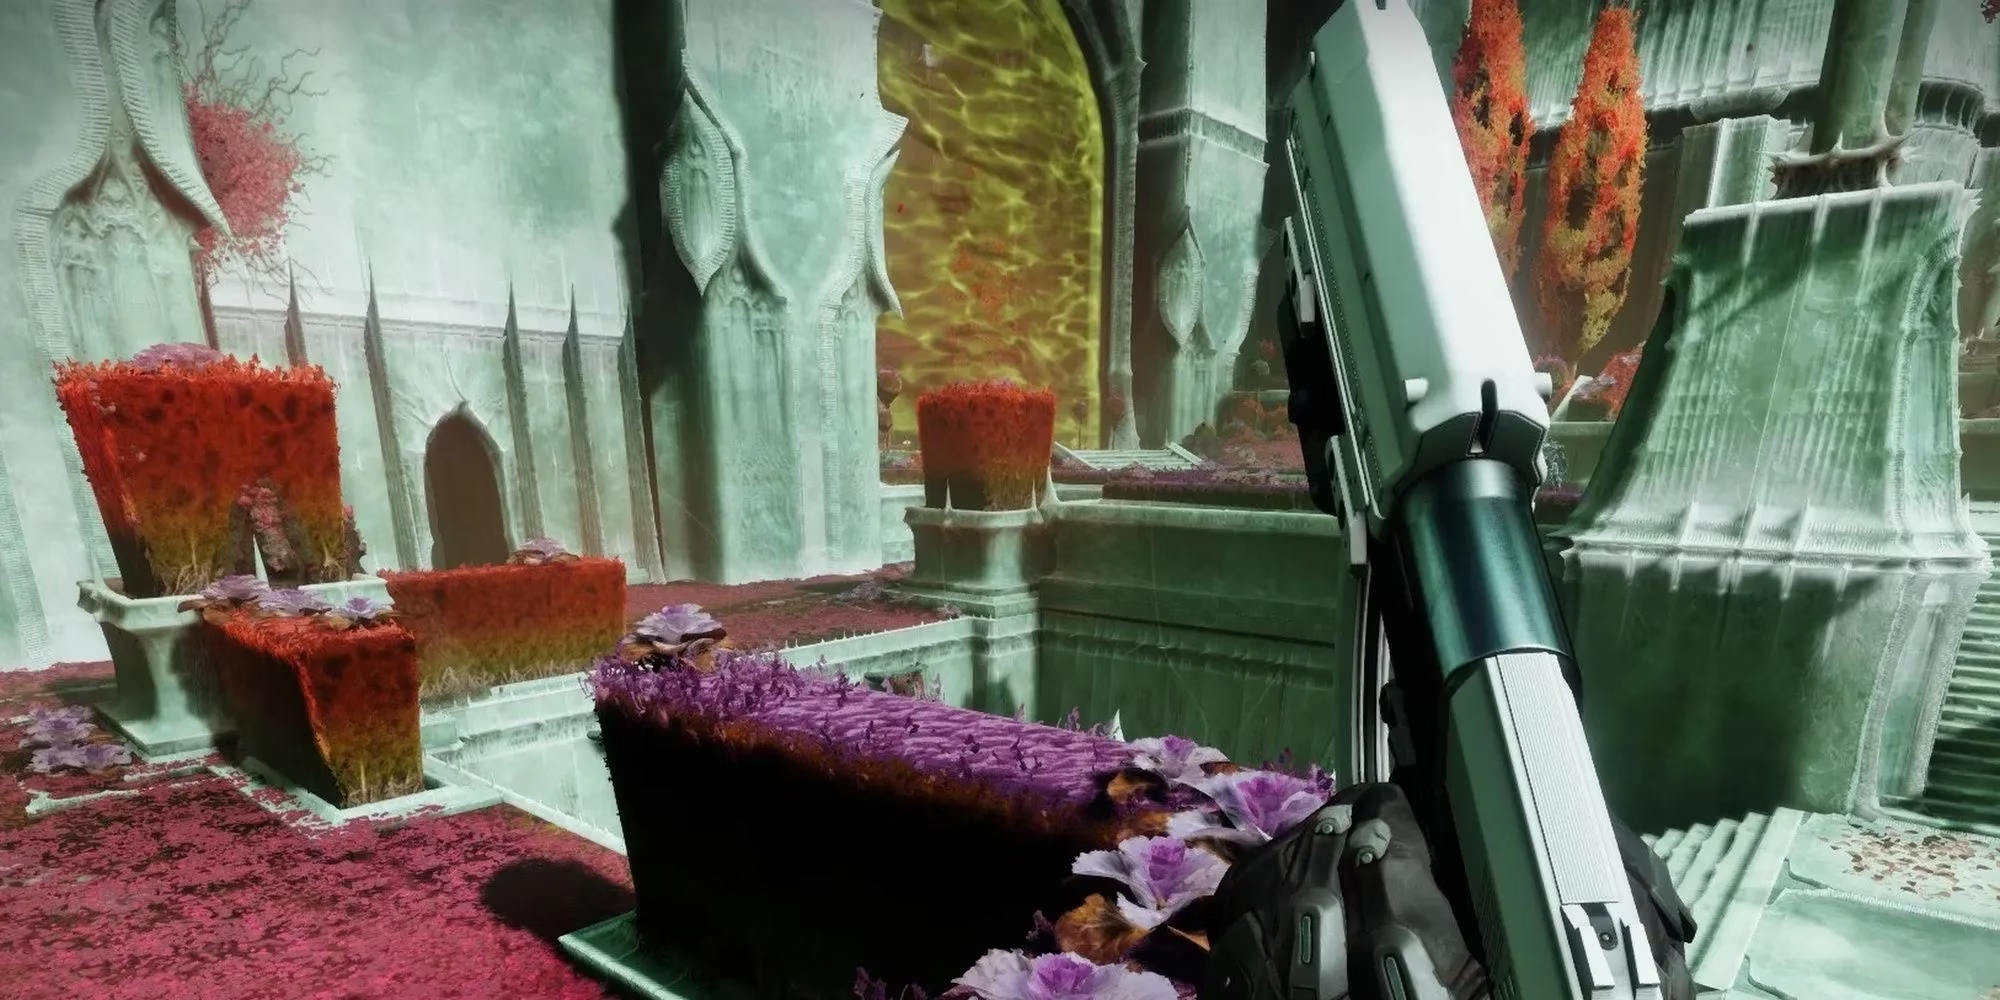
Savathûn’s cathedral is locked, so the fireteam must backtrack to the starting area and find a green forcefield blocking a pathway. Two Hive Knights with Arc shields guard it. Killing both reveals a Deepsight orb near the back of the courtyard. Interacting with it reveals nearby platforms, which lead to a nearby building and the next leg of the mission.
Step Two: Deepsight and the Dark Maze
The next area is a dark maze inhabited by Hive Thrall. For the first stretch, players should keep heading right whenever possible. Eventually they reach a cavernous room with a Deepsight orb near the bottom. Using the orb reveals the way forward. The maze continues until a T-shaped corridor appears to dead-end. Players should head right, defeat the Thrall and Knight in the room, then activate the Deepsight orb in the corner. Backtracking to the corridor and going the opposite direction creates platforms that lead to the next room.
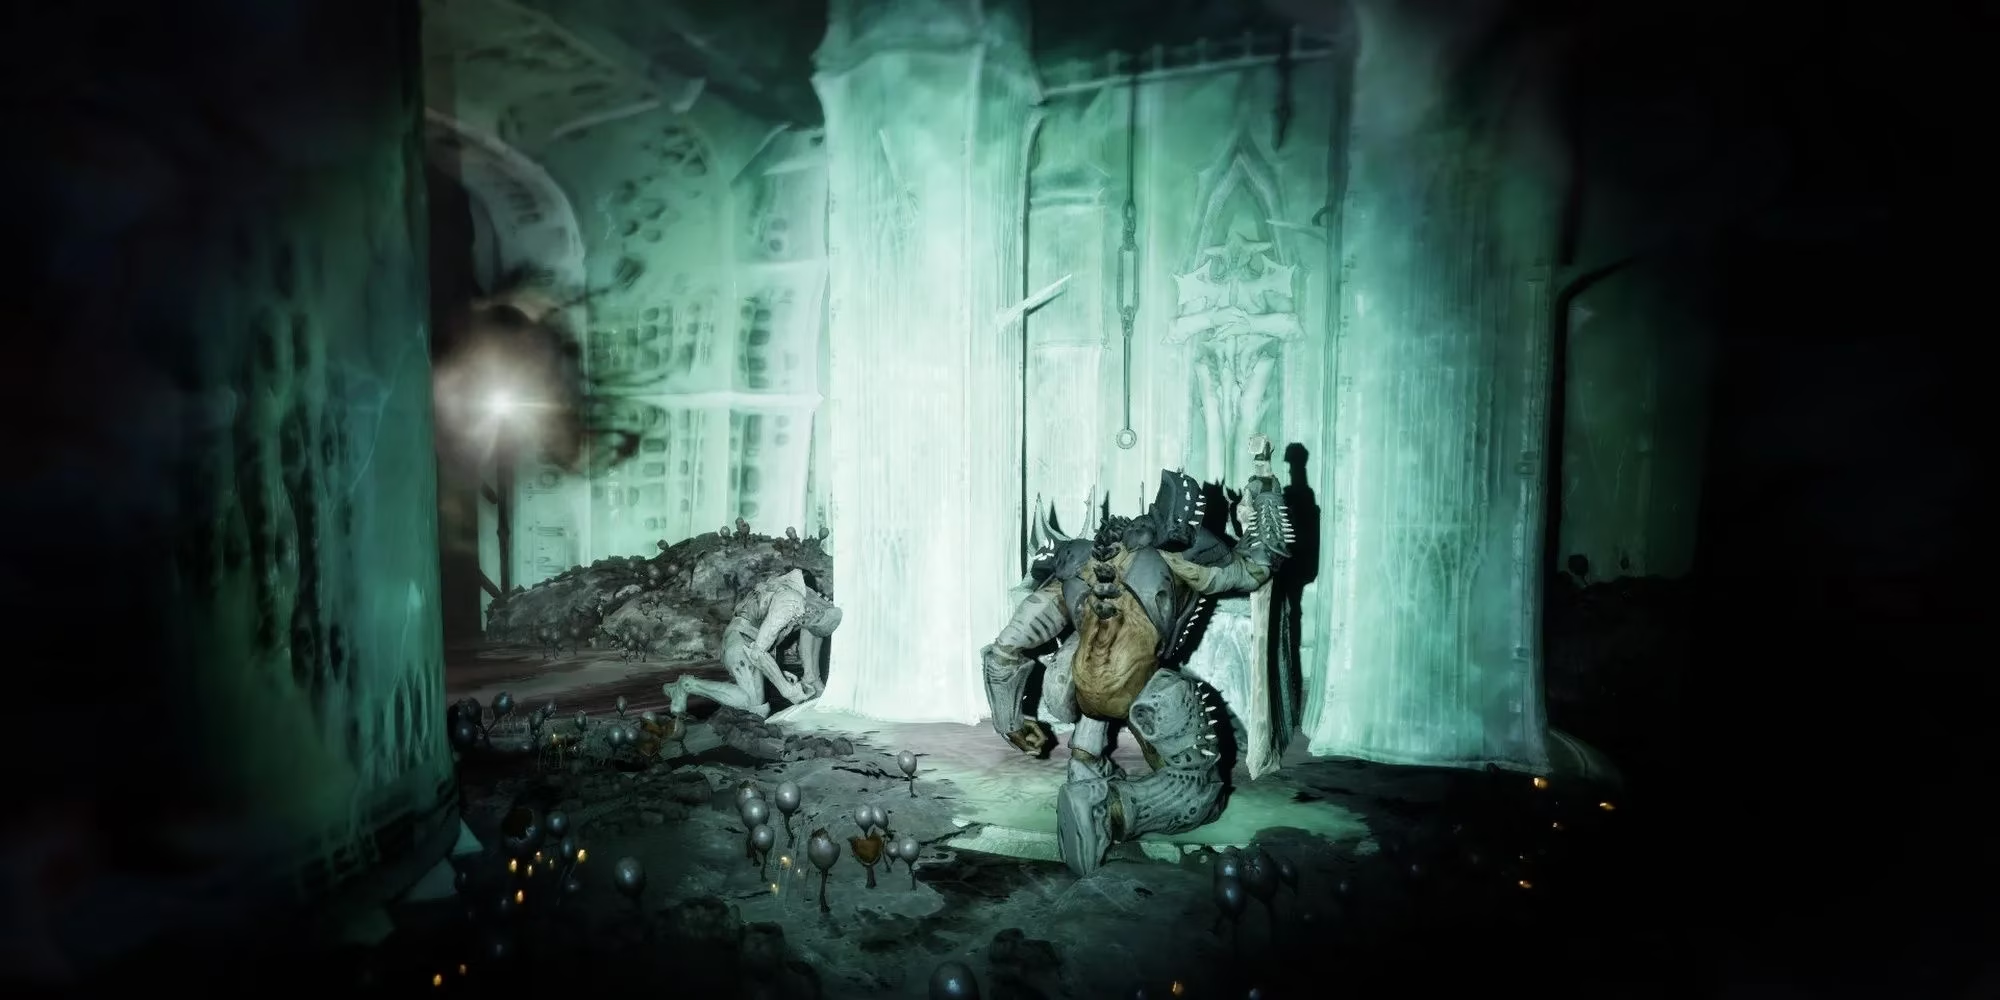
That next room contains Cursed Thralls and a Hive Knight, and it is a dangerous spot for flawless attempts. Defensive play is the order of the day. Stasis or any solid area-of-effect weapon can quickly clear the Thrall before the Knight becomes the main event. A short run then leads outside.
Step Three: The Florescent Canal Sprint
Outside the maze, the fireteam must fight across the Florescent Canal to reach the mysterious contact. Multiple Taken Knights are present, so this is the moment to use a Super and melt them fast. A Hive Ogre guards the path afterward, which is a Heavy weapon problem rather than a panic problem. At this point, hopping on a Sparrow to bypass the rest of the enemies is a perfectly respectable tactical choice. The gate is guarded by more Hive, including a Knight that should be killed first before the Acolytes get any ideas. Once the area is clear, players should grab ammo, reload, and prepare for an actual encounter.
Step Four: Hold the Pillar
A nearby gate blocks further exploration, and the solution is to defend a Hive pillar until the gate opens. Standing on the pillar starts the defense. Enemies swarm from across the gate, with most spawning near the pillar’s patch of land and some arriving on the road toward the end of the encounter. The main threats are Hive Knights that periodically spawn, usually with a Hive Moth tagging along. Stasis, Sunspots, and persistent area-of-effect effects work wonders here. If the plate gets swarmed, players should back off and clear enemies from a distance; standing on the plate spawns more enemies, which is not the definition of a good time. Once the plate is fully captured, a Sparrow ride to the newly opened gate is the reward.
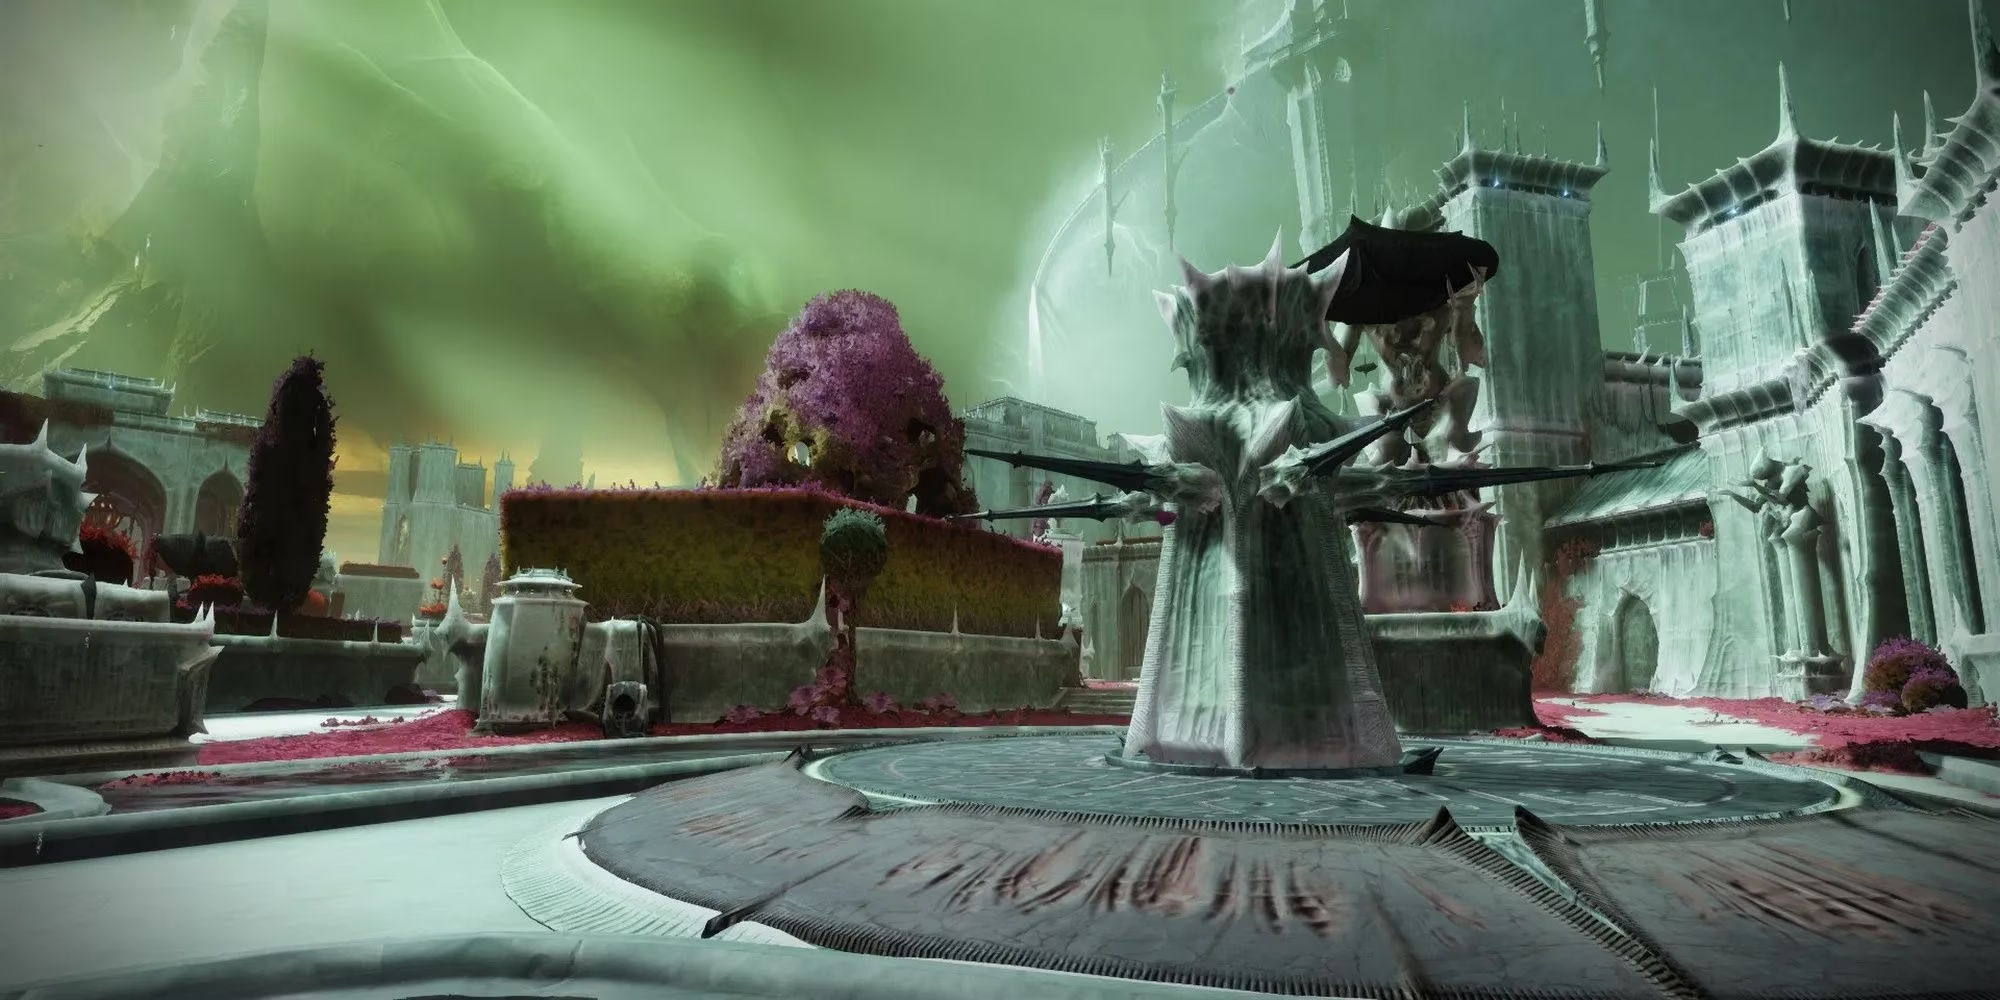
Step Five: Escape the Fortress
This is the hardest encounter in The Investigation. Players spawn just outside a Hive-versus-Scorn battle and should interrupt the fight with a well-placed grenade or area-of-effect weapon. The Abomination and Barrier Guard Knight are the priority targets, with nearby enemies cleaned up afterward. Killing them spawns three Abominations and Barrier Guard Knights, one on each side of the arena. Trying to clear all three sides at once is a one-way ticket to humble pie. Players should clear one side at a time, stick to cover, and avoid Taken Thrall closing in. Witherhoard, Stasis, and Sunspots are excellent here because many enemies spawn in predictable areas, usually near the middle path, so good area damage can one-shot a pack.
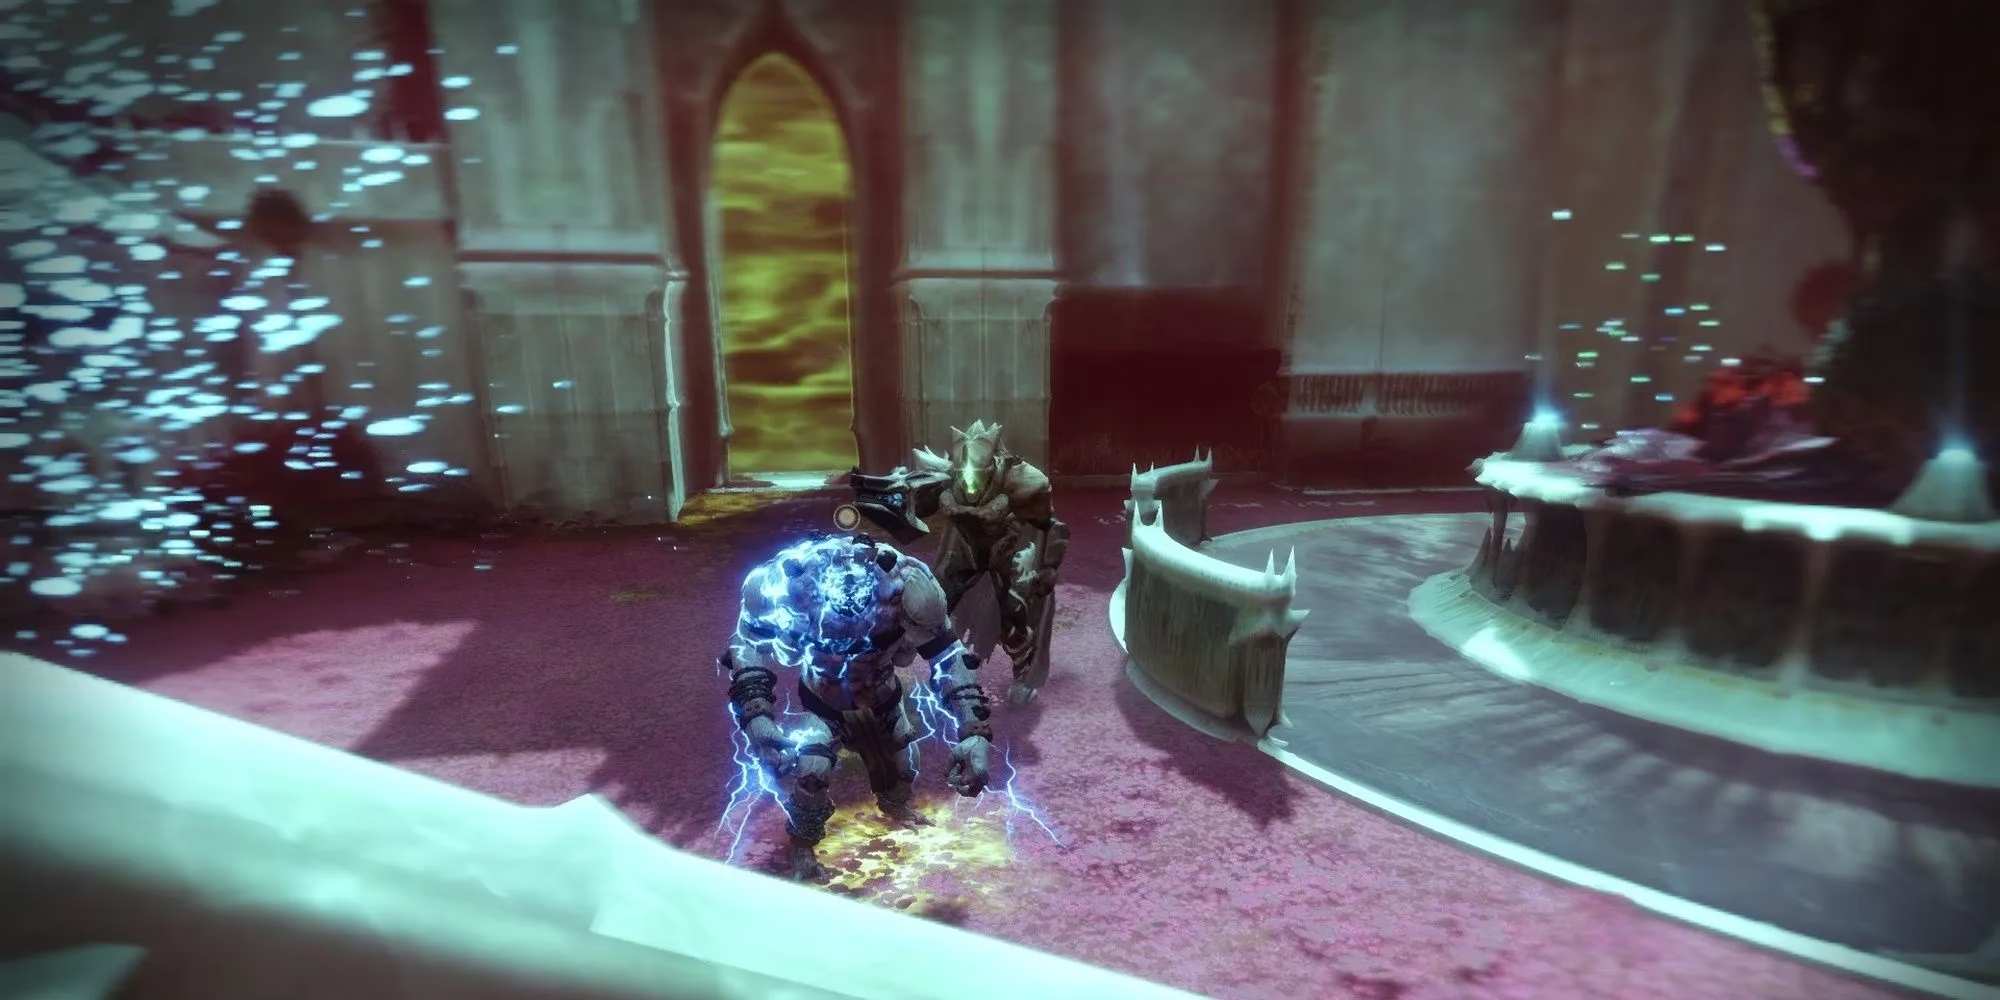
When all three sides are clear, a Lucent Lightbearer spawns at the middle road. This is effectively a Stormcaller Warlock disguised as a Hive Wizard, using Stormtrance and Lightning Grenades to flush players out of cover. The Lightbearer is deadly but passive, and it will not push if players keep their distance. Damaging it from afar with a Heavy weapon is the smart play. The Wizard deploys a Healing Rift if it takes enough damage, so the fireteam should be quick. Damaging her enough spawns two Barrier Guard Knights, which is the cue to use Supers and grenades. Give the Wizard everything, crush its Ghost, then follow the waypoint on the HUD to meet the contact and end the mission.
Final Blurb
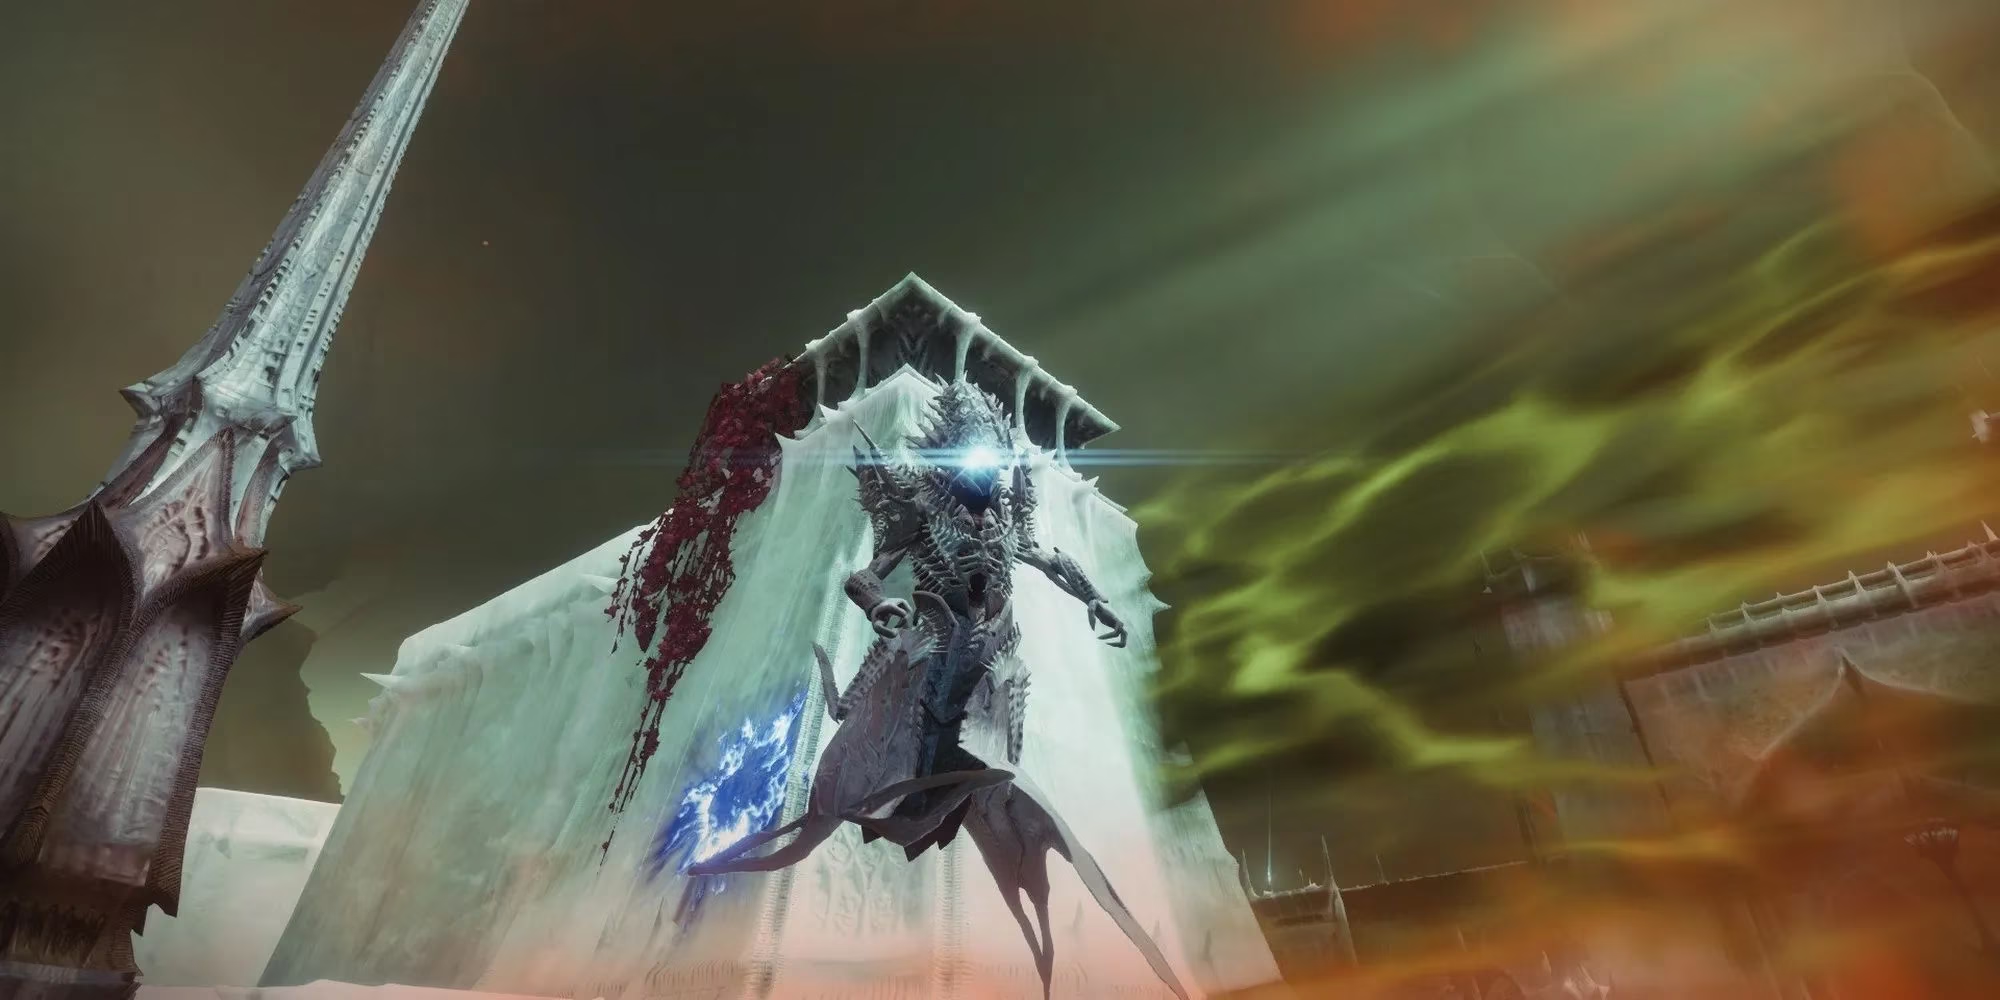
The Investigation is a compact mission with a nasty Legendary bite. It teaches Deepsight, introduces a second flavor of Lucent Lightbearer, and then throws a three-sided arena at the fireteam like a birthday cake made of Barriers and Abominations. In 2026, the mission still holds up as a solid test of loadout discipline and crowd control. Bring Stasis, bring a burst Heavy, keep eyes peeled for Ghosts, and remember: a patient Guardian clears the room, while a greedy one becomes a cautionary tale.