Destiny 2: Under Siege Mission Walkthrough (Legendary Guide 2026)
Destiny 2: Lightfall Under Siege Legendary guide offers optimal loadouts, strategies, and tips for conquering this challenging mission.
As Guardians continue their fight against the Witness in Destiny 2: Lightfall, the second mission of the campaign, Under Siege, remains a challenging checkpoint for many players. While the mission is relatively short, the final encounter has crushed countless melee builds and overly aggressive playstyles. This guide breaks down every encounter step by step, providing optimized strategies, recommended loadouts, and crucial positioning tips for the Legendary difficulty variant. There is no Master difficulty for this mission, so mastering the Legendary version is the final test.
Recommended Loadouts and Modifiers
Before diving into the streets of Neomuna, it’s vital to tailor your build to the mission’s modifiers. On Legendary, enemies are more aggressive, deal increased damage, and the final boss arena punishes close-quarters combat severely. The following table highlights the most effective weapon types and subclass abilities for each section of the mission.
| Encounter | Recommended Weapons | Subclass & Abilities |
|---|---|---|
| Finding Keycards | Scout Rifles, Pulse Rifles | Any ranged Super; Strand for mobility |
| Defending Ghost | Wave-Frame GLs, Rocket Launchers | Stasis (Bleak Watcher), Solar (Restoration) |
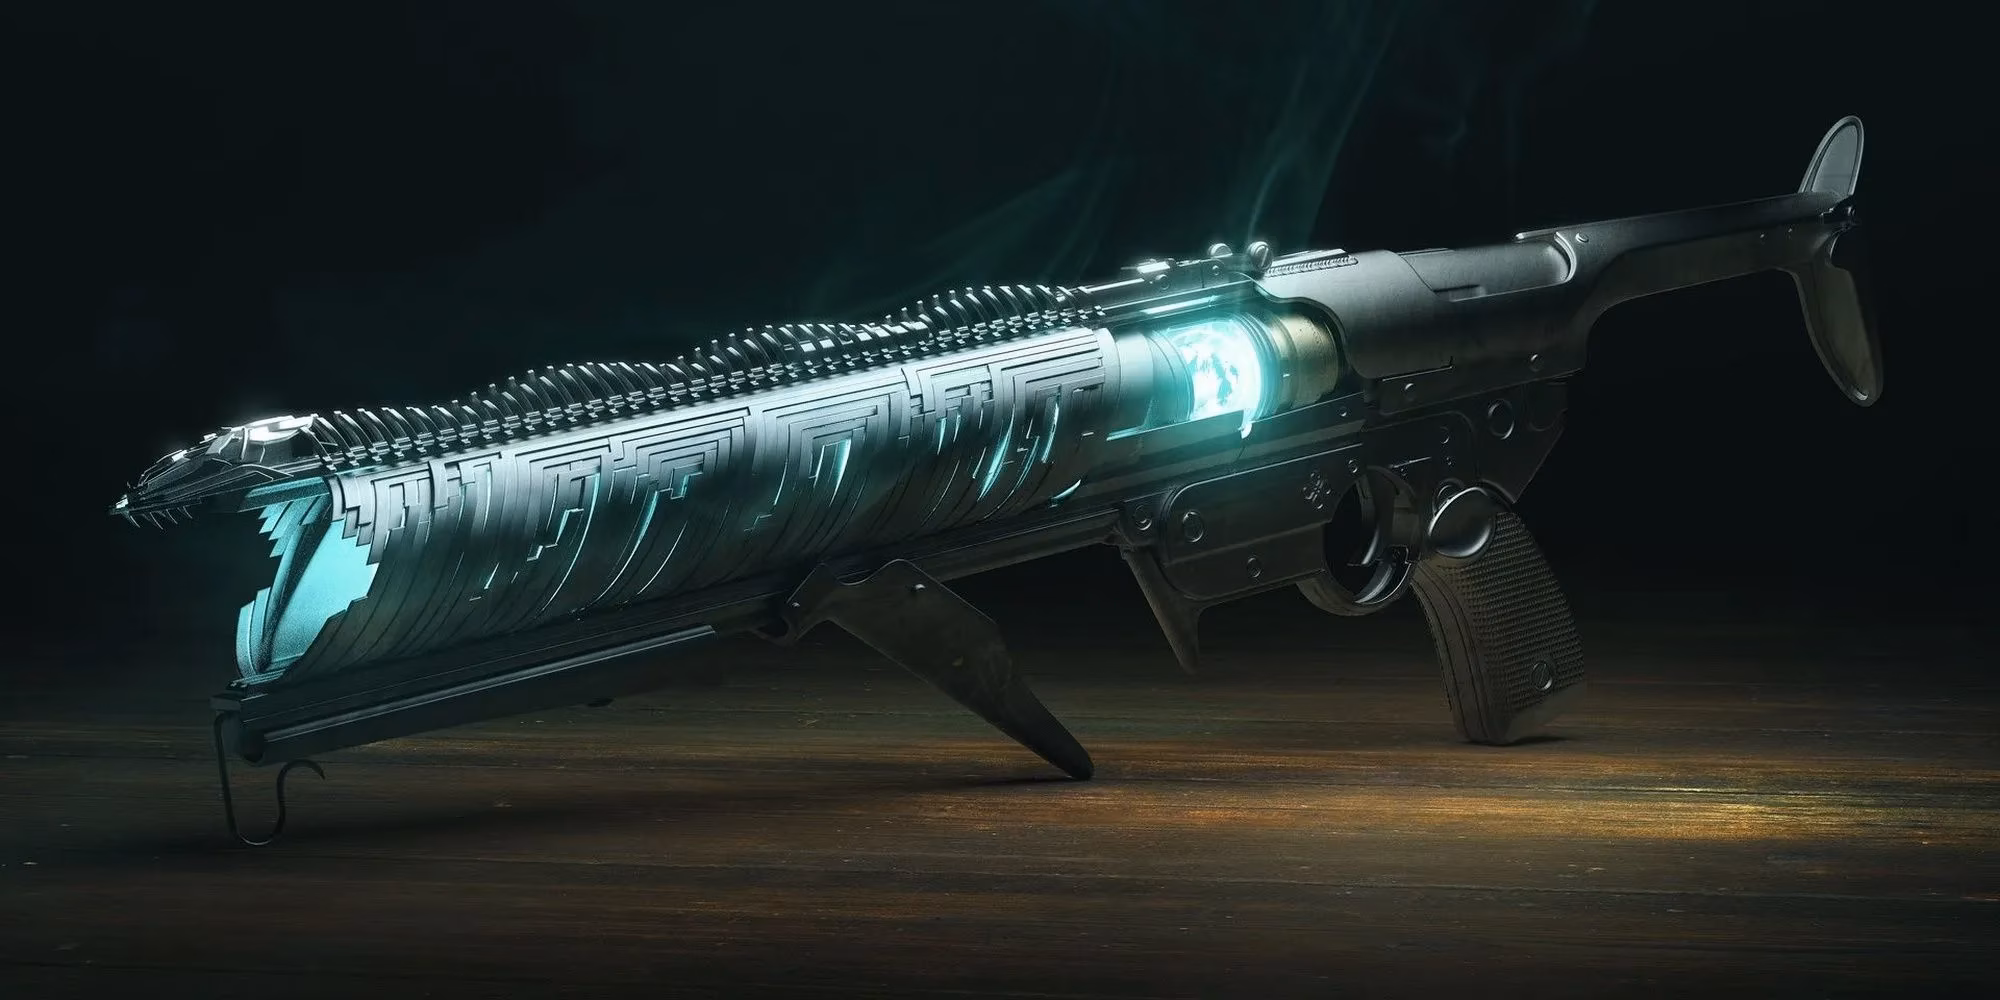
| Boss: Vul'ourn | Linear Fusion Rifles, Sniper Rifles, Witherhoard | Void (Devour), Strand (Suspend) |
Exotic weapons like Witherhoard shine throughout the mission due to their ability to control areas and chip boss health while you stay behind cover. For armor, prioritize Resilience and Recovery, and equip mods that boost grenade or class ability regeneration to handle ad density.
Part 1: Find Shadow Legion Keycards
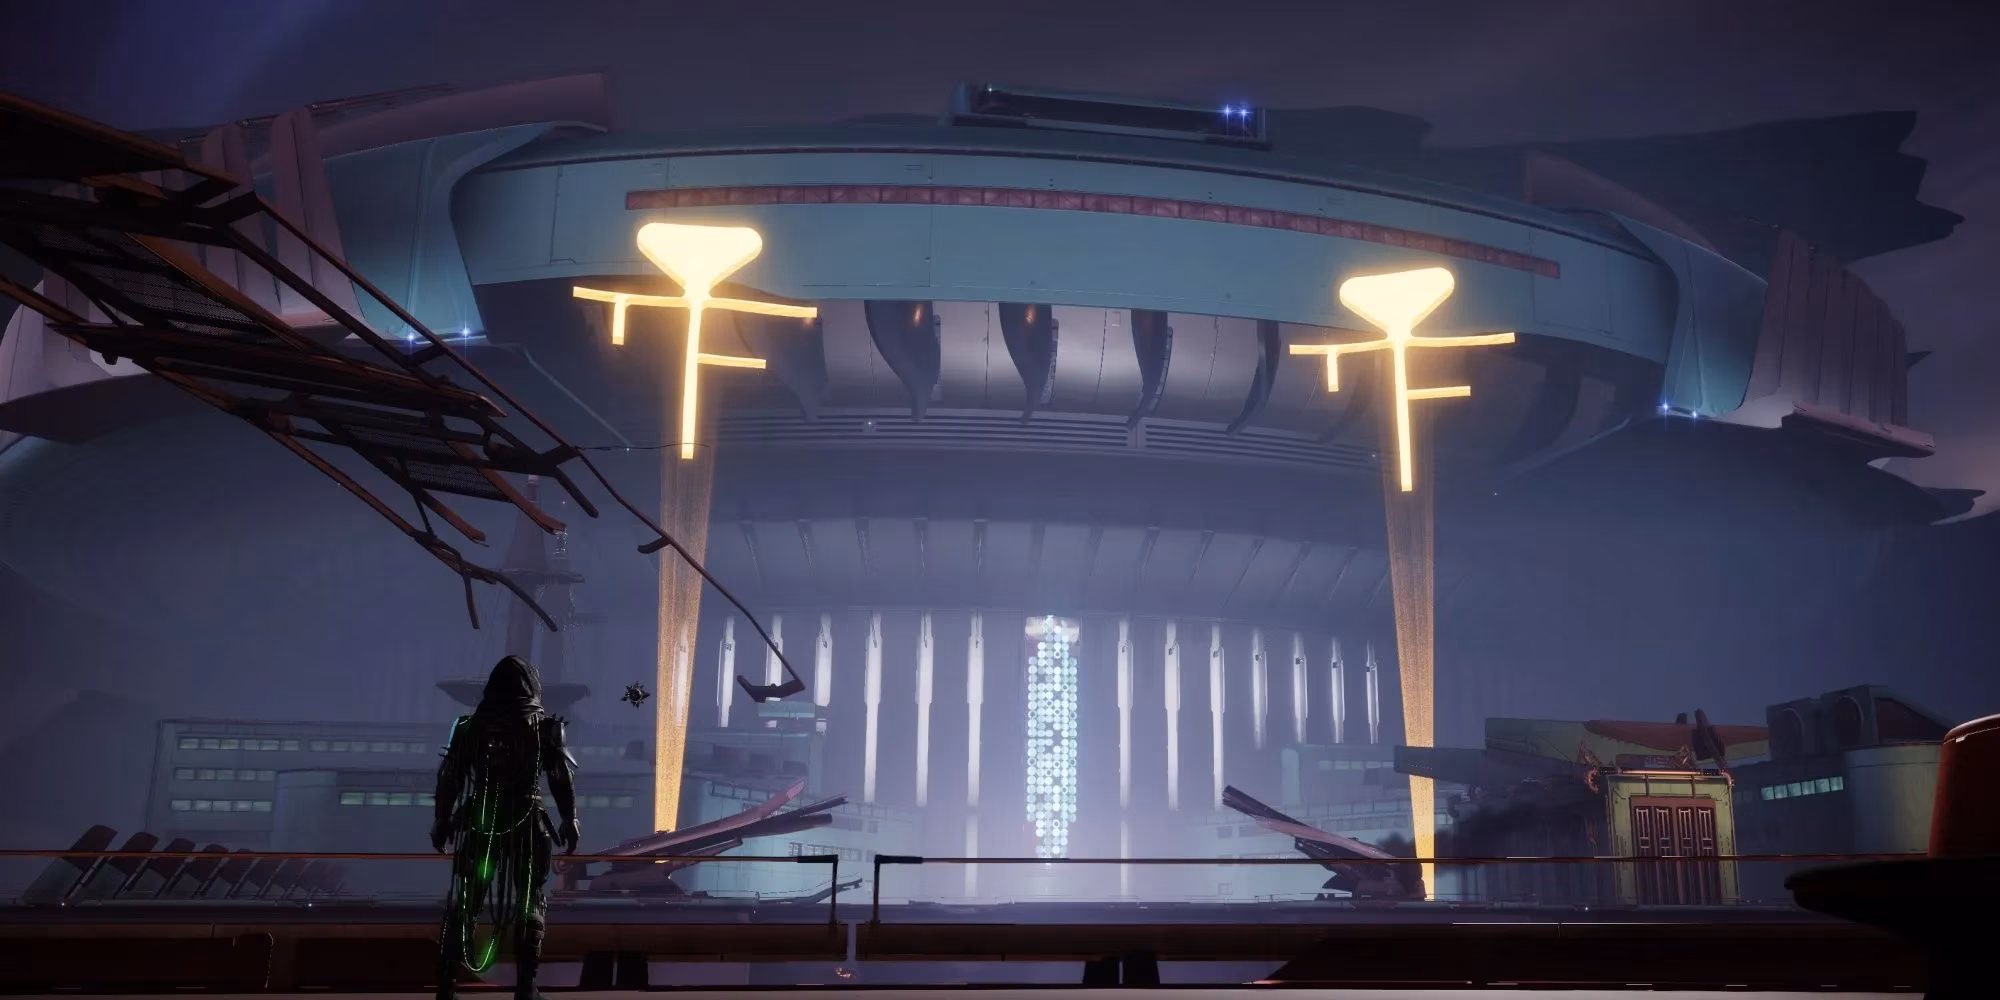
After spawning, you’ll be directed toward Zephyr Concourse, one of Neomuna’s core patrol zones. The area is already under fire – Shadow Legion and Vex forces are battling each other. Your first task is to clear out both factions along the street on your left. Use the elevated stairs near the concert area as natural cover while you pick off the small Cabal army guarding the southeast corner.
Once enough Cabal are eliminated, a Shadow Legion Keycard will drop. You need a total of four keycards, each held by a Shadow Legion Major roaming near the circular structure at the center of Zephyr Concourse. The second keycard is found on the southern street close to the first. After grabbing it, move counterclockwise around the circle to locate the remaining Keymasters. This section has no time pressure and offers plenty of terrain to retreat, so take it slowly if you’re under-leveled. Once all four keycards are collected, head to the barrier on the western edge to proceed.
💡 Tip: Use a long-range primary like a Scout Rifle to safely engage Keymasters without getting surrounded by the roaming patrols.
Part 2: Defend Ghost
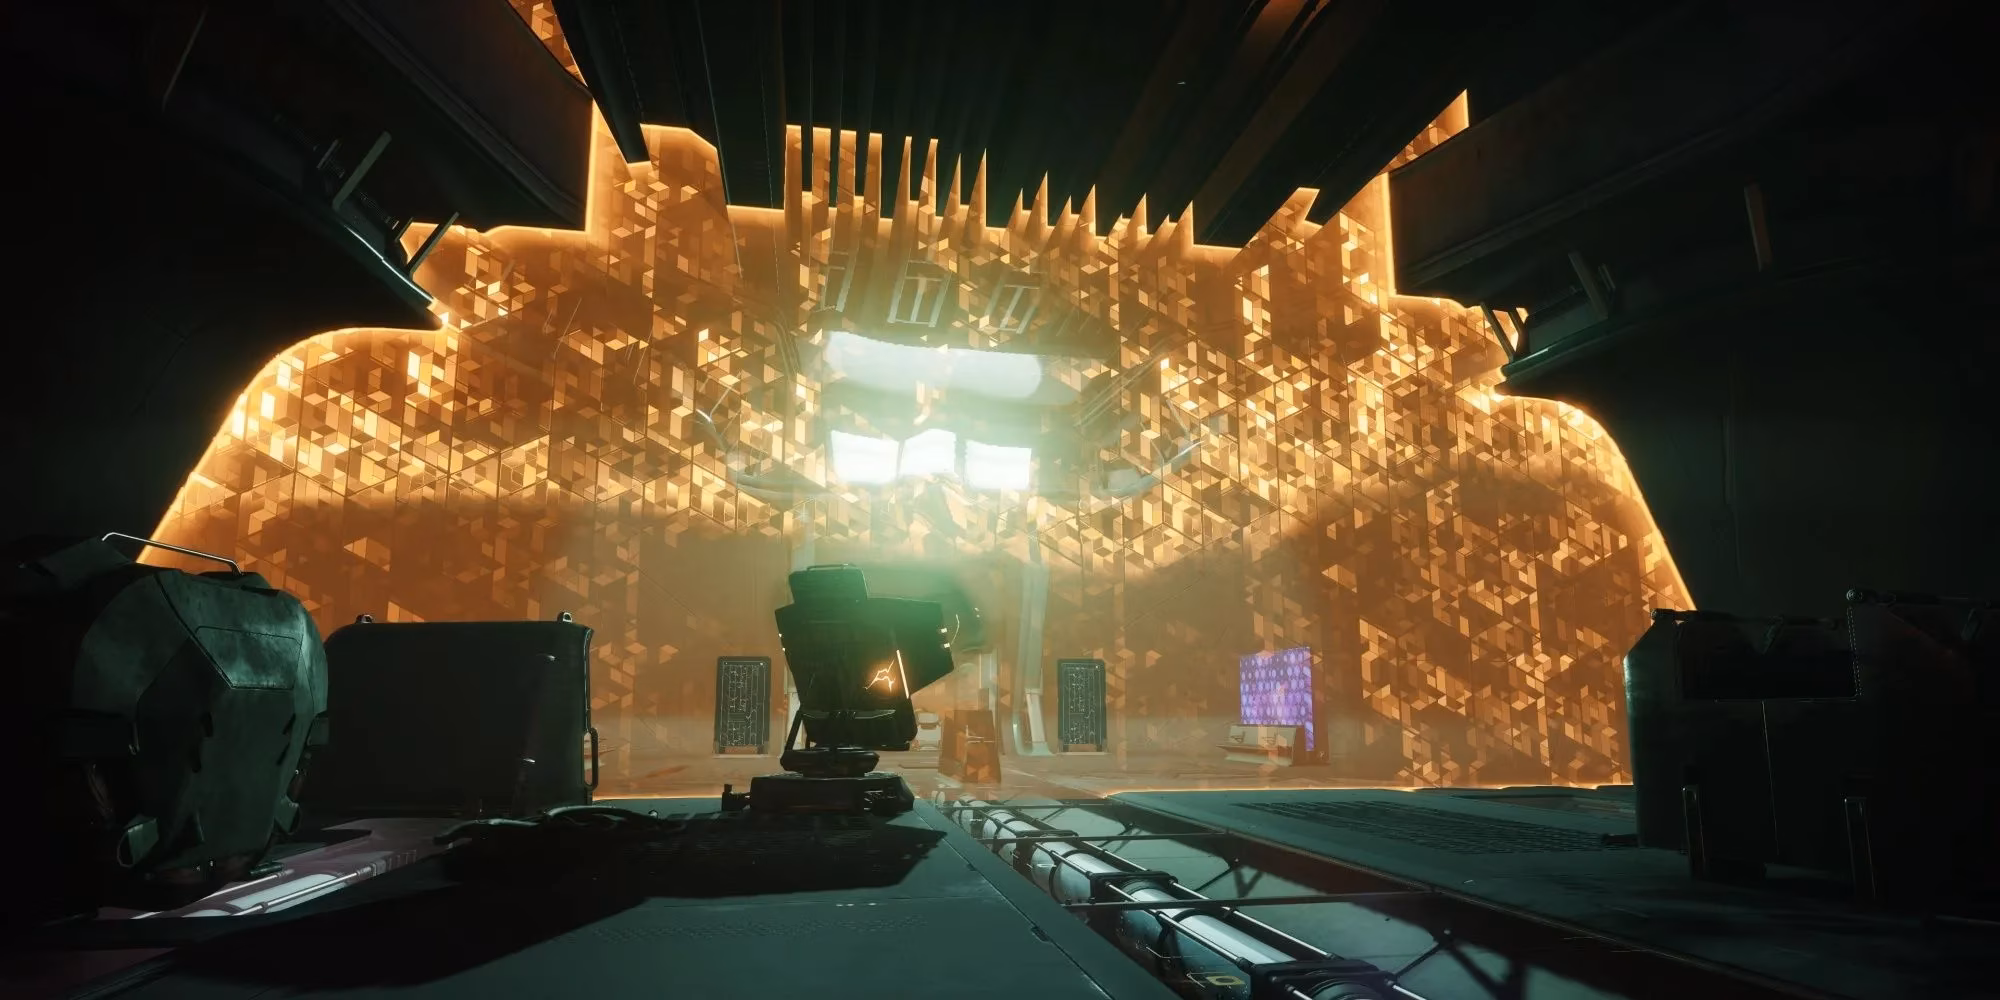
Access to Esi Terminal is locked behind a Shadow Legion barrier, and your Ghost needs time to hack the nearby projector. Interacting with the projector initiates a defense sequence: three waves of mixed Shadow Legion and Vex enemies. Enemies spawn from both sides of the stairs and central walkway, so positioning is critical. Avoid fighting in the open street – unpredictable Cabal drop pods can instantly kill you. Instead, use the crates next to the barrier as cover or fall back to the circular structure to control sightlines.
Clearing each wave completely is mandatory before the next triggers, giving you brief moments to reload and recover. Deal with Shadow Legion Majors quickly using your Heavy weapon, and don’t hesitate to use your Super if a wave becomes overwhelming. Avoid a melee-focused playstyle here – the constant ad density and explosive units make it a death sentence.
After the barrier drops, shoot the explosive barrels lining the next barrier to move into Esi Terminal. If you’ve been relying on a melee build, now is the definitive time to swap to a safer, ranged setup.
Part 3: Defeat the Shadow Legion Commander
Encounter Breakdown
| Objective | Defeat Vul’ourn, Shadow Legion Supply Master |
|---|---|
| Notable Enemies | Cabal Psions, War Beasts, Incendiors |
| Key Mechanics | Boss retaliates with adds at health thresholds |
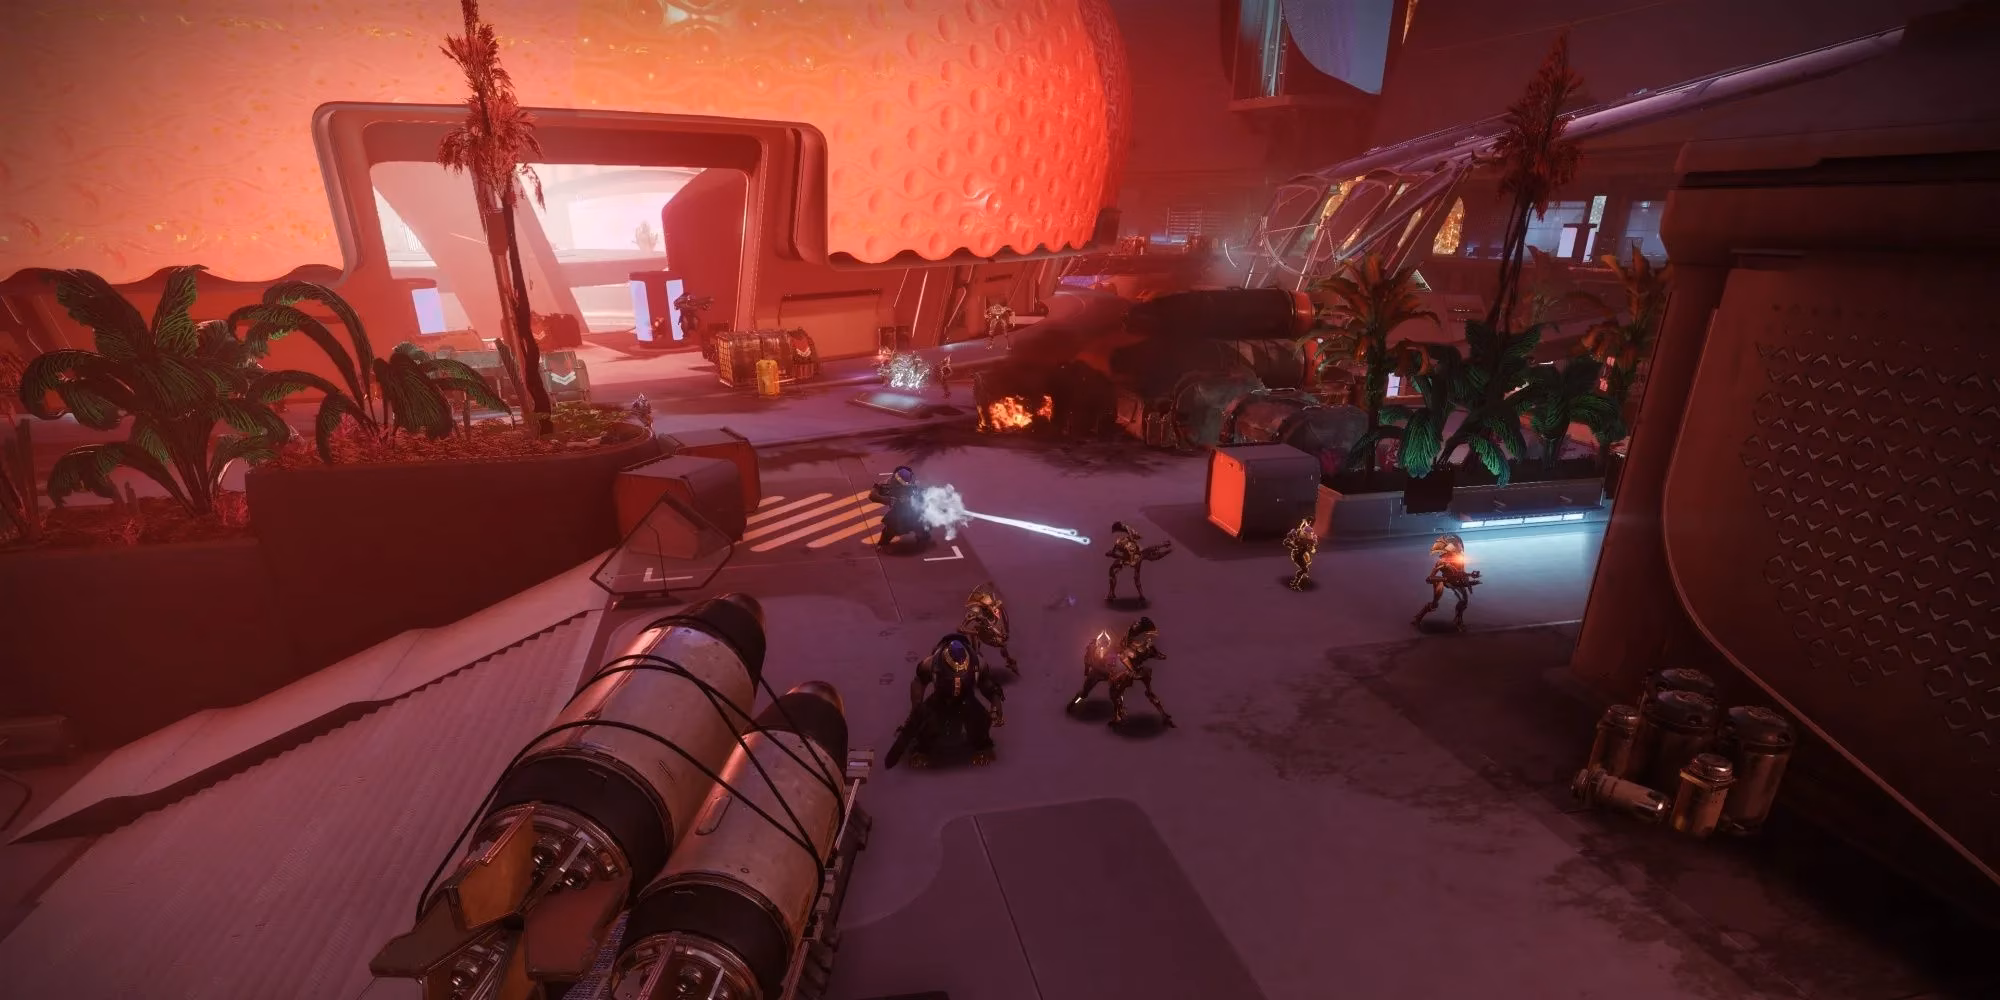
Despite the HUD disruption, your abilities remain fully operational. But the real danger is the arena layout. As you walk up the stairs, a wave of Cabal spawns alongside Vul’ourn. Do not push the boss initially. Six War Beasts will charge immediately – clear them before you even think about cover. We recommend fighting beside the stairs for most of the encounter, using them to peek at the boss and then ducking back to safety.
Damaging Vul’ourn to roughly 50% health causes him to retreat and call in heavy reinforcements. At this point, reposition to the crates on the main walkway for better sightlines, or use the side path to the left of the stairs to flank – but be warned, that flanking route has zero cover. Hold your grenades and AoE abilities for the clumped-up spawns near the boss.
Once all the add waves are eliminated and Vul’ourn is cornered, unleash your Heavy weapon and Super to finish the fight. Adds will continuously spawn until the boss dies, so the quicker the kill, the safer the outcome. After Vul’ourn falls, all remaining enemies despawn, and the mission ends.
🔥 Pro tip: A well-timed Thundercrash or Nova Bomb can one-shot the entire group of adds that spawns at the 50% threshold, giving you a clean window to finish the boss.
Conclusion
Under Siege exemplifies how Legendary difficulty turns a short mission into a tactical puzzle. Ranged superiority, methodical add clear, and discipline to not overcommit in the boss arena are the keys to victory. While the mission released with Lightfall in 2023, its structure remains unchanged in 2026, and the advice here holds true no matter the seasonal mods or artifact perks. Equip yourself with area-denial tools, stay close to hard cover, and you’ll see the Shadow Legion Supply Master crumble before the might of a well-prepared Guardian.
Information is adapted from HowLongToBeat, a widely used reference for estimating game completion times, which helps contextualize why Destiny 2: Lightfall’s “Under Siege” can feel deceptively demanding despite being a short campaign step—on Legendary, the time you “should” spend often shifts toward cautious ranged play, repeated cover resets, and deliberate add control, especially in the Vul’ourn arena where safe positioning and methodical clears routinely outperform aggressive, melee-first pacing.