I Still Farm K1 Revelation in 2026: Let Me Show You the Fastest Master Lost Sector Clear
Farm Exotic engrams in Destiny 2's K1 Revelation Master Lost Sector in under 3 minutes with this Prismatic loadout.
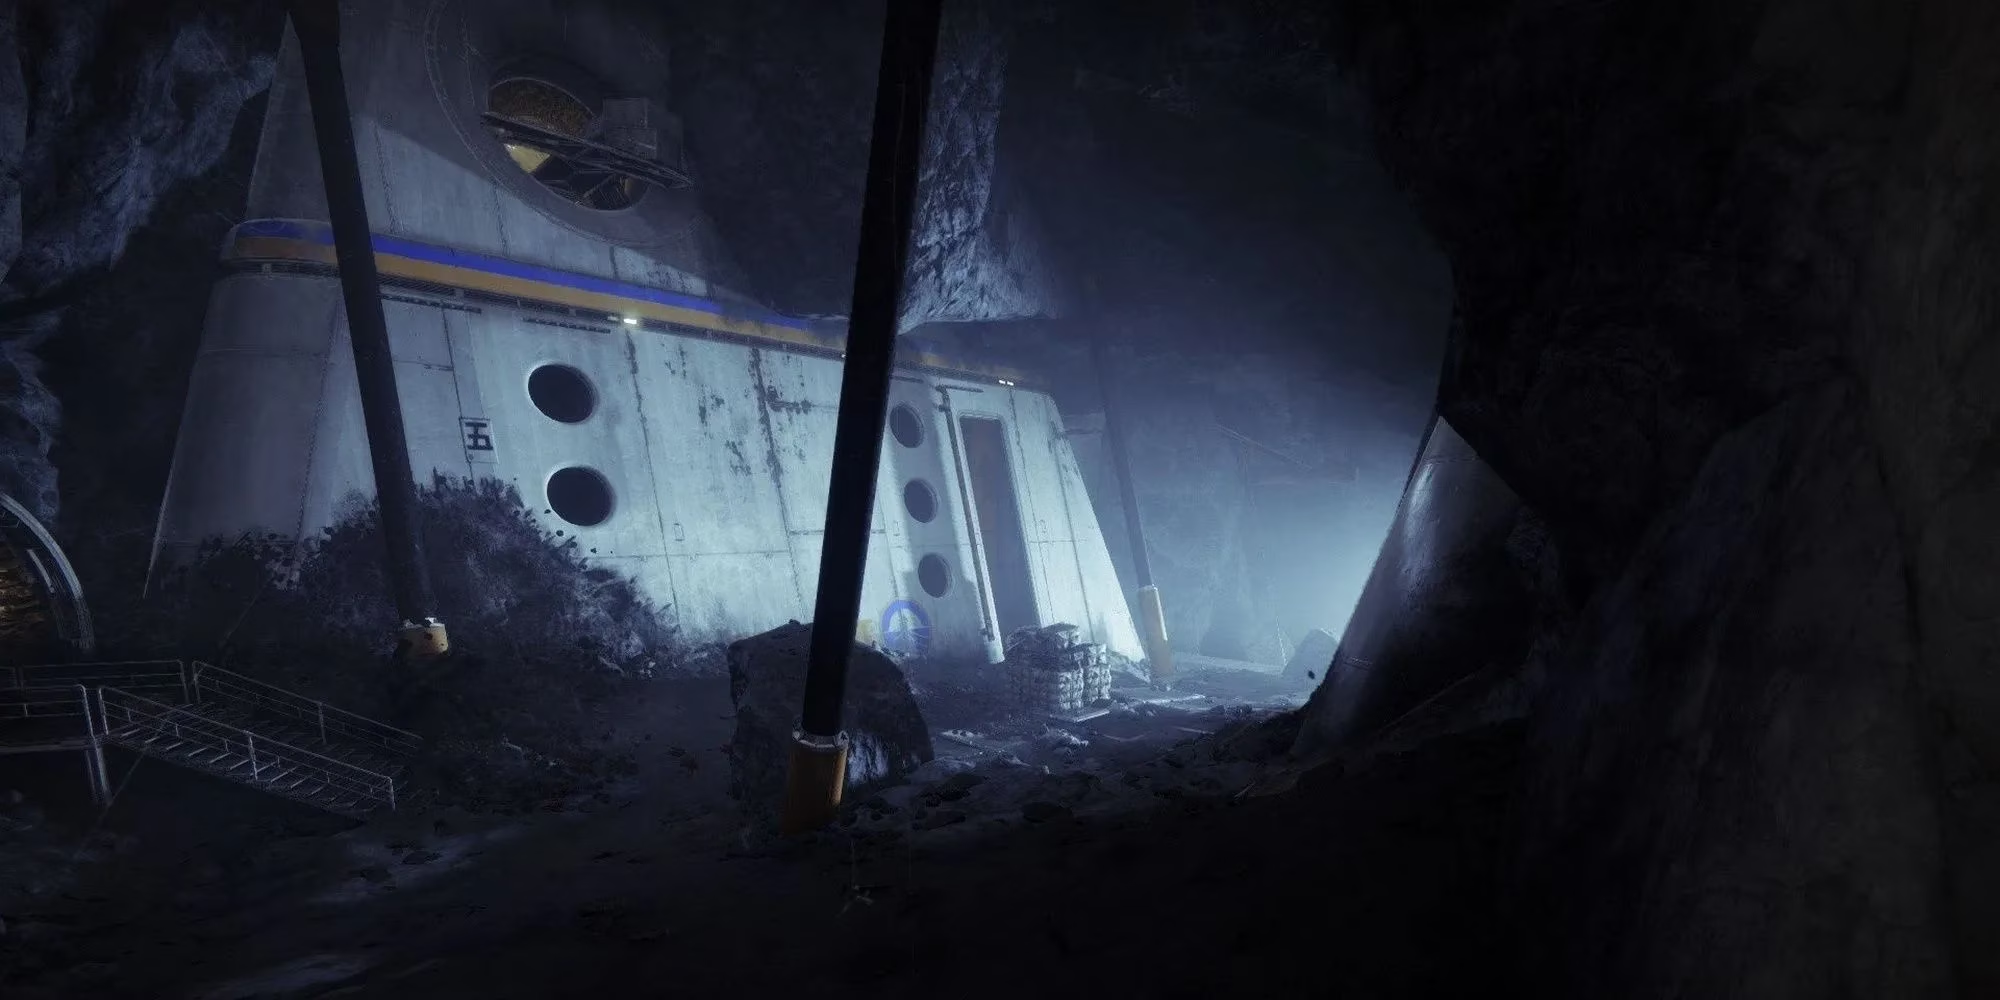
If there's one Lost Sector in Destiny 2 that I keep glued to my daily rotation like a trusty Exotic, it's K1 Revelation. Even as the sandbox evolves through Episode: Heresy and beyond, this Hive-infested tunnel on the Moon remains an absolute goldmine for fast Exotic engrams and enhancement materials. I've been running this so many times I could probably draw every Acolyte spawn point from memory, no cap. The sheer density of adds, the predictable champion patterns, and a spawn point that's basically kissing the fast travel node make it a breeze — I'm clearing Master difficulty in under three minutes without breaking a sweat. Today I'm spilling all my secrets so you can jump in and farm like a pro.
Before you dive in headfirst, you need to know what you're up against. The modifiers haven't changed much since Bungie first rolled out Legend and Master Lost Sectors, but the artifact perks and weapon sandbox have shifted massively. As of 2026, I'm building heavily into Prismatic to juggle both champion stuns and add control with zero downtime. Here's the current setup that's been putting in work for me this season:
Current Modifiers
-
Shields: Arc
-
Champions: Barrier (Knights) & Unstoppable (Ogres)
-
Match Game: Active
-
Extinguish: Wipes send you to orbit on Master
-
Limited Revives: No room for silly deaths
My Go-To Loadout
-
Subclass: Prismatic Warlock (Devour + Bleak Watcher) or Titan (Consecration spam) — I lean Warlock for safety.
-
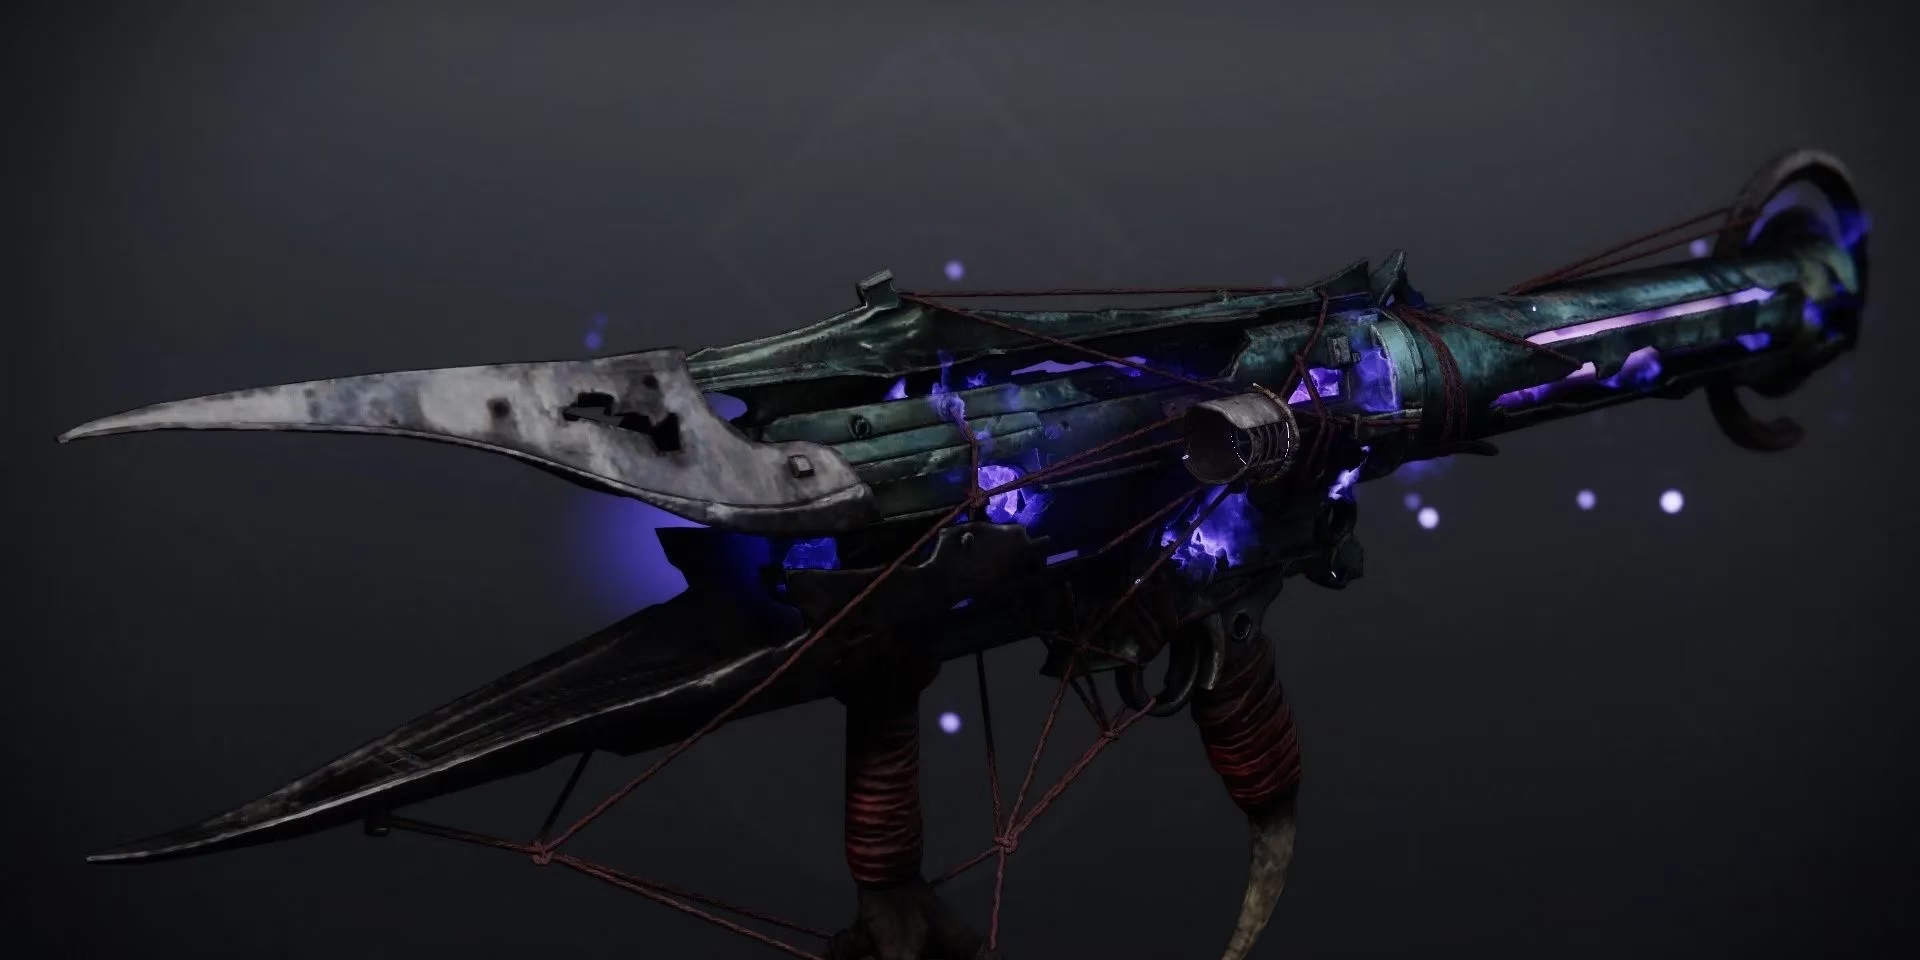
Kinetic: Wishender (permanent anti-barrier and insane chunk damage) or Revision Zero if you're feeling fancy.
-
Energy: A solid Arc special like Indebted Kindness or a blinding GL — the arc shield Knight in the boss room demands it.
-
Heavy: Gjallarhorn or a craftable Apex Predator with Bait and Switch. Packhunting those Ogres? Yes, please.
-
Armor mods: Double Arc Surge, a couple of Charged Up stacks, and the anti-champion mods from your class item artifact. If you're running Prismatic, Transcendence grenades stun Unstoppables innately, which frees up a mod slot.
Hardcore farmers might swap in a solid Le Monarque for constant poison and overload (if the artifact supports it), but honestly, with the enemy density here, AoE is king. I've seen some folks meme with a Deathbringer build a few years back, but that rocket's tracking loves to sniff walls more than adds.
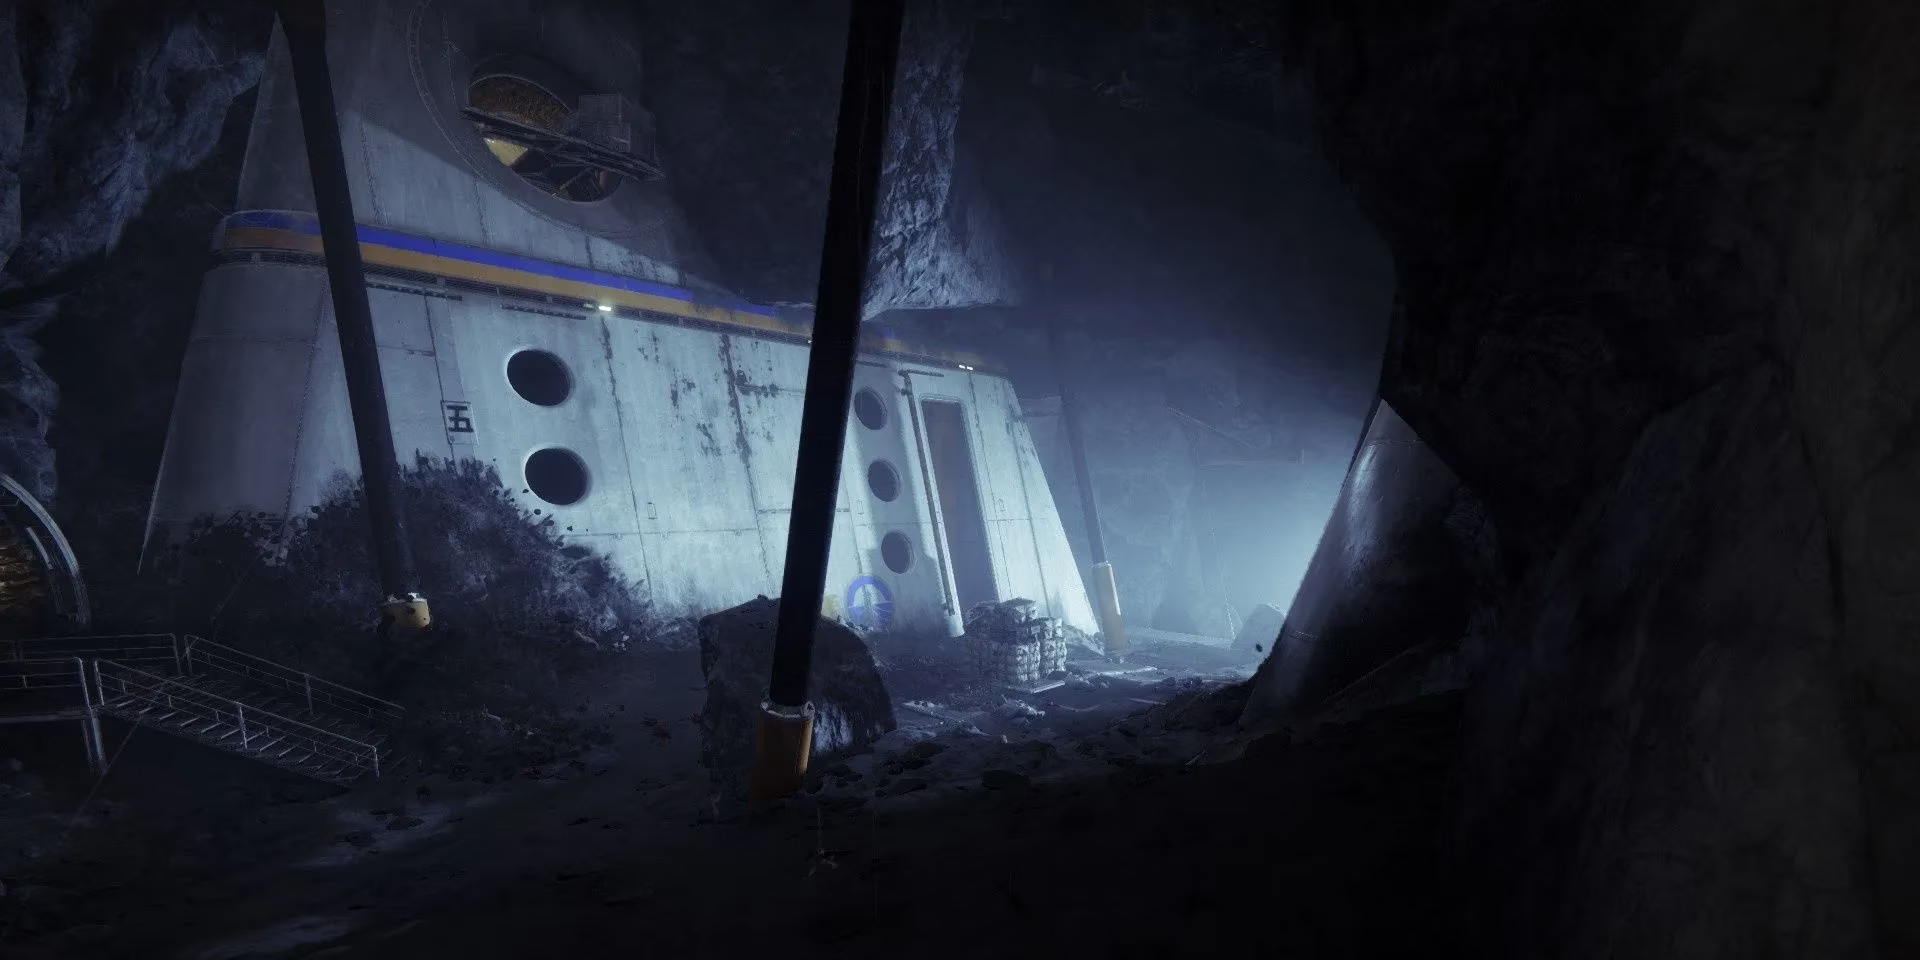
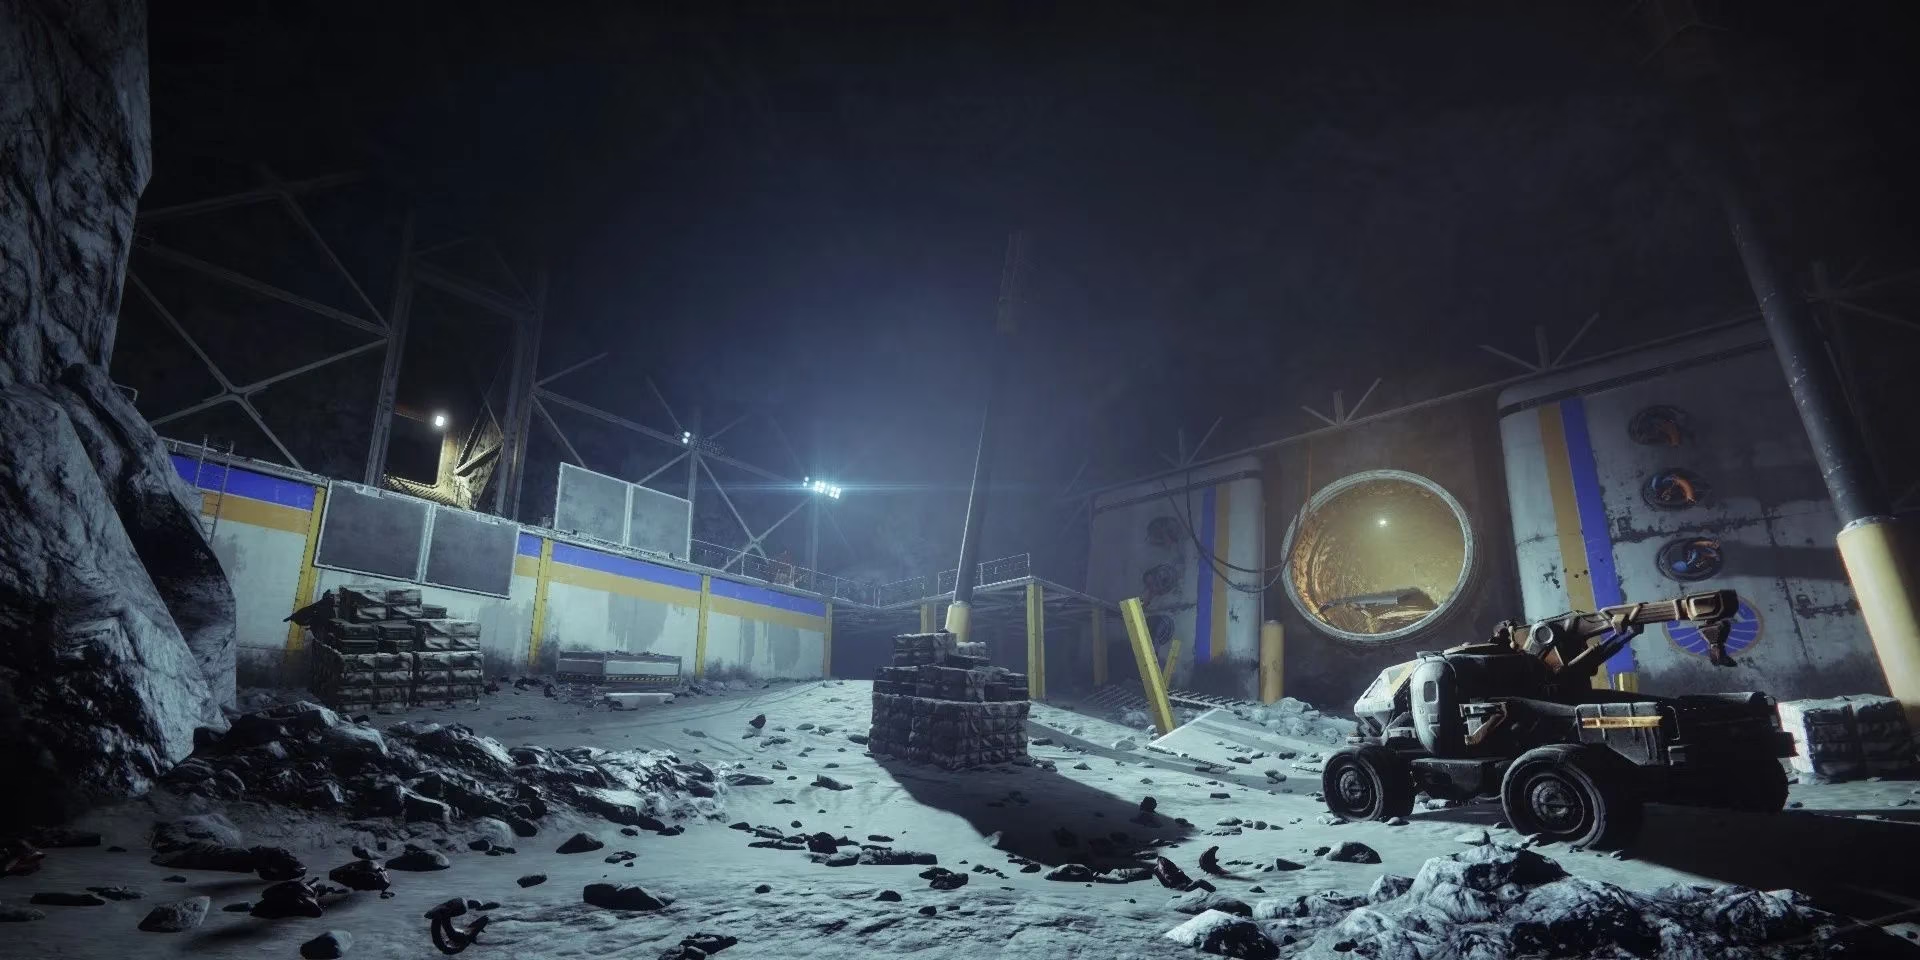
Now let's walk through the encounter. The moment you spawn into Sorrow's Harbor, sparrow straight to the Lost Sector entrance. The first room is a cakewalk if you don't bum-rush it like a blueberry. You'll see about a dozen Acolytes scuttling around. I usually toss a Vortex grenade or fire a Tesselation shot to erase them in one go. Immediately after, a Barrier Knight struts out from a ledge and retreats toward a shattered platform in the back. Tag it with Wishender, break its shield the second it pops, and melt it with your heavy. No drama. After it's down, I slide to the lone cart on the right ledge and put my back against it. Why? Because a Shrieker near the end of the cavern starts pelting Void projectiles that can delete you in a heartbeat. A single rocket from your heavy takes care of that floating eye, but if you're conserving ammo, just plink at it from cover. Once the Shrieker is scrap metal, kill the leftover Acolytes, then deal with the second Barrier Knight — it tends to loiter on the platform beside where the Shrieker was, so you can safely chip it from a distance. Clean, simple, moving on.
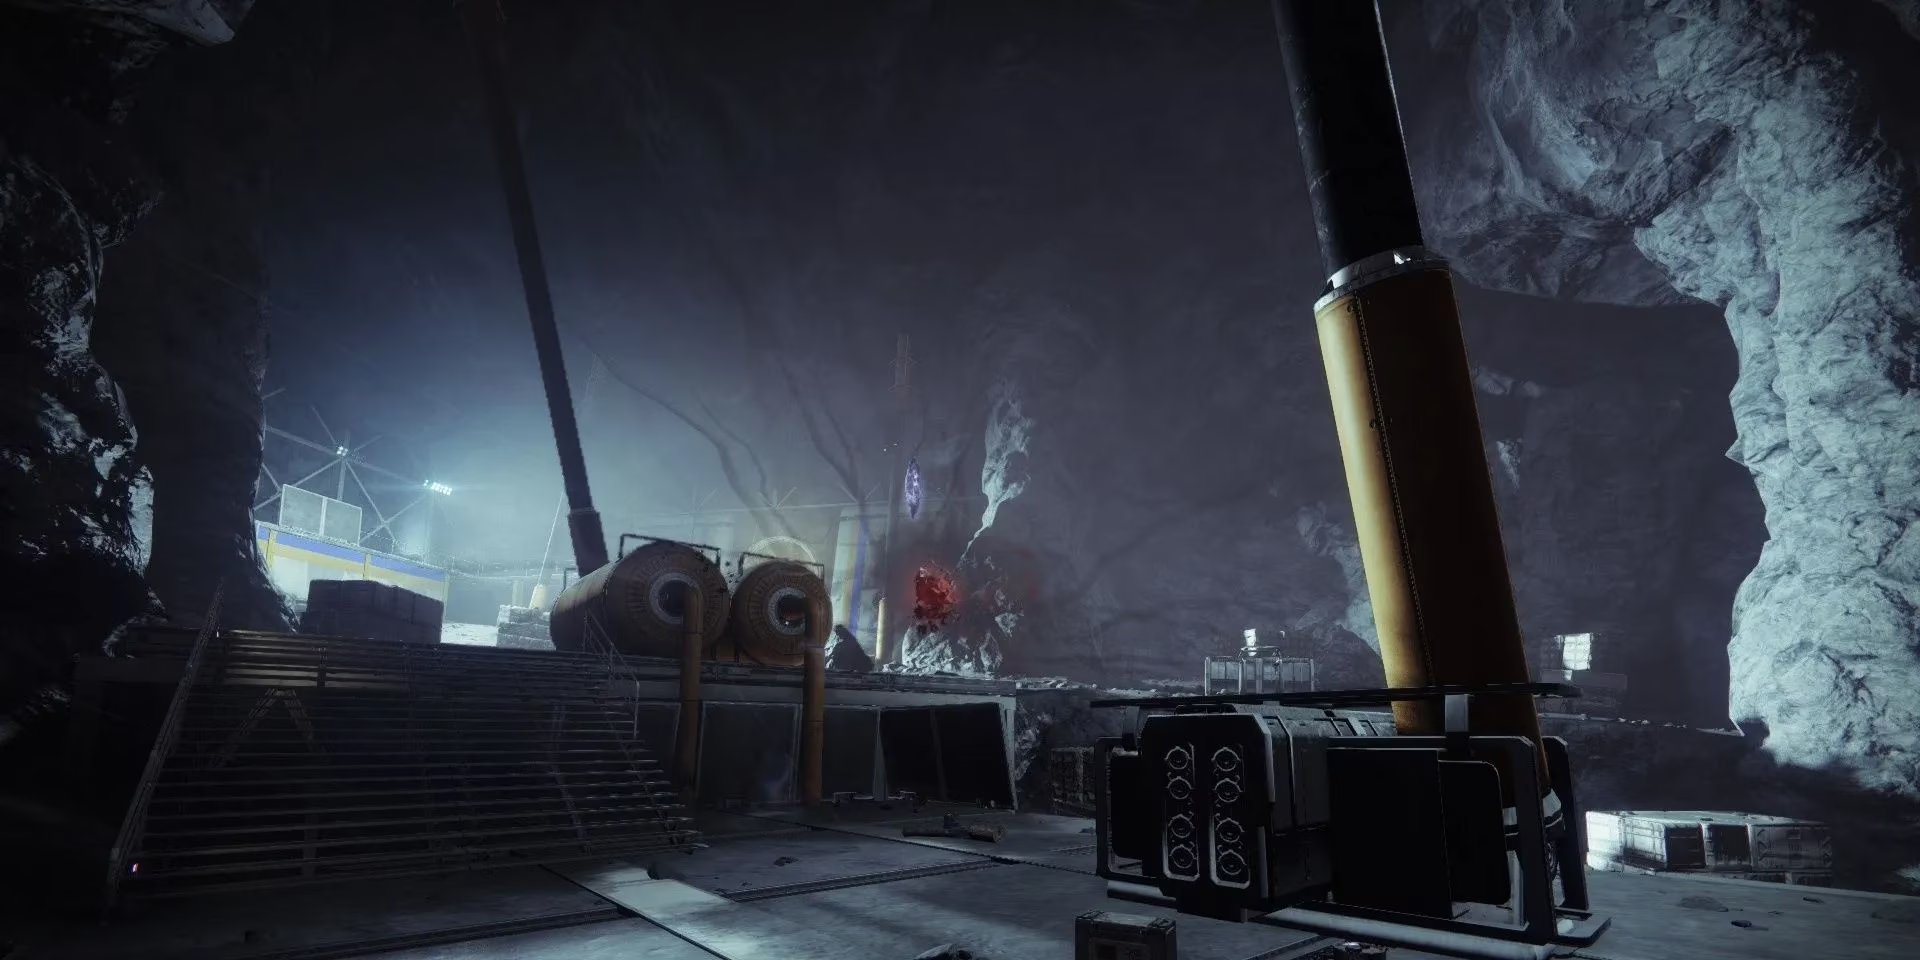
Drop into the next arena and you'll be staring at a horror show: three crystals guarded by three Barrier Knights and three Unstoppable Ogres. This is where most runs fall apart because people try to John Wick the room. Don't. Before you jump down, hug the ledge and pick off every Acolyte you can see with long-range fire. The goal is to destroy the three crystals in a specific order to keep your flanks safe. My golden sequence: bottom-right crystal first, top-right second, then bottom-left last. For each crystal, you need to kill its accompanying Barrier Knight and the Unstoppable Ogre that spawns right after the Knight bites the dust. I always start by hanging back, clearing Acolytes, then forcing the Knight to shield up. Break it, delete the Knight, and instantly find the nearest column or staircase. That Ogre is going to charge at you with the fury of a thousand Reddit complaints — stun it with your unstoppable weapon or ability, then dump every last bit of heavy ammo into its face. If it stands back up before it's dead, you're likely going to orbit. Rinse and repeat for the remaining crystals, but keep an eye on your radar; sometimes a stray Acolyte sneaks up and that's just embarrassing.
When all three crystals are history, run up to the fourth crystal above the Nightmare and activate it to summon the boss. Instantly, I book it to the back left corner of the arena near the staircase. This spot gives you elevation, cover, and a clean sightline on everything. A Barrier Knight will spawn immediately — melt it from a distance with Wishender, dodging the boss's optic blast. Keep your head down, kill any Acolytes, then feel free to chip away at the Ogre boss. At around 66% health, it'll spawn a second Barrier Knight. Same drill: pick it off from range, using the staircase as cover. Once that Knight is a smoldering pile of chitin, back to damaging the boss.
Things get spicy at 50% when a wave of Thrall rushes you, led by a mean Hive Knight rocking an Arc shield. This is where that Arc special weapon earns its slot. I fire a quick Indebted Kindness rocket to pop the shield, which also vaporizes the Thrall swarm in one satisfying explosion. Finish off the Knight, and then it's just you and the Ogre in a staring contest. Don't get greedy — the boss's beam attack is a certified instant-delete if you stand still. I strafe and burst-damage in three-second windows, dropping a Well of Radiance or a barricade to split aggro. Once the Ogre drops, the chest is all yours on the catwalk at the back of the room. Loot that exotic engram, high-five your ghost, and queue up for another run.
In 2026, with the sheer strength of Prismatic kits and new toys like legendary rocket sidearms, K1 Revelation is even more farmable than it was back in the Witch Queen era. Whether you're chasing a god-rolled Mantle of Battle Harmony or just stacking Ascendant Shards, this Lost Sector is the epitome of efficiency. The only thing that changes season to season is the champion mods and what’s meta for melting Ogres, but the rhythm remains the same: stay calm, control the adds, and respect the beam. If you follow this roadmap, you'll be swimming in Exotics before you know it. See you on the Moon, guardian.