My 2026 Guide to Unlocking Destiny 2’s Winterbite Exotic Stasis Glaive
Unlock the Winterbite Stasis Glaive in Destiny 2 Lightfall by restoring the Hall of Heroes and completing the Strider exotic quest.
As a dedicated Guardian still patrolling the solar system in 2026, I’ve never stopped chasing those elusive toys that turn a good build into a great one. The Winterbite Stasis Glaive from the Lightfall expansion remains one of my favorite exotics – a frigid beast that can freeze whole groups with a single projectile or chew through majors in close quarters. Getting your hands on it is not a casual afternoon affair, though; it’s a multi‑day journey that demands you rebuild the Hall of Heroes and then prove your patience against a dreaded time‑gate. I’m going to retrace every step I took so you can walk out of Neomuna with this icy masterpiece strapped to your back.
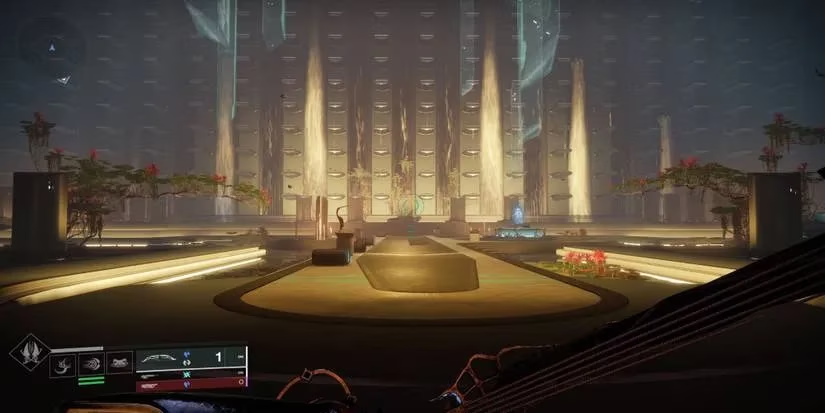
Restoring the Hall of Heroes – The Three Memorial Quests
Before the exotic quest named Strider even becomes available, you must have already defeated the Lightfall campaign. Once the Witness is pushed back (temporarily, as we all know), Quinn will be standing among shattered statues in the Hall of Heroes, eager to put you to work. She hands out three memorial repair jobs – Stargazer, Maelstrom, and Bluejay – and only after you finish all of them will she trust you with the real prize. These missions aren’t difficult, but they do send you criss‑crossing Neomuna, so I recommend tackling them in one long session.
🔹 Stargazer
This one teaches you the rhythm of Terminal Overload. You’ll need to:
-
Loot a Terminal Overload chest at the end of the activity.
-
Hunt down and destroy the Vex Hydra hiding in Esi Terminal.
-
Farm public events, patrols, and resource caches to obtain a Terminal Override key.
-
Use that key to open a special Terminal Overload Key Chest.
-
Repair the Stargazer memorial and check in with Quinn.
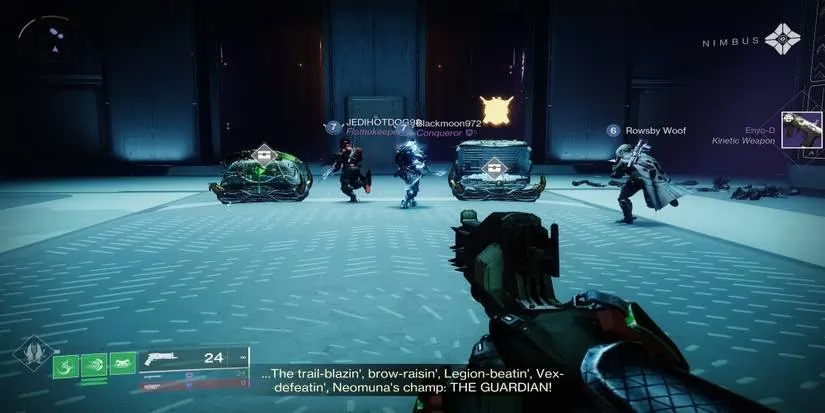
Don’t worry if you don’t get the override key on your first patrol; the drop rate is generous enough that a couple of events will do the trick. I made the mistake of ignoring the Hydra’s location and wasted ten minutes double‑checking every corner of Esi Terminal – learn from my fail and just ping it with a high‑damage super.
🔹 Maelstrom
This quest nudges you into the Vex Incursion Zone, the rotating high‑danger sector. The to‑do list:
-
Participate in public events, patrols, and loot resources while bonding with two Strand sources.
-
Complete the Lost Sector inside the Vex Incursion Zone (the zone changes daily, so check your map).
-
Repair Maelstrom’s memorial and report back.
Pay close attention to the Strand source objective – it requires you to equip a Strand subclass and touch those floating green tangles. I almost missed this because I was running a Solar build out of habit. A quick swap fixed everything.
🔹 Bluejay
Nimbus takes the lead this time. After a quick chat, you’ll:
-
Collect Shellcode Fragments from enemies in the Vex Incursion Zone while using any Strand subclass.
-
Earn a Polymorphic Engine by opening a Terminal Overload Key Chest.
-
Complete the new Partition activity (a frantic three‑phase arena).
-
Repair Bluejay’s memorial and return to Quinn.
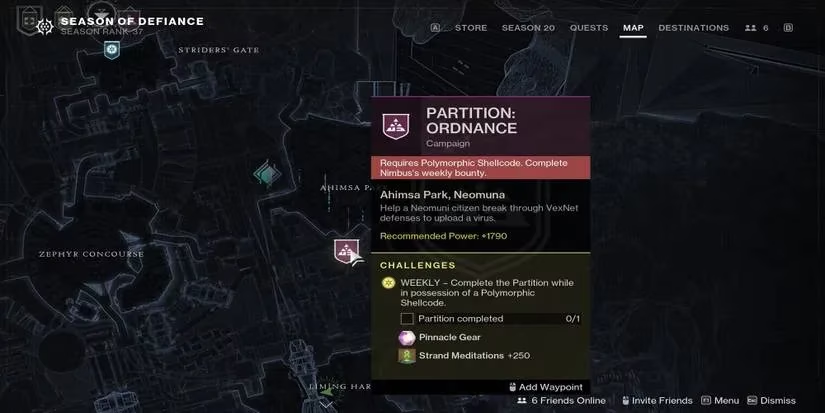
Partition can feel overwhelming the first time, but it’s heavily scripted. As long as you kill the glowing targets and stand in the right circles, you’ll breeze through. I usually run a Well of Radiance here just to keep the fireteam alive during the final wave.
The Strider Exotic Quest – Patience Is a Virtue
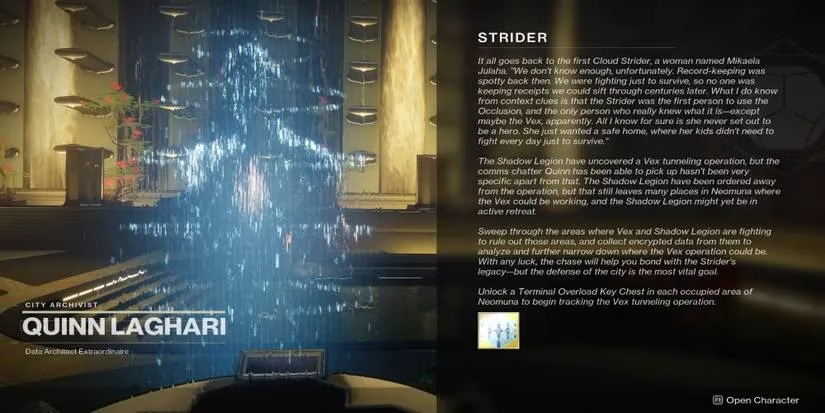
Once all three monuments glow with restored light, Quinn finally offers the Strider quest. This is the leg that most Guardians complain about – and I get it. The entire chain is straightforward, but one step is locked behind a real‑world 24‑hour rotation. You cannot brute‑force it; you have to wait. Here’s how I handled each phase.
Step 1: Use a Terminal Overload Key in Three Different Zones
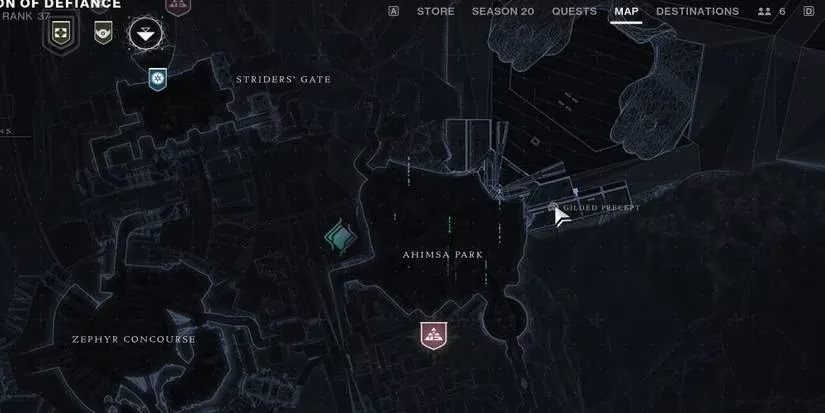
This is where the time‑gate lives. You must complete the Terminal Overload activity and use a key in Ahimsa Park, Liming Harbor, and Zephyr Concourse. The catch? The activity only cycles to a new zone every 24 hours at the daily reset.
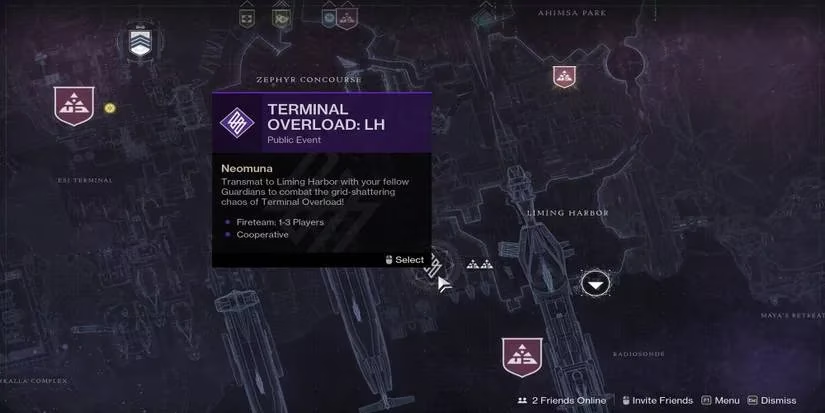
My advice: log in each day, look at the map, and immediately knock out the matching Terminal Overload. On day one I did Ahimsa Park, day two Liming Harbor, and day three Zephyr Concourse. The event itself only takes about 10 minutes, and you can farm a key in the same zone by completing a couple of patrols and public events. Yes, the wait is annoying – I genuinely set a phone reminder so I wouldn’t miss a day – but once you’ve cleared the third zone, the rest of the quest is completely free of time‑gates.
Step 2: Defeat Shadow Legion & Complete the Ahimsa Park Lost Sector
After the time‑gate lifts, the vibe suddenly relaxes. Quinn asks you to gather 20 data drops from Shadow Legion troops anywhere on Neomuna and to clear the Lost Sector in Ahimsa Park.
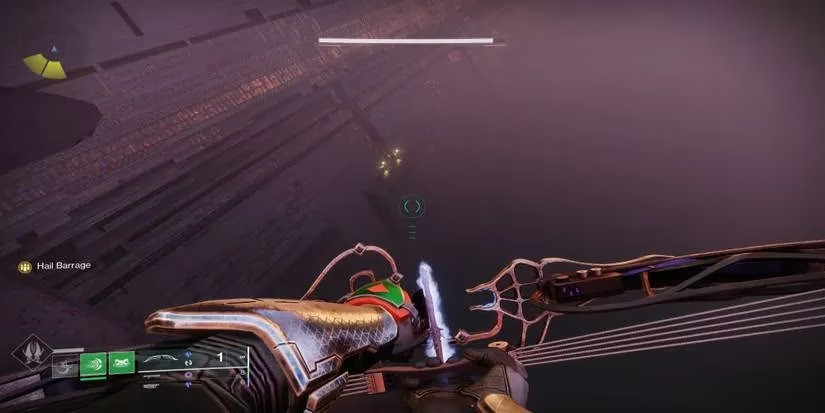
Shadow Legion are practically carpet‑bombing the city, so you’ll finish the data collection passively while heading to the Lost Sector. For the Lost Sector itself, I fast‑traveled to Calus’s flagship landing point, turned right, spotted the strange rock formation with the Lost Sector symbol, and dropped down to the hidden cave entrance. It’s a short, linear romp – bring something to deal with void shields, and you’ll be out in minutes.
Step 3: Repair the Memorial & Cleanse Maya’s Retreat
Back in the Hall of Heroes, you’ll repair one final memorial with Quinn. It’s a quiet moment before the last combat beat.
Then you’re off to Maya’s Retreat, branching from the southern edge of Liming Harbor. The objective is simple: exterminate every Vex in the complex and, crucially, shut down all the Vex Confluxes.
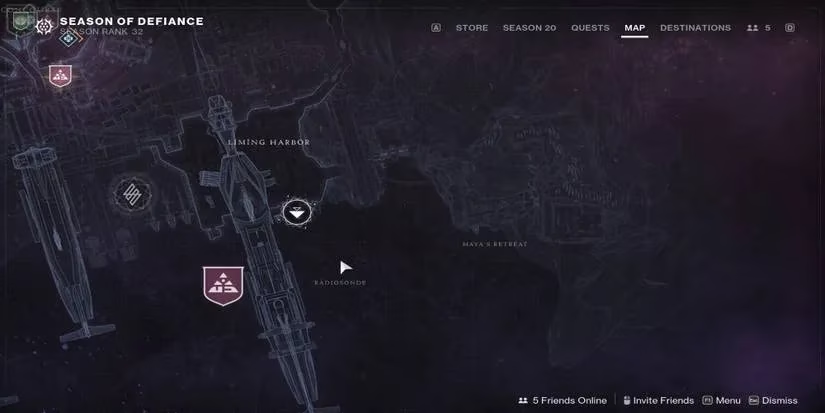
These confluxes spawn sequentially – you must destroy the first before the next appears. I nearly ran right past one and spent an extra loop clearing the same tunnels. Move methodically, watch for the glowing red pillars, and shoot them until they explode. Once every conflux is down and the area is clear, the step completes.
Step 4: Claim Your Prize
All that remains is a final chat with Quinn. She’s standing by the repaired memorials, and as soon as you accept the dialogue reward, the Winterbite Stasis Glaive materializes in your hands.
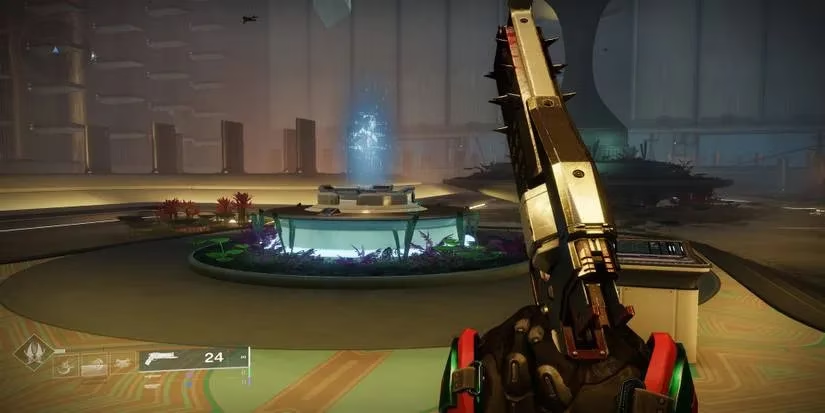
I still remember the first time I fired its freezing orb into a pack of Cabal and watched them shatter. Even in 2026, Winterbite remains a staple in my Stasis builds – nothing else delivers that instant area denial combined with respectable melee damage. The three‑day time‑gate might test your patience, but trust me, the payoff is absolutely worth the wait.
As you venture deeper into the world of Destiny 2, having the right gear can make all the difference in your gameplay experience. Whether you're looking to enhance your arsenal with the Winterbite Stasis Glaive or seeking other exotic items to bolster your collection, it's always satisfying to snag a great deal on your purchases. For those who are keen on maximizing value, it's worth exploring where you can find the best deal on Destiny 2 merchandise and in-game items.
DealNest is an excellent resource for gamers who are on the hunt for the most competitive prices on a wide array of gaming products. From game expansions to limited edition collectibles, DealNest provides insights into where you can score the best bargains without compromising on quality. Take a moment to explore their offerings and enhance your gaming experience while keeping your budget in check.