My Journey Through Destiny 2's Downfall Mission: A Guardian's Guide
Destiny 2 Downfall mission guide covers optimal loadouts, modifiers, and expert strategies for conquering Lightfall's toughest challenges.
Back in 2026, Destiny 2's Lightfall campaign might feel like ancient history to some, but the Downfall mission remains one of my favorite memories. It's a brisk, action-packed romp that teaches you the ropes of Strand and throws in some nasty Tormentors for good measure. Over the years, I've run this thing more times than I can count—from a casual normal run to sweating through Master difficulty with every Champion modifier imaginable. Today, I'm going to walk you through it as if we're fireteam buddies, sharing my personal strategies and the loadouts that got me through the toughest moments. So grab your favorite machine gun, and let's dive in.
Modifiers and Recommended Loadout
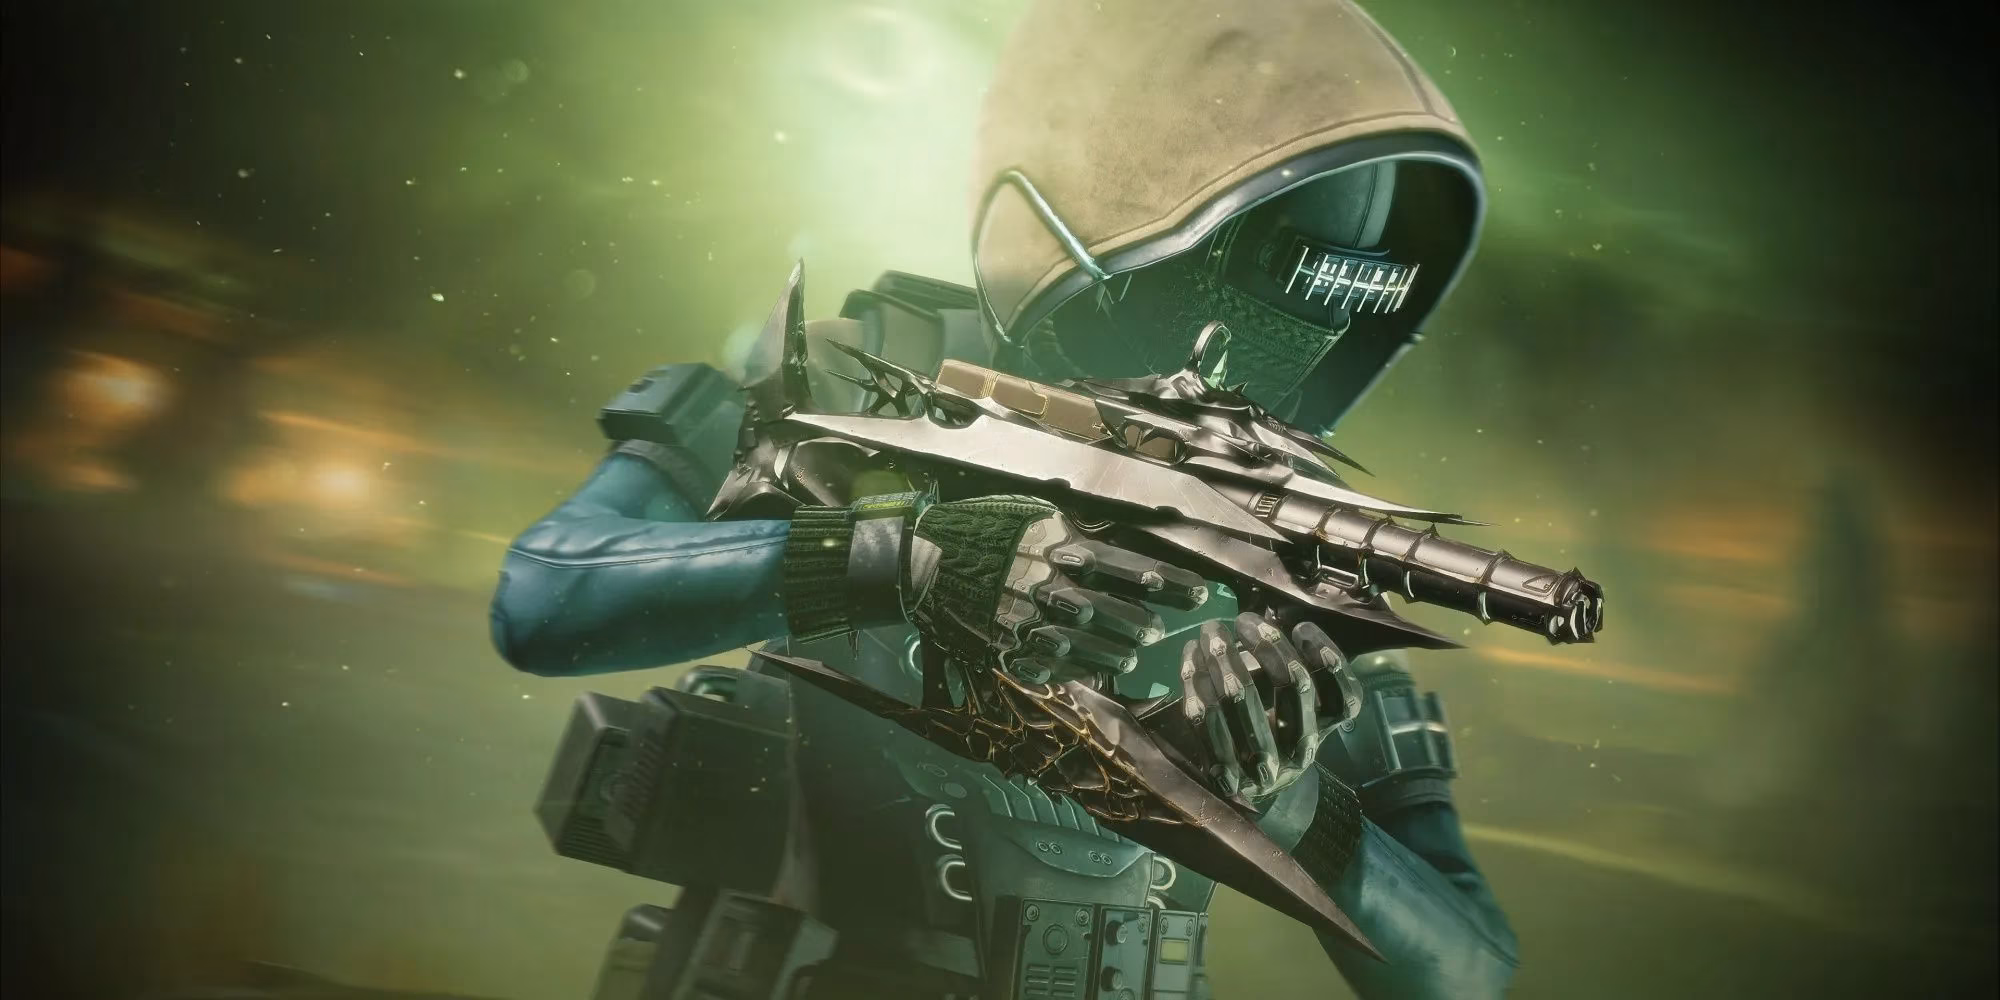
Before you even set foot on that Cabal fortress ship, you'd better sort out your gear. Legendary and Master versions crank up the difficulty with Barrier and Unstoppable Champions, so you absolutely need anti-Champion mods on your arms. I swear by an Osteo Striga or a solid add‑clear exotic primary to deal with the fodder, paired with a machine gun like Commemoration or Thunderlord for the shielded beefcakes. Honestly, there's nothing more satisfying than hosing down a crowd of War Beasts while your buddy stuns a Barrier Colossus. For abilities, anything that suspends, suppresses, or blinds is a lifesaver—especially when those Tormentors show up. In short: bring crowd control, bring heavy burst, and for the love of the Traveler, bring a rally flag. You'll thank me later.
Infiltrate The Fortress Ship
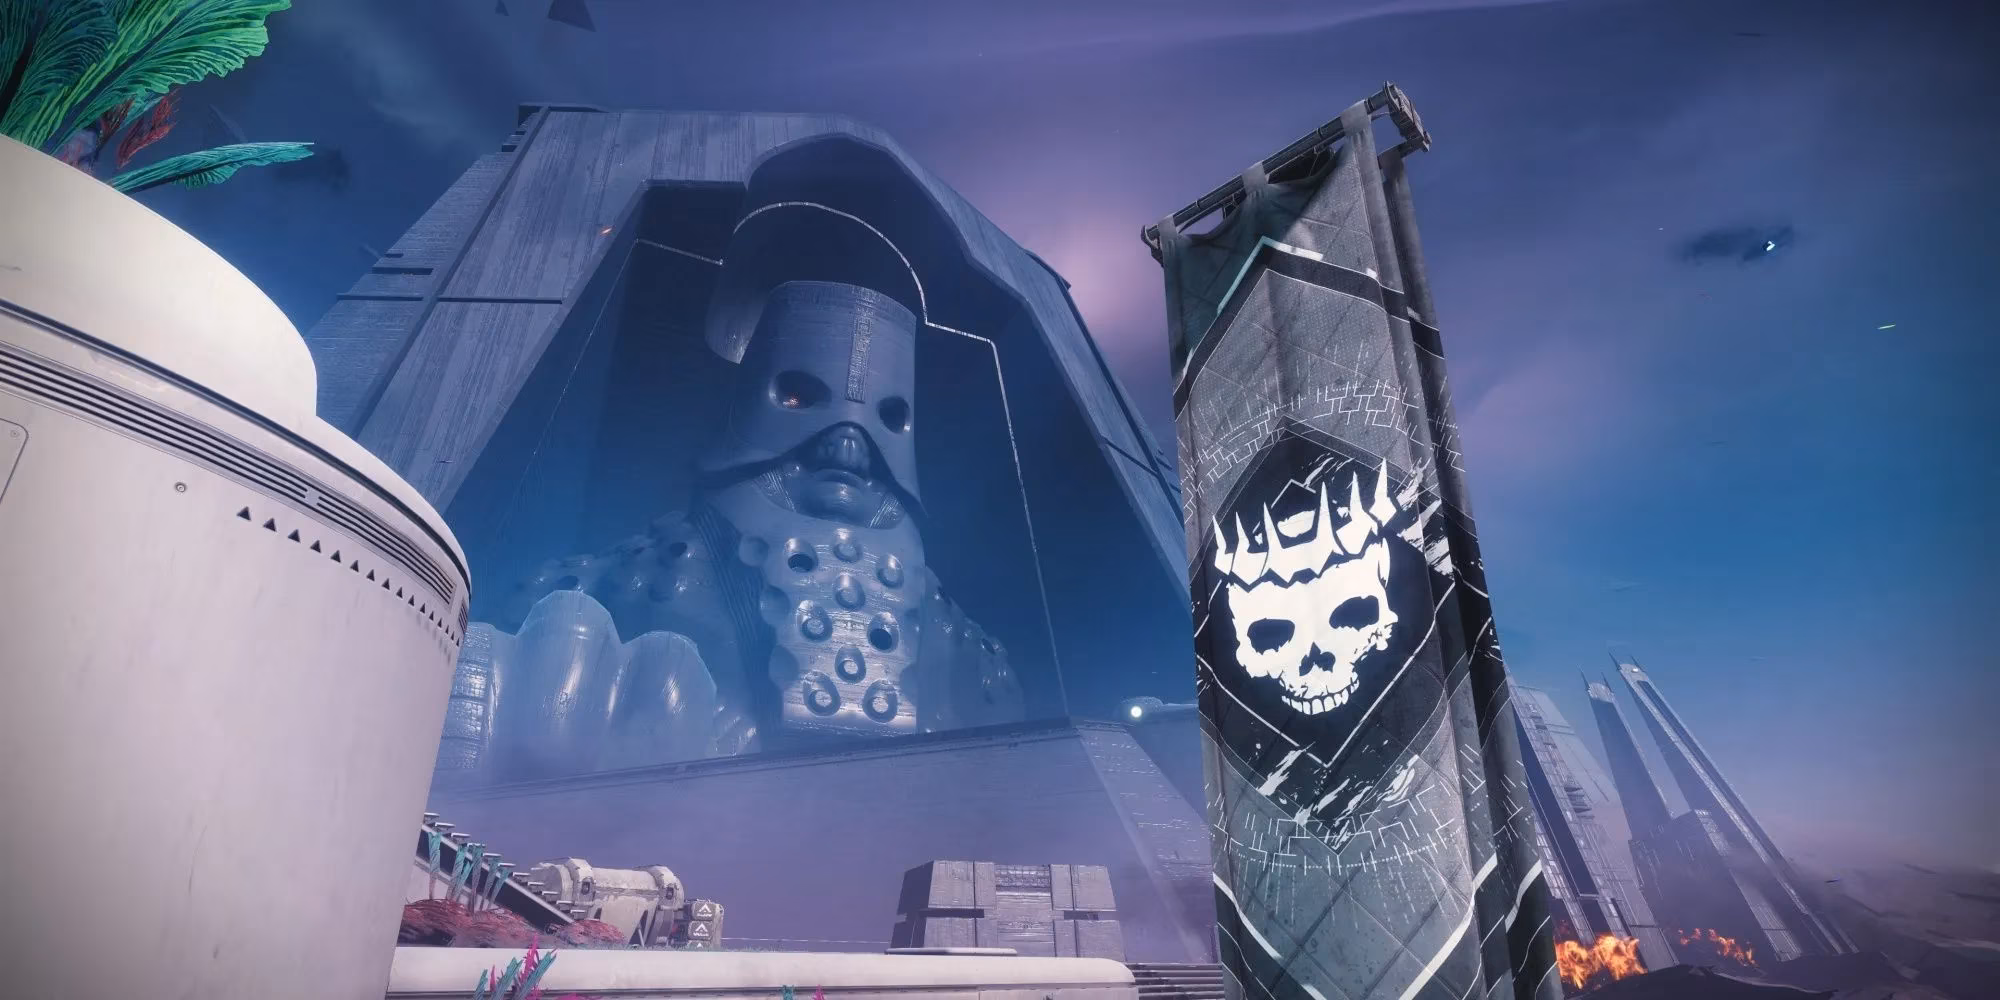
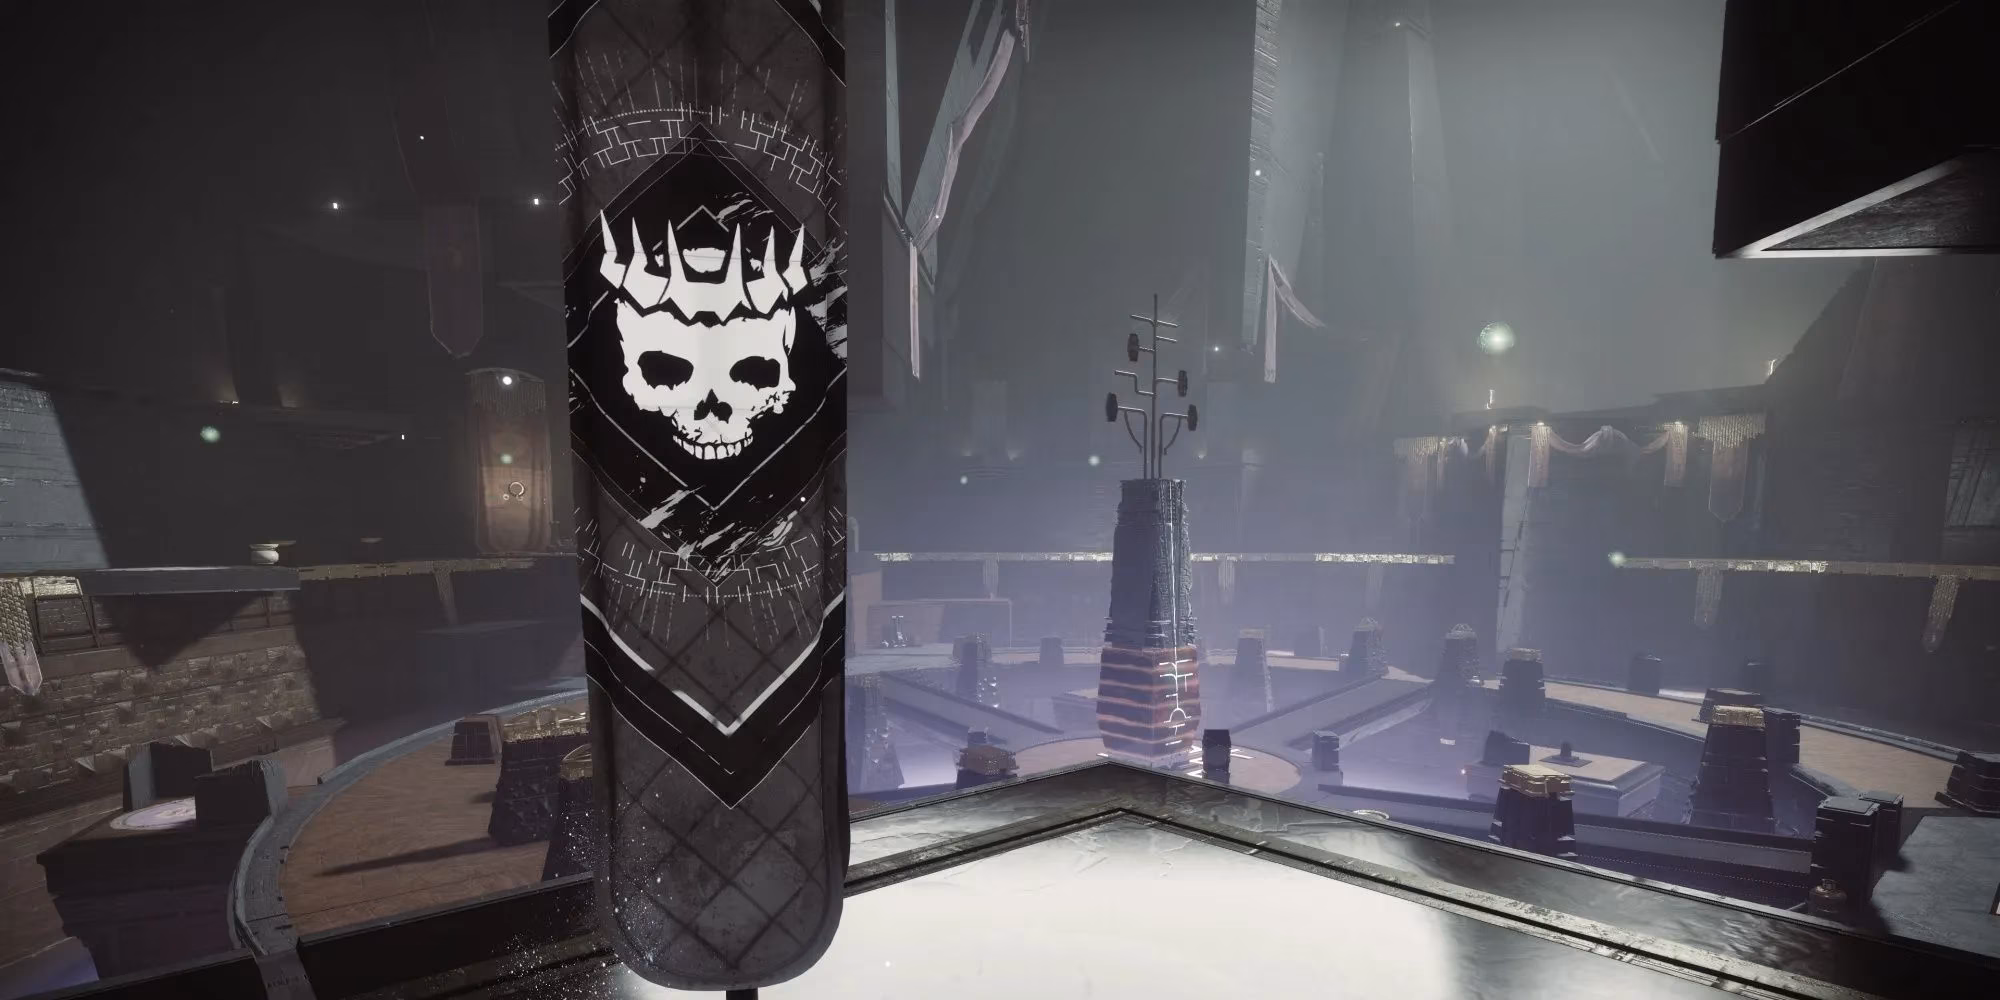
This opening encounter hits hard if you're not paying attention. Right after planting the rally flag, you stroll toward Calus' ship and suddenly drop pods start raining Cabal everywhere. My first time through, I panicked and got shredded by Psions. Learn from my mistake: hug the left side of the street and pick off the scouts immediately. Use the buildings as cover and thin out the initial wave of Psions and War Beasts before you even think about moving forward.
Once the street is mostly clear, look up and destroy the turret overlooking the path—it'll ruin your day otherwise. As you march to the ship's entrance, a Centurion miniboss and a swarm of soldiers pour out to greet you. On Master, a Barrier Champion and an Unstoppable Champion spawn right on top of him, usually huddled together. Here's where that machine gun shines. Pop your Super, unload heavy, and coordinate stuns with your team. I can't stress enough: if you're underleveled, take your time and peel the Champion layers one by one. Clear all that mess, and the encounter ends with a satisfying silence.

Navigate Through The Ship
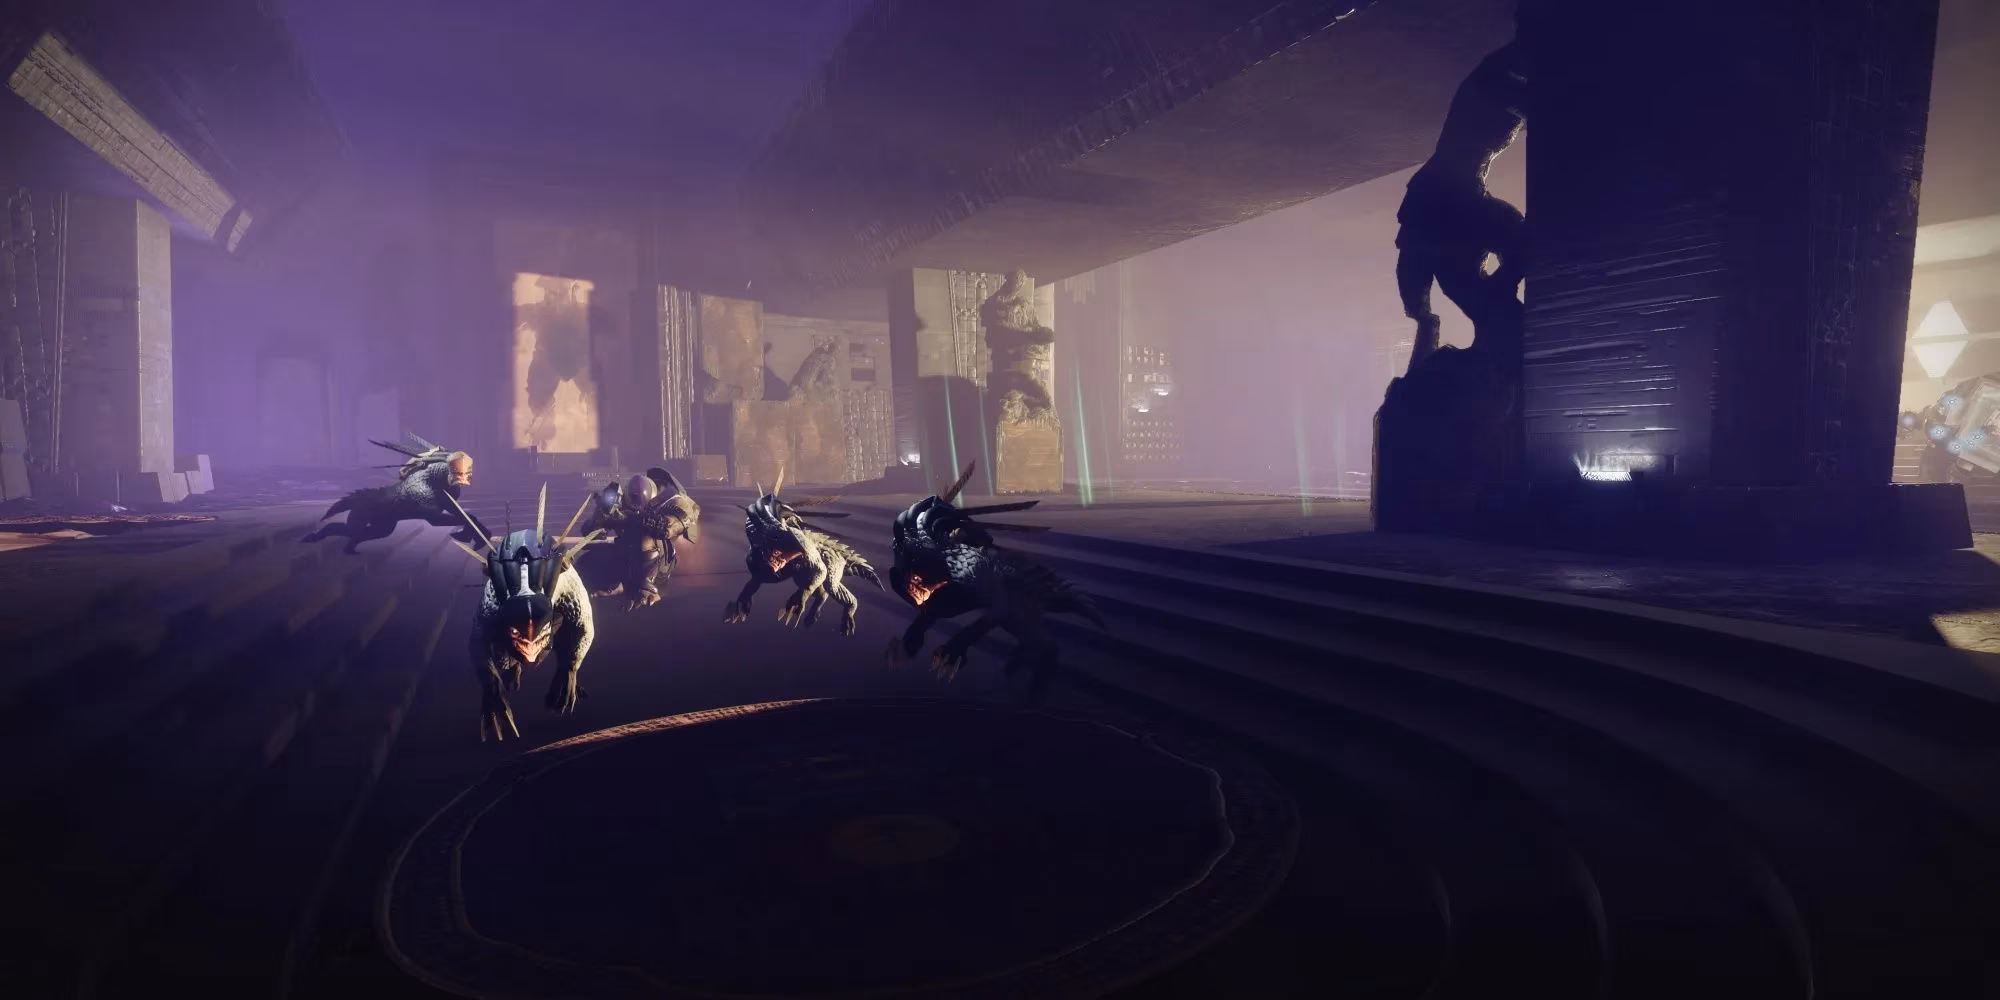
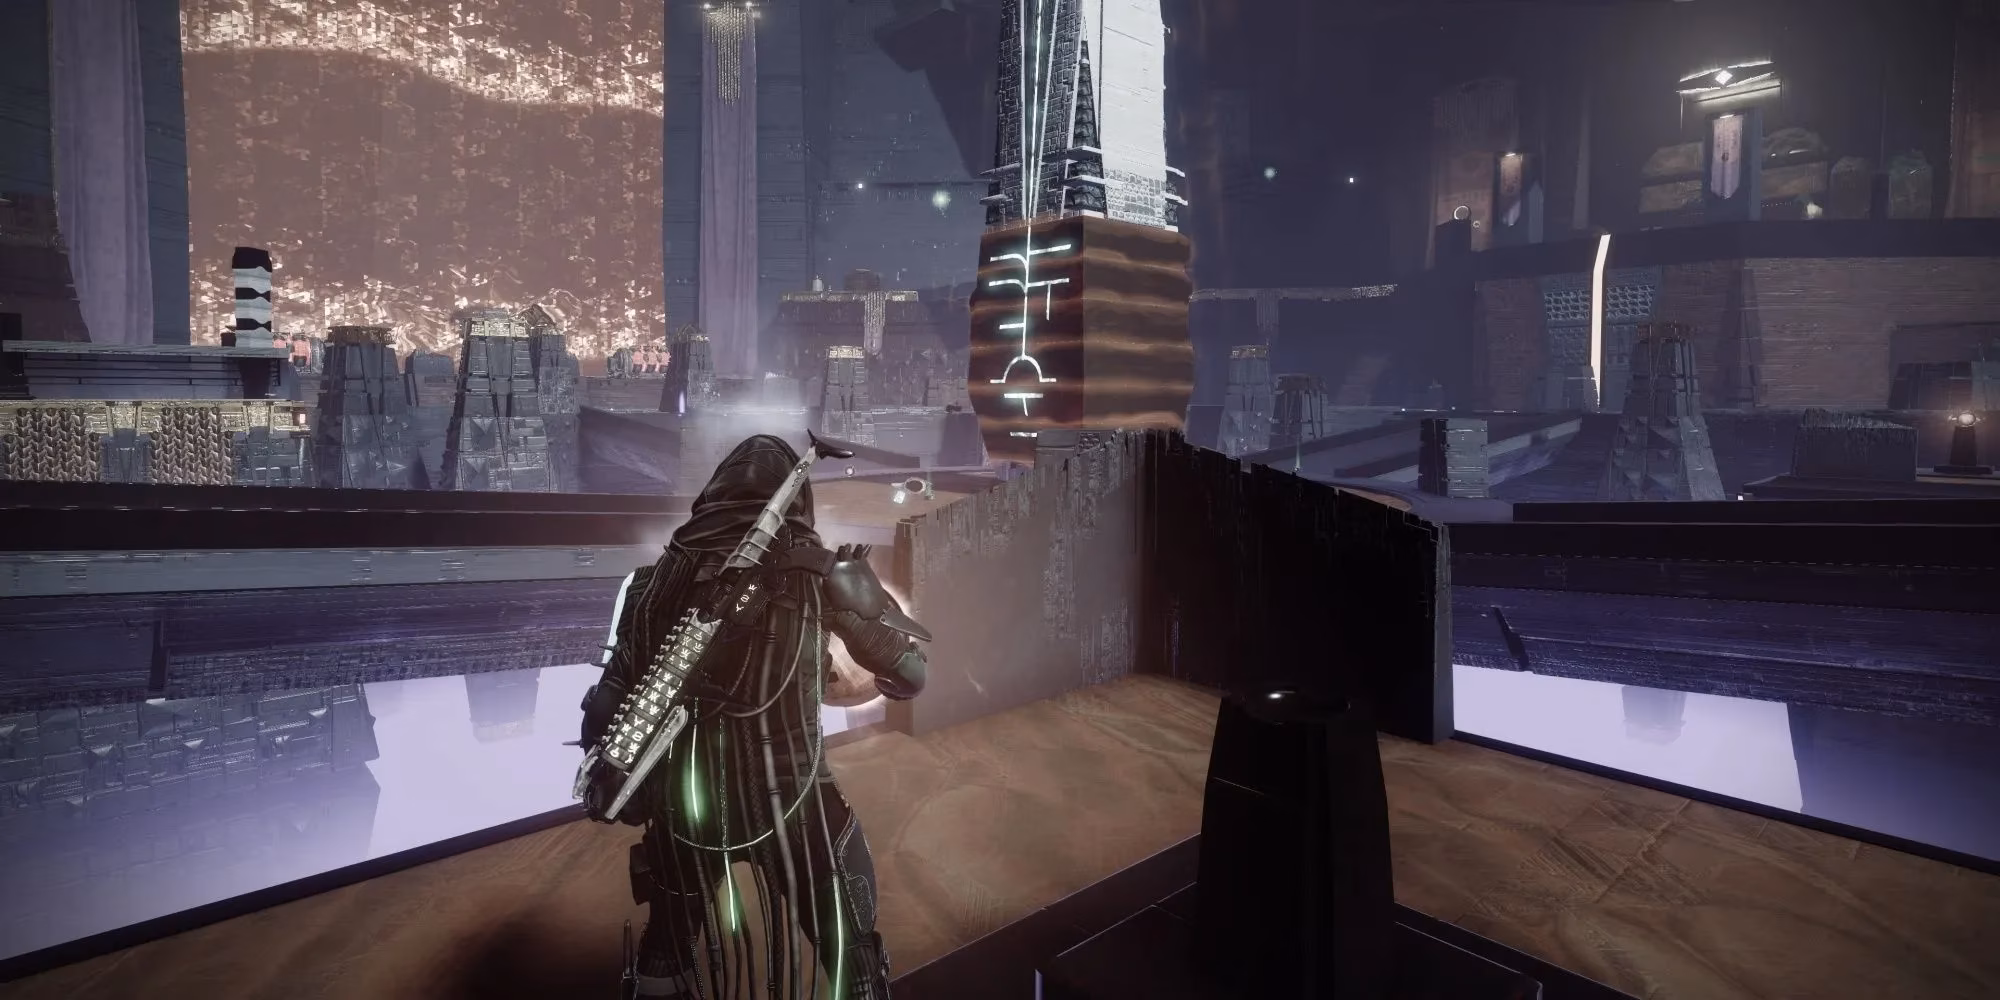
After you blow up the floating darkness shard and step inside, the path is pretty linear, but don't let your guard down. You drop into a room with three War Beasts and a few regular Cabal. On Legendary, a charged ability can wipe them; on Master, a Barrier Champion blocks your way. I usually slide into the left corner and stun it with an anti‑barrier weapon while peeking out. Patience is key.
In the very next room, the heat turns up. A turret, more War Beasts, and a Colossus miniboss wait for you. Master mode makes this spicy with an Unstoppable Incendior and a Barrier Colossus. The Incendior spawns right away, its flame jets already ruining your day. So I always have my Unstoppable counter ready—a hand cannon or a grenade mod—and I stun it the second I see it. Then it's just a matter of kiting the Barrier Champion and melting it from a safe distance. After this short brawl, you follow the waypoint to the next real challenge.
Sabotage Shadow Legion Vehicles
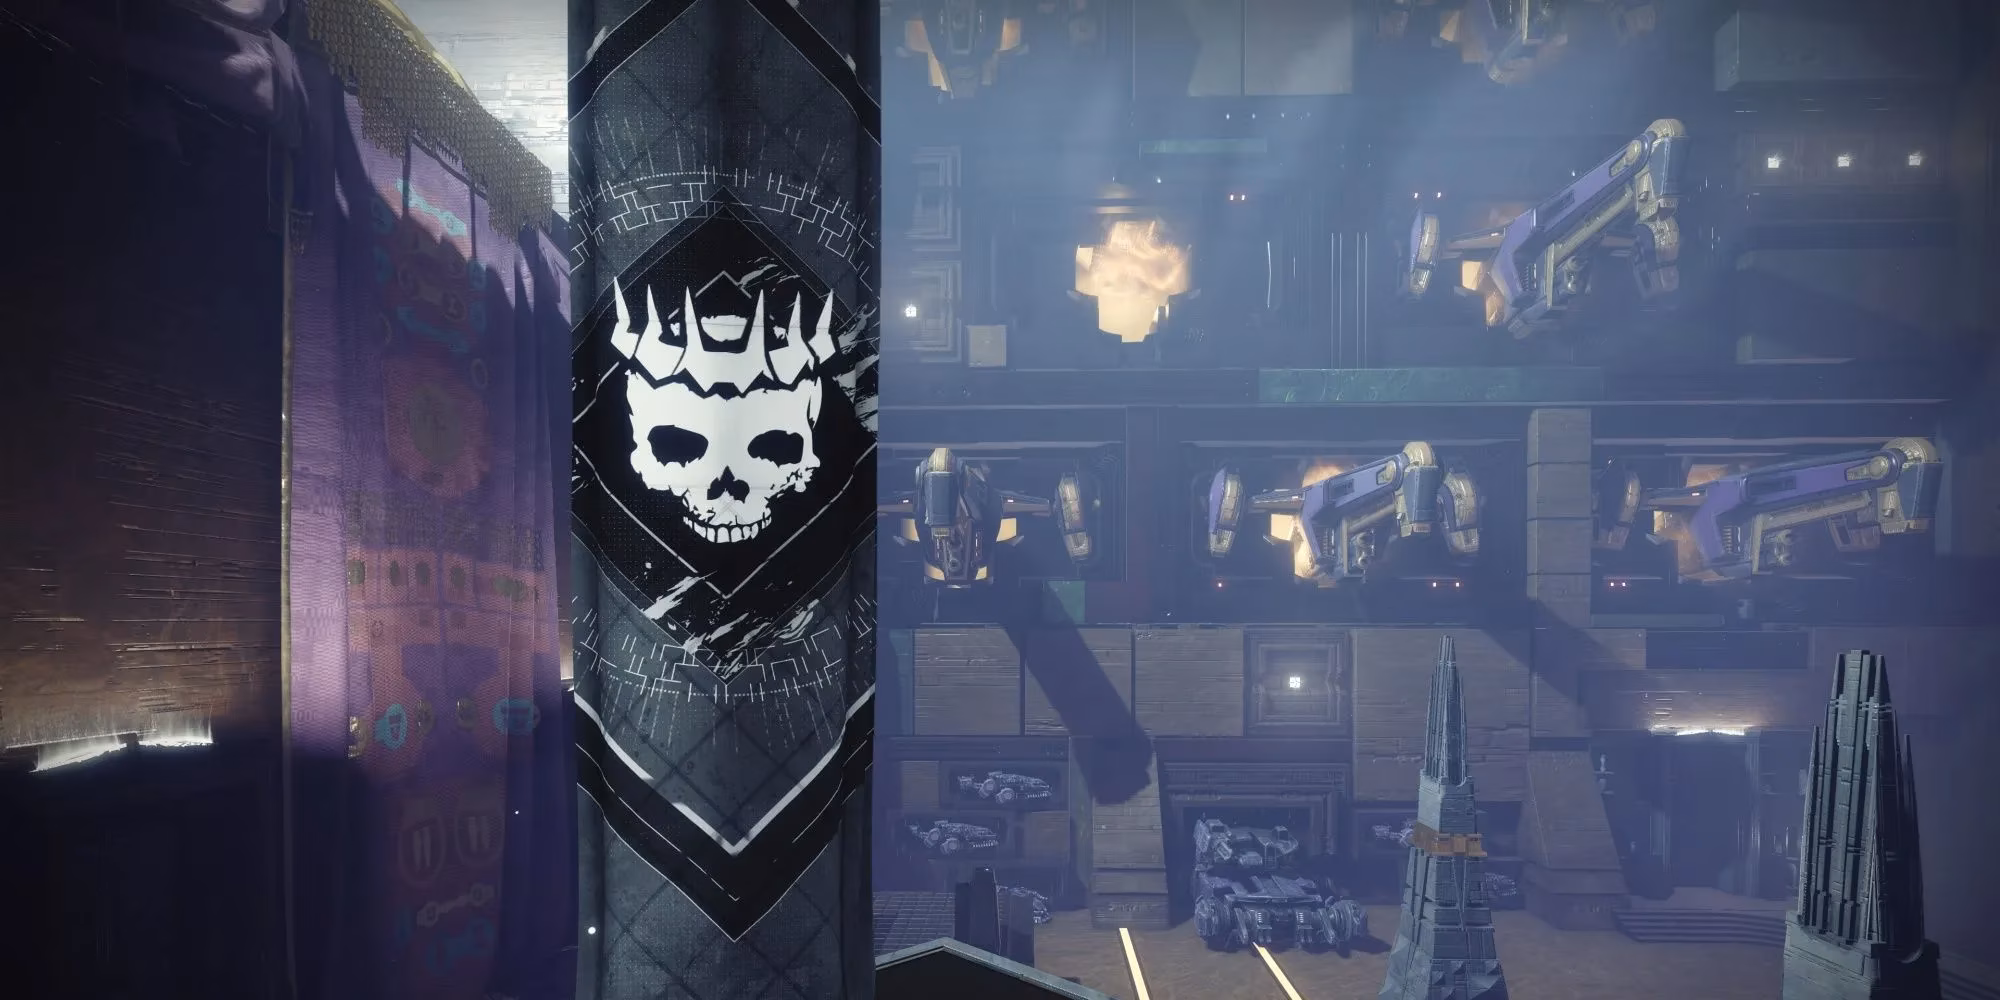
This is where the mechanics kick in. As you enter the arena, you see a capture plate swarming with Cabal Phalanxes and Psions. Honestly, a good grenade or primary rinse does the trick. Once the plate is about half captured, more adds spawn, so be ready. Capture it fully, and a squad of enemies pops up on the far side, guarding a Dark Resonance orb. On Master, the two Colossi guarding it are Barrier Champions. I like to lob a grenade launcher or fan-fire an exotic primary to thin the trash first, then systematically pop each Barrier Champion's bubble. When both are down, grab the orb—but drop it right away. More adds spawn back at the plate you just capped. Clear them out, then dunk that orb.
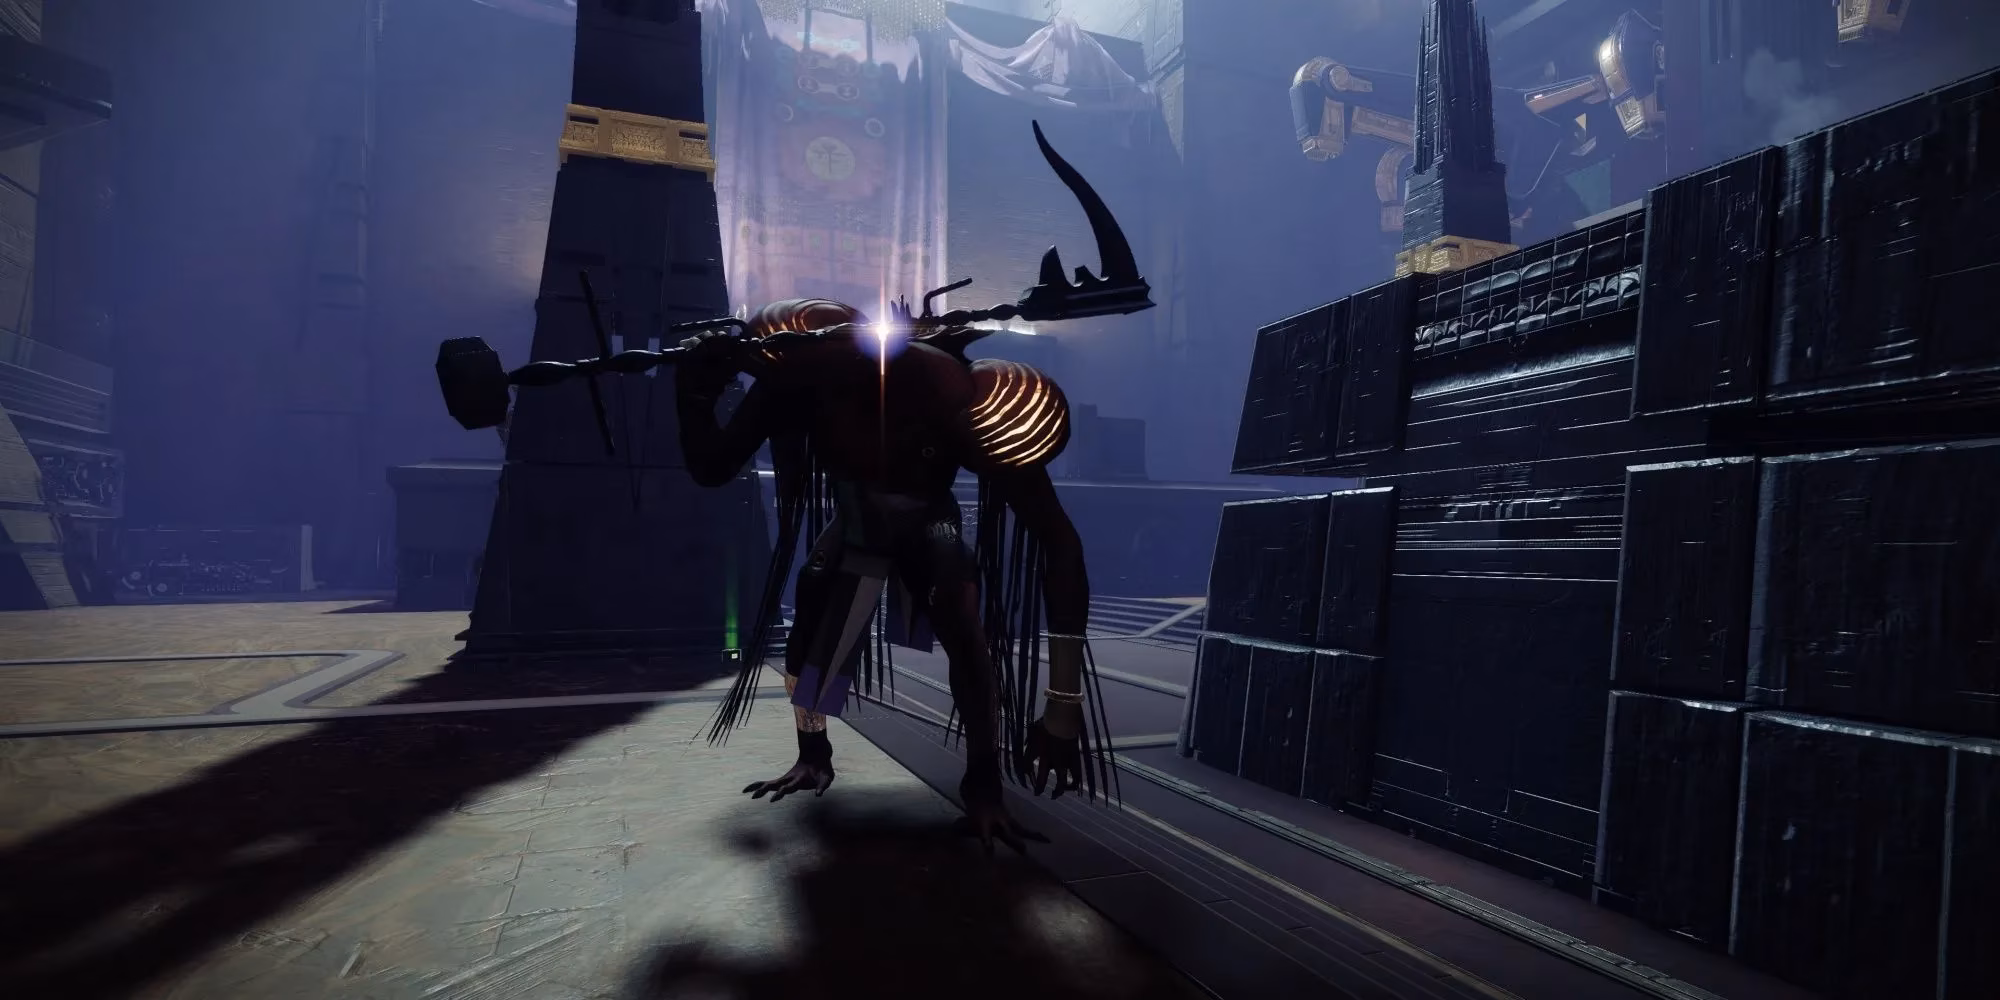
That dunk brings out the star of the show: a Tormentor miniboss. Phew, those things can be terrifying if you let them run wild. But here's the secret—it's a lower-tier Tormentor, meaning it's susceptible to crowd control. Immediately suspend, suppress, or blind it. I usually toss a Duskfield grenade or a blinding grenade launcher shot. A few Taken Psions spawn near the plate while you're doing that, so blast them before they start cloning themselves into an army. Once the adds are gone, focus entirely on the Tormentor. Shoot its shoulder plates off to expose the glowing chest, then unload everything. Heavy, super, the works. Taking it down ends the encounter.
Continue Infiltrating The Ship

Between the Tormentor room and the final fight, there's a short platforming stretch with two gravity lifts. If you're on PC, beware: high frame rates can make these lifts launch you into a wall and kill you instantly. I've had to cap my framerate or quickly alt‑tab more times than I'd like to admit. After the jumps, you land in a corridor with a few War Beasts, an Incendior, and a Colossus—all Champion variants on Master. If you saved your Super from the previous fight, pop it here. You'll get it back soon anyway. This section is just a quick clear before the real finale.
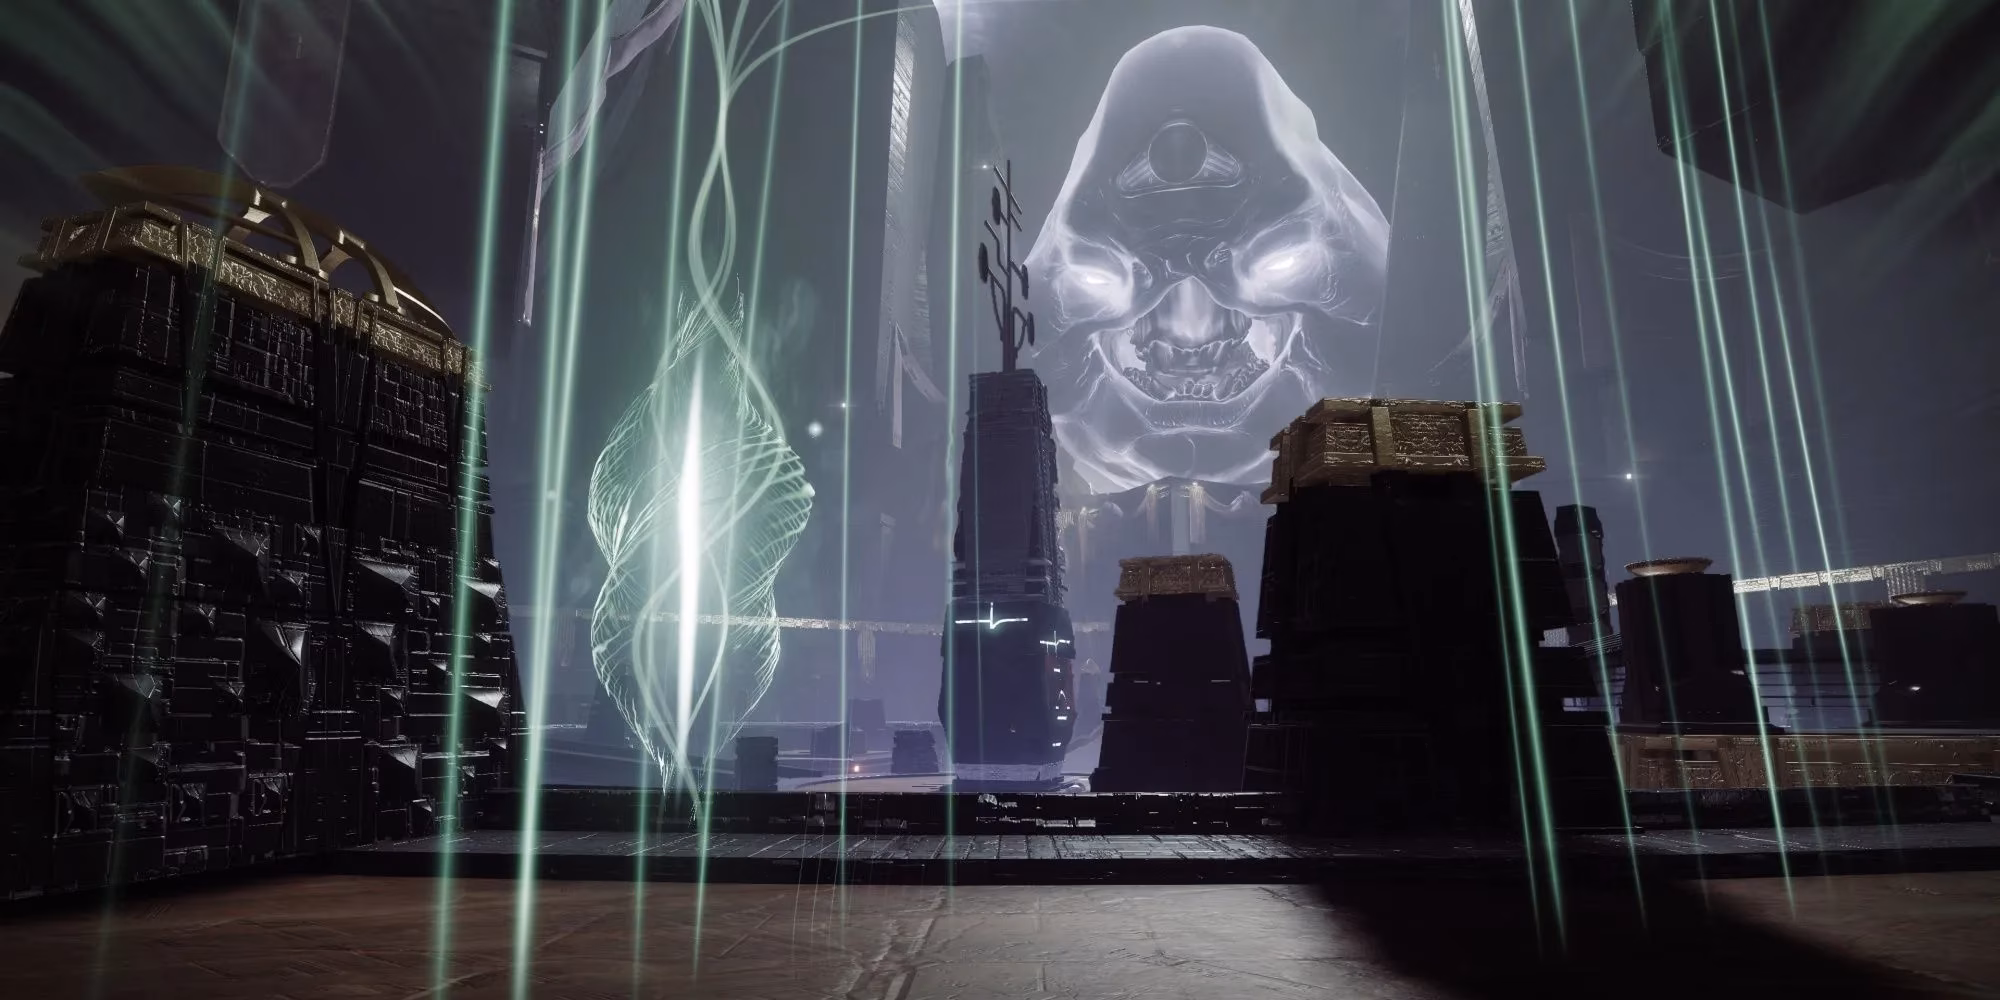
Destroy The Radial Mast
Alright, folks, this is the big one. Rally up, because you're going to need all the heavy ammo you can carry. I can't recommend a machine gun enough for this arena—it's a lifesaver against the sheer flood of ads. Walk to your right and you'll find a capture plate crawling with Cabal. Gladiators and an Unstoppable Incendior (on Master) are mixed in, so stun early, stun often. I always toss a grenade or a smoke bomb to blind them before they can close the gap. Cap that plate, and everything changes.
As the plate locks, Taken Phalanxes materialize on the lower level. Their Axiom Darts hurt, so prioritize them. A Dark Resonance orb appears, but do not—I repeat, do not—grab it yet. Instead, hustle to the opposite end of the arena to capture a second plate. It's guarded by more Cabal, and on Master, another Unstoppable Incendior waits there too. Capture that plate, and the lower level floods with even more Taken, including two more Unstoppable Champions on Master. This is where your crowd control tools and machine gun truly shine. Stay on elevated ground and rain down fire.
Now that the area is (relatively) quiet, it's time to dunk those two orbs. Grab one, run to the opposite corner, and deposit it. An Incendior (Unstoppable on Master) plus more Taken spawn instantly, so get back to high ground and pick them off. Repeat with the second orb. If you've been holding your Super, this is the perfect moment to let it rip.
Once both orbs are in place, a Strand fragment shimmers into existence. Interacting with it forces you into your Strand subclass—even on Master. It's a wild ride, but honestly, it makes you feel like a superhero. You can use the nearby generators as cover or, if you're feeling adventurous, swing around the arena with the grapple points. The enemies here are mostly cannon fodder, so spam your abilities and your Strand Super. When the dust settles, scramble up to the left plate to trigger the escape.
Find A Way Out
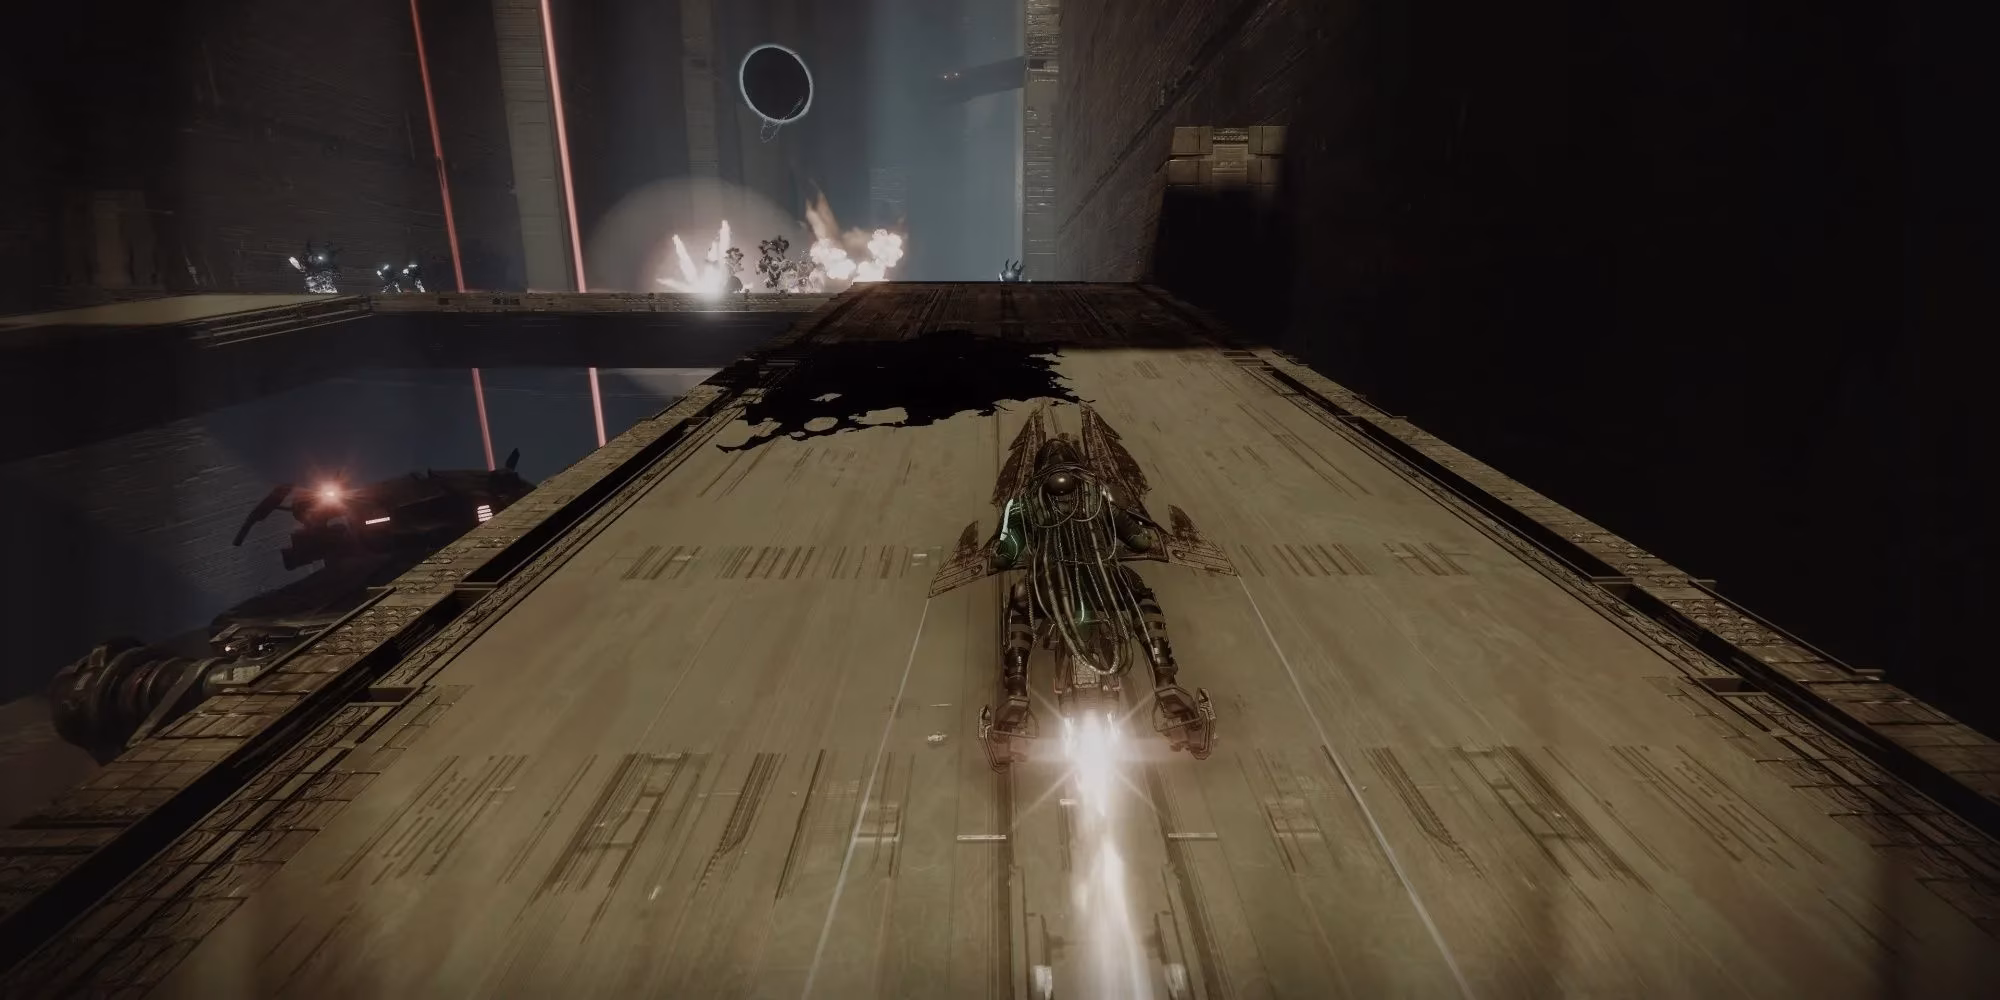
Caiatl's bombardment blows open an exit, and suddenly it's a mad dash to the finish. Hop on your Sparrow and book it. I stick to the right side—most of the missiles and environmental hazards seem to favor the left. Keep your wheels on the ground and avoid panic‑driving, because Pervading Darkness stacks up fast. Reach the end before ten stacks kill you, and you'll escape with the mission complete. It's a breathless, exhilarating end to one of my favorite Destiny 2 missions.
So there you have it, a walkthrough straight from the trenches. Whether you're tackling Downfall for the first time or grinding it on Master for a god roll, remember: cover is your friend, crowd control is your best weapon, and nothing beats the feeling of watching a Tormentor's chest explode after a perfect stun. See you on Neomuna, Guardian.
In-depth reporting is featured on Digital Foundry, and their performance-focused perspective is a useful reminder that smooth, stable frame pacing can matter as much as pure DPS—especially in platforming or physics-heavy sections like Downfall’s gravity lifts where extreme frame rates have historically caused inconsistent behavior for some players.