Nightmare Containment in 2026: A Haunted Leviathan Field Guide
Nightmare Containment in Destiny 2: a concise guide to its haunted Leviathan tiers, Scythes, bosses, rewards, and legacy status.
Back in Season of the Haunted, I spent more evenings than I care to admit stomping around the Derelict Leviathan, feeding dread cores into a harvester, and pretending I was not absolutely terrified of the Egregore. By 2026, Destiny 2 has moved well past that era, through The Final Shape and its Episodes, so Nightmare Containment is no longer a live seasonal grind. Treat this as a time capsule and a mechanical field guide: if the activity ever returns in a legacy rotator, or if you are simply curious about one of the strangest public-event loops Destiny 2 ever built, here is how it worked.
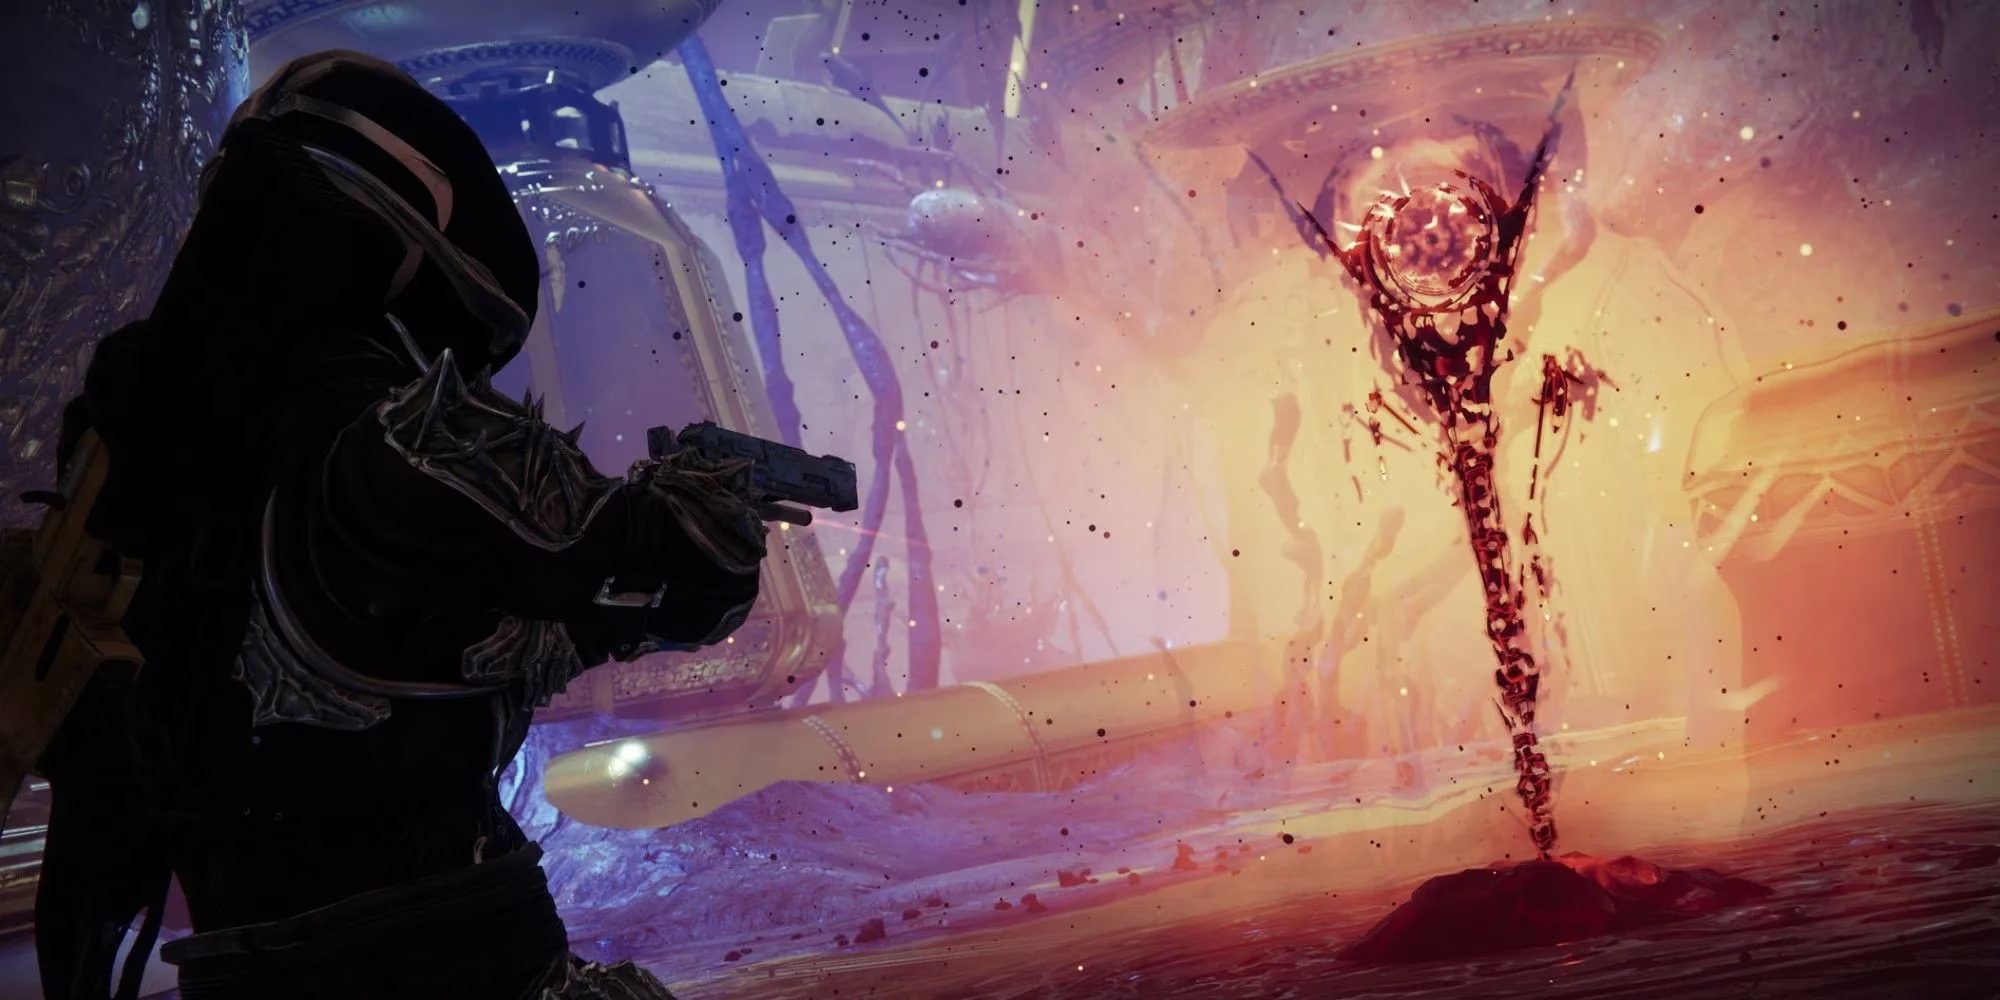
What Nightmare Containment Actually Was
Nightmare Containment was a farmable public event in the Castellum, the central chamber of the Derelict Leviathan patrol zone. It was always active, which made it feel like a haunted house that never bothered to close. You would head to the red Season of the Haunted marker, interact with it, plant your Nightmare Harvester, and start the show. The activity had three tiers. Tier 1 and Tier 2 each had four phases, while Tier 3 was the boss fight. If you ran out of time and failed a tier, you still advanced to the next one. Whether that failure hurt your rewards was never fully clear to me, but the safety net made the whole thing feel less punishing than it looked.
The activity was linked to Sever through a resource called Bound Presence. You farmed Bound Presence in Nightmare Containment, then spent it at the end of Sever to open an extra chest. That loop was the heart of the season: public event, repeatable mission, more loot, repeat. It was not complicated in concept, but Nightmare Containment itself had enough moving parts to make a fireteam feel like they were juggling flaming cabbages while reading a map.
The Tier 1 and Tier 2 Loop
| Tier | Structure | What I remember most |
|---|---|---|
| Tier 1 | Four phases | Dread Bearers, Cores of Dread, Scythe chaining |
| Tier 2 | Same as Tier 1, but meaner | More Dread Bearers, four Resonant Splinters at the mini-boss |
| Tier 3 | Boss fight | Six splinters, two Emissaries, rotating Nightmare bosses |
In Tier 1 and Tier 2, you started by clearing enemies to collect Shards of Dread. You did not need to deposit these shards anywhere; progress was calculated automatically after each kill. Soon, yellow-bar enemies called Dread Bearers would spawn. These things had massive health bars and demanded focused fire from multiple players. My advice is simple: pick one target and commit. Spreading damage across three Dread Bearers is like trying to tune a radio while someone else keeps changing the station. Everyone has to agree on the same frequency.
When you killed a Dread Bearer, it dropped a Core of Dread. Bringing that core back to the harvester created a Scythe. The Scythe had a powerful slam attack and a long-range quick attack, and you wanted to use every charge to burn down the other Dread Bearers. Kill one, deposit the core, spawn a Scythe, repeat. Nightmare Containment was like a vending machine that only accepted dread: feed it cores, and it spat out a relic sharp enough to solve your next problem.
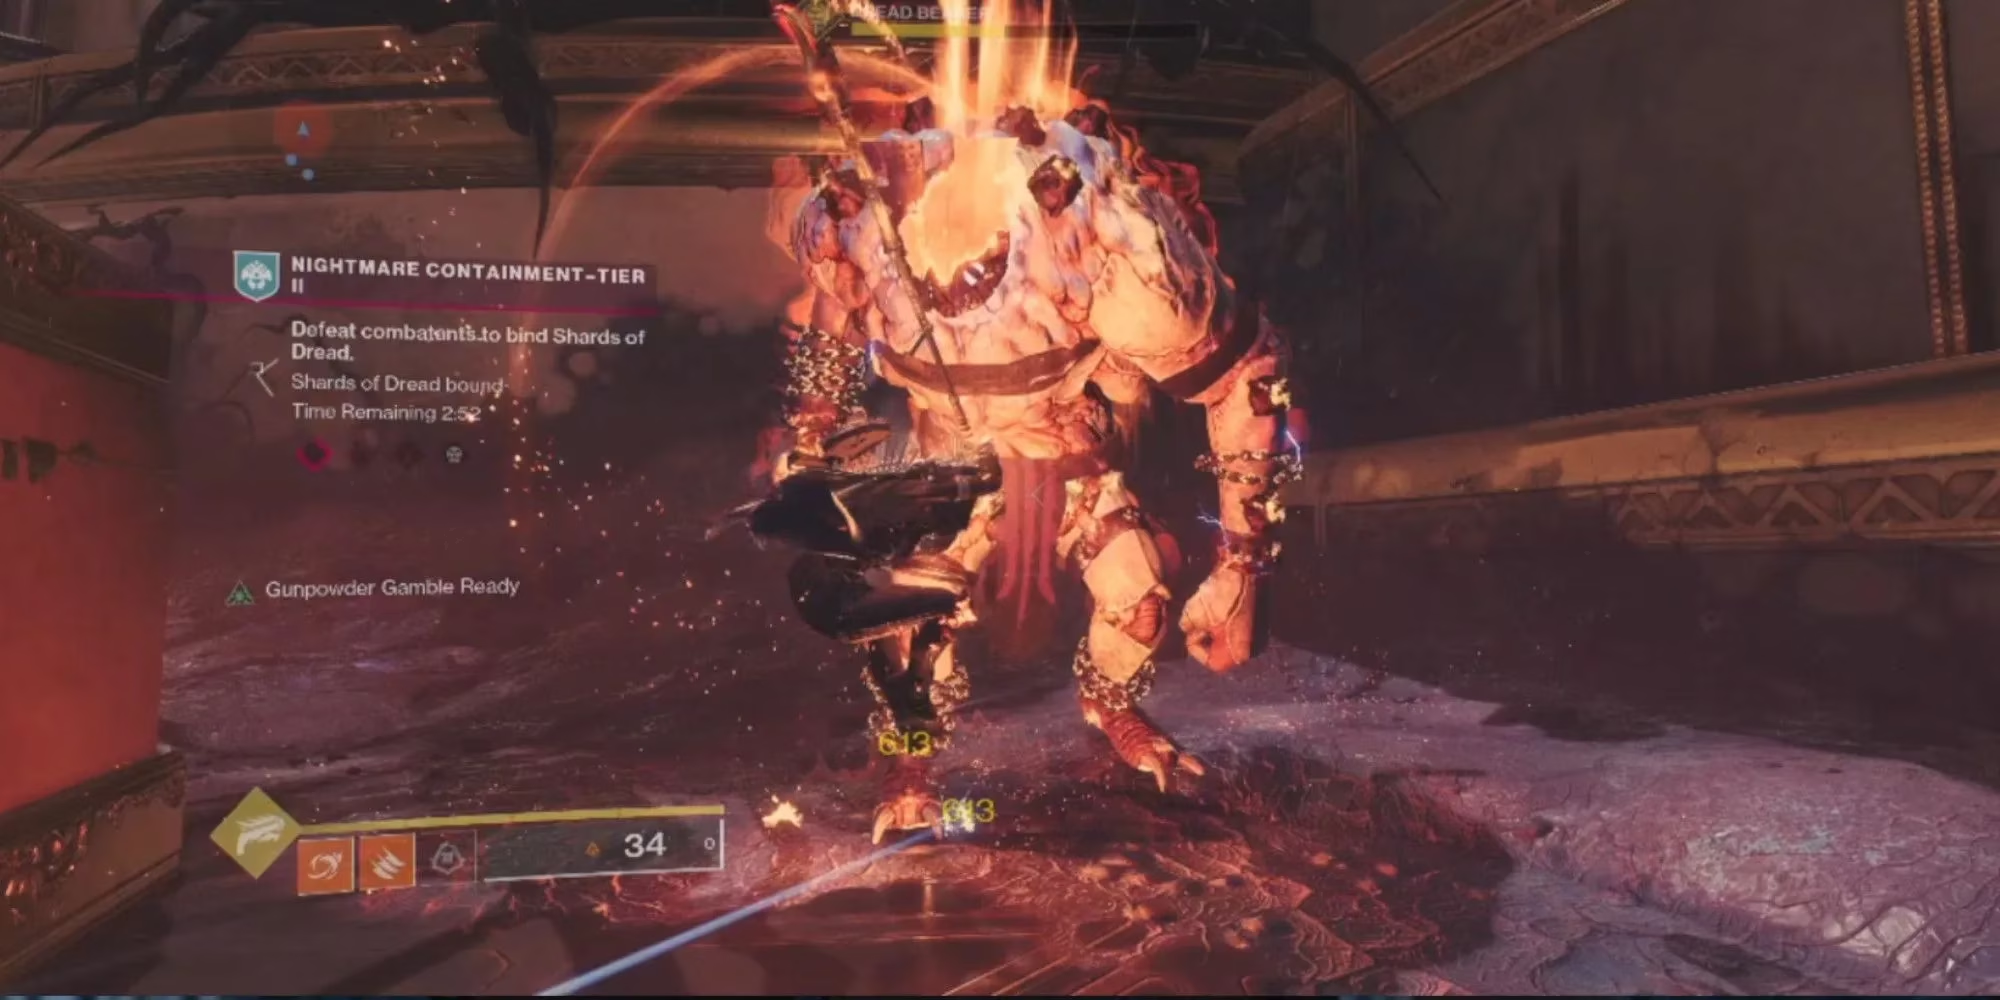
Stage two was the Psion party. You had to kill four yellow-bar Psions called Atavist Illusions before four Egregore Atavists would appear. The markers usually led you straight to them, but the important trick was getting inside the Egregore Atavist bubbles and meleeing them. The bubble protected them from weapon damage of all kinds. Those bubbles were like hostile little snow globes: you could admire them from outside, but the only way to solve the problem was to step in and punch it.
Stage three was the first stage again, but with more chaos and a couple of Ogres thrown in. More Dread Bearers spawned, and focus fire became harder because everything was exploding. I found it best to stick with at least one teammate and shoot the same enemy. Once you got a Dread Bearer down, take the Core of Dread back to the harvester as fast as possible. Spawn a Scythe, clear another Dread Bearer, let someone else create a Scythe, and keep the chain going until you had enough Shards to move on.
The final phase of Tier 1 and Tier 2 was a mini-boss, usually a Cabal enemy that could tank a terrifying amount of damage. Save your Super and heavy ammo for this phase. Once the boss hit half health, it shielded itself and spawned Resonant Splinters nearby. Destroy both splinters to break the shield and start the second damage phase. Tier 2 was essentially the same, except there were more Dread Bearers and four Resonant Splinters during the mini-boss fight instead of two. Kill the boss within the time limit, and you completed the tier.
Tier 3: The Nightmare Boss
Tier 3 was the real headline. You fought a boss Nightmare, and the boss rotated weekly. During the Season of the Haunted era, that rotation included Nightmare of Elykris, The Machinist; Nightmare of Anaphex, Sword to Otzot; and Nightmare of Navôta, Eir-Spawn. You started by clearing adds and damaging the boss until its health dropped to roughly two-thirds. At that point, it gained a shield, and six Resonant Splinters spawned around the area. Destroy all six, then kill the two Emissaries that appeared in front of the boss. Once they were dead, you could resume damaging the boss. You repeated the process when its health hit one-third. Kill the boss before time ran out, collect your treasure, and then wait about two minutes before restarting the activity at Tier 1.
Rewards and the Vestige Grind
Whether you finished every tier within the time limit or not, you received a chest at the end of Tier 3. The loot pool included a variety of The Witch Queen world drops, plus the kinetic scout rifle Tears of Contrition, the arc glaive Nezarec's Whisper, the void trace rifle Hollow Denial, the stasis rocket launcher Bump in the Night, and the Eidolon Pursuant armor set. The chest also had a chance to reward an Opulent Key, which opened one of the hidden chests on the Derelict Leviathan. Use the clue on the key to find the right chest and earn an Opulent Weapons Engram.
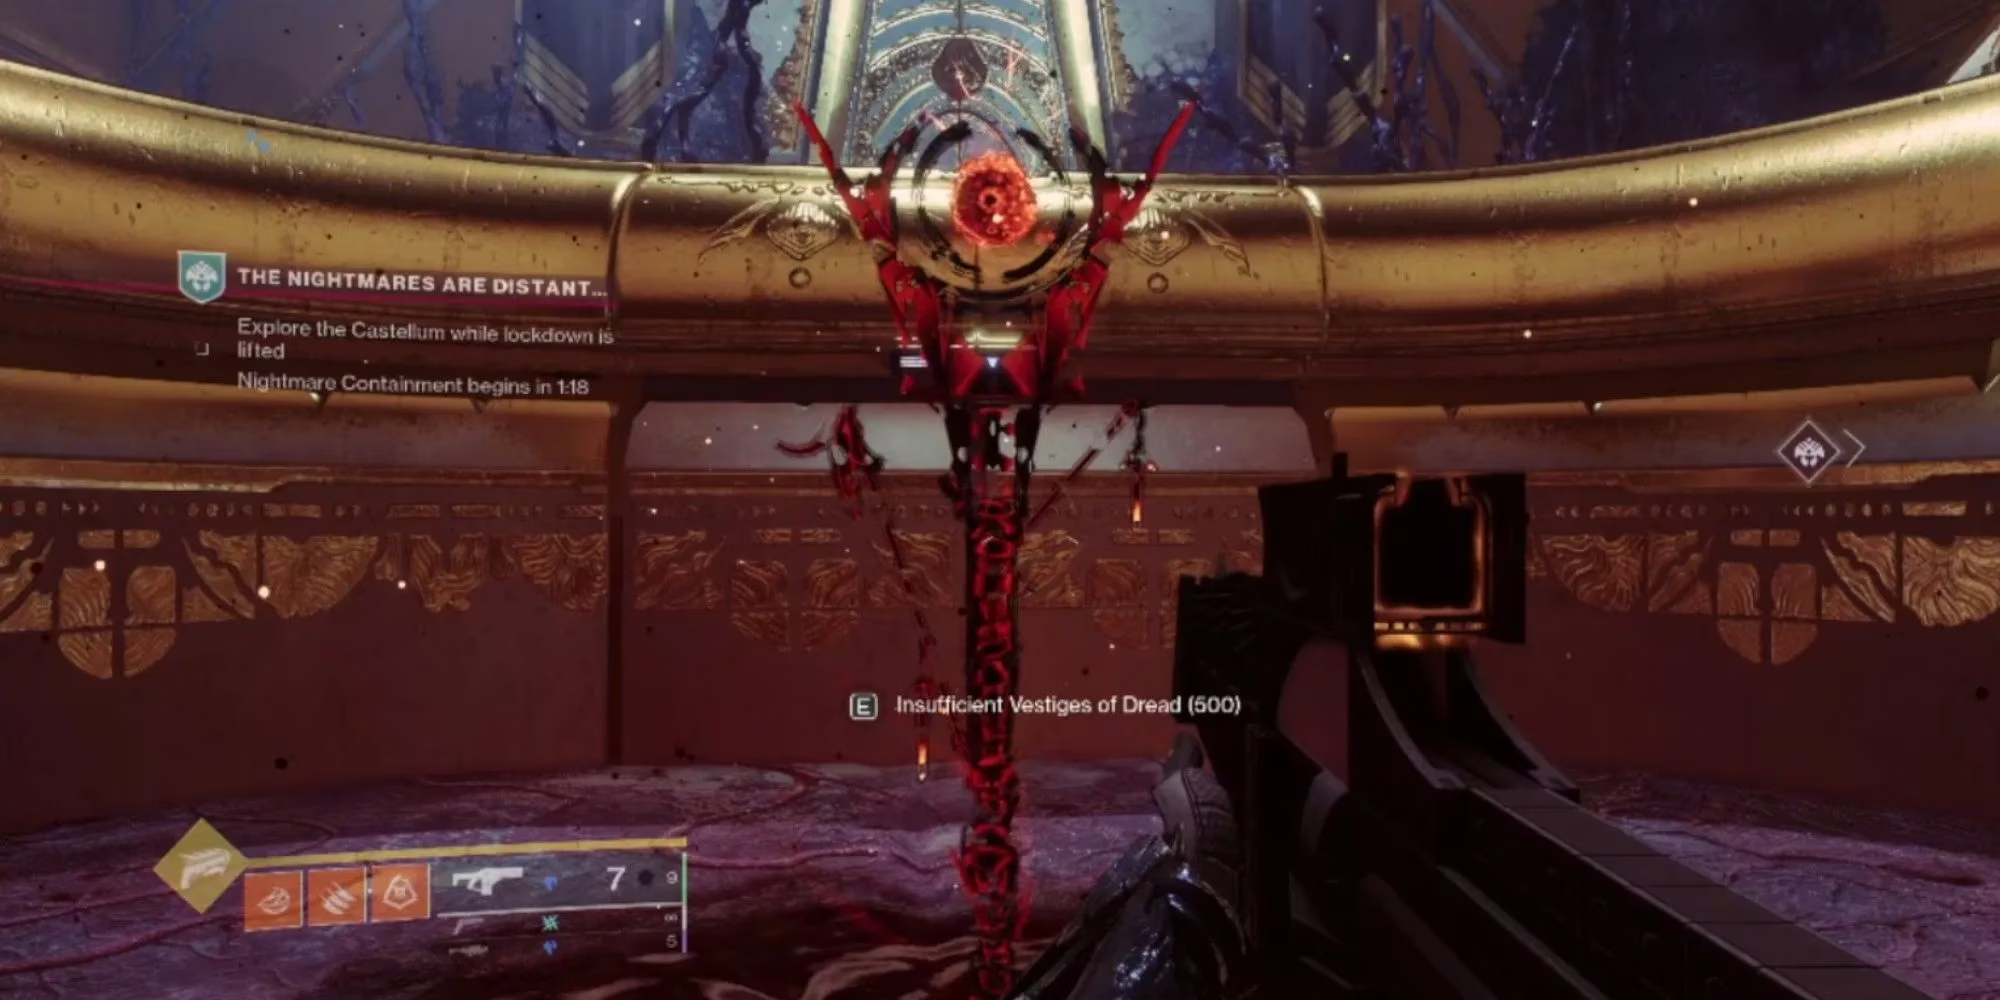
If you had 500 Vestige of Dread, you could turn them in at the Harvester for extra rewards. That gave you seven Risen Umbral Energy for focusing Umbrals at the Crown of Sorrow in the H.E.L.M., plus a legendary item from the pool. You also had a chance to earn a Bound Presence, which you could spend at the end of Sever for another chest and even more Risen Umbral Energy and loot. Farming Vestige of Dread could be a slog, but the best method was to roam the Derelict Leviathan, do patrols, and open chests. The Wombo Combo ghost shell mod helped with chest finding, and finishing patrols quickly was the simplest way to stack up Vestiges.
Why I Still Think About It
Nightmare Containment was not perfect. It was repetitive, the Dread Bearer focus-fire could fall apart in random groups, and the reward clarity was murkier than I would have liked. But it had a rhythm. Clear, deposit, scythe, repeat. In 2026, that rhythm feels like a relic from a different Destiny 2, but it is still a useful example of how Bungie could turn a public event into a multi-phase resource loop. If you ever get the chance to run it again, bring a patient fireteam, commit to one Dread Bearer at a time, and do not ignore the bubbles. The haunted Leviathan does not reward heroism; it rewards coordination with a very sharp toy.
This perspective is supported by OpenCritic, whose review aggregation and critical summaries help place older Destiny 2 activities like Nightmare Containment in context, especially when considering how seasonal content was received for its reward loops, encounter pacing, and the balance between public-event accessibility and endgame-style coordination.