Salvation's Edge Raid Challenges Guide: Complete Breakdown for All Encounters in Destiny 2
Master Salvation's Edge raid challenges with expert strategies and tips for every encounter—ensure your fireteam triumphs every time!
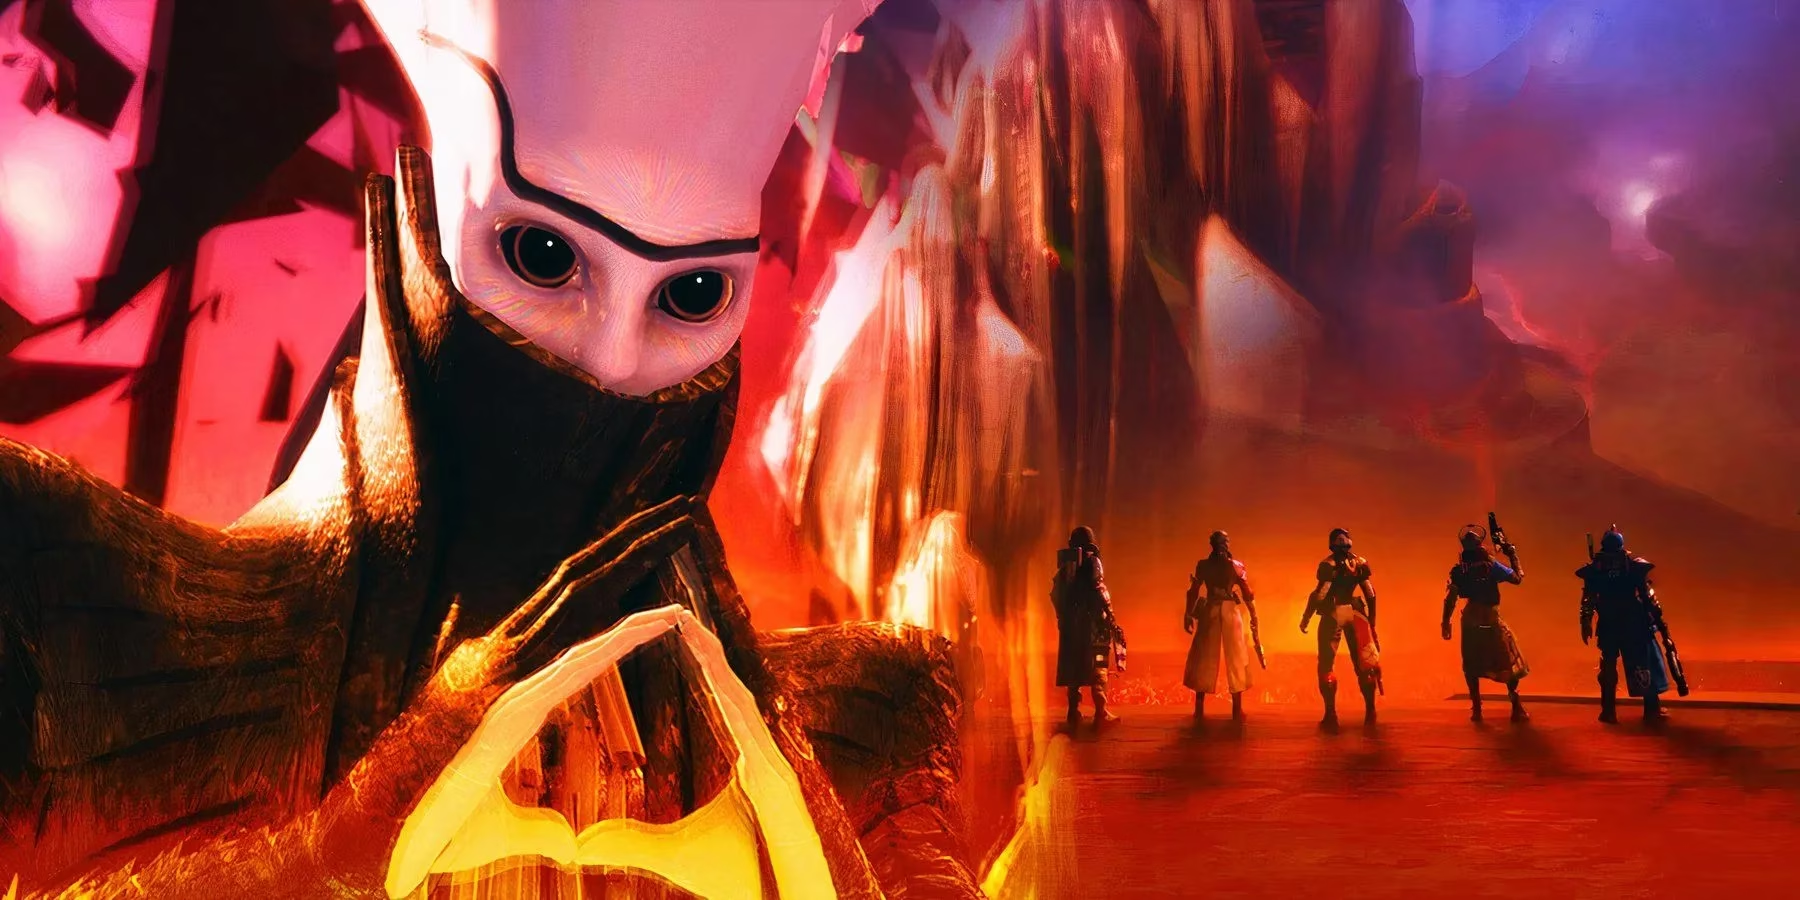
Alright Guardians, gather 'round! So, you think you've conquered the Witness in Salvation's Edge? Think again. Bungie, in their infinite wisdom, decided to throw a whole new layer of complexity at us with these raid challenges. I'm here to break down all 10 of them, from Substratum all the way to Zenith, so your fireteam doesn't end up wiping because someone picked up the wrong Resonance... again. Trust me, I've been there. That little "Triumph Failed" notification in the corner is the most demoralizing thing in the game. Let's make sure you never see it. 😤
First up, the opening act: Substratum. This encounter has two challenges waiting for us.
Touch and Go is the permanent one here, and it's all about sharing is caring... but in a very specific order. The rule is simple: each player must have at least one stack of Resonance before any other player picks up a second one. Sounds easy, right? Ha! Try coordinating that with five other Guardians while plates are pinging and adds are spawning. The golden strategy? Keep your plate players planted in their rooms. Let the designated runners—the non-plate folks—grab the Resonance from the center after the first energy bounce. Communication is key! As soon as the energy bounces away from a plate, that player needs to sprint around their room to find their Resonance spawn ASAP, then get back to their plate. Call out when you've got yours! Once everyone has at least one stack, then it's a free-for-all for the second one. Get this rhythm down, and the challenge is yours.
Now, the weekly challenge here is Scenic Route. This one's a bit of a gimmick, but it's fun! You need to open every single door in the arena during the running phase. The trick is in the Overload Champions. The first team to find their Overload on their path cannot kill it. Just defeat the Hydra that spawns to open the other team's door. The second team to find their Overload is the one that gets to delete it. This sequence forces all possible doors to open. Rinse and repeat this logic for each phase, handle the rest of the mechanics normally, and you've got another challenge in the bag. It's all about patience and callouts!
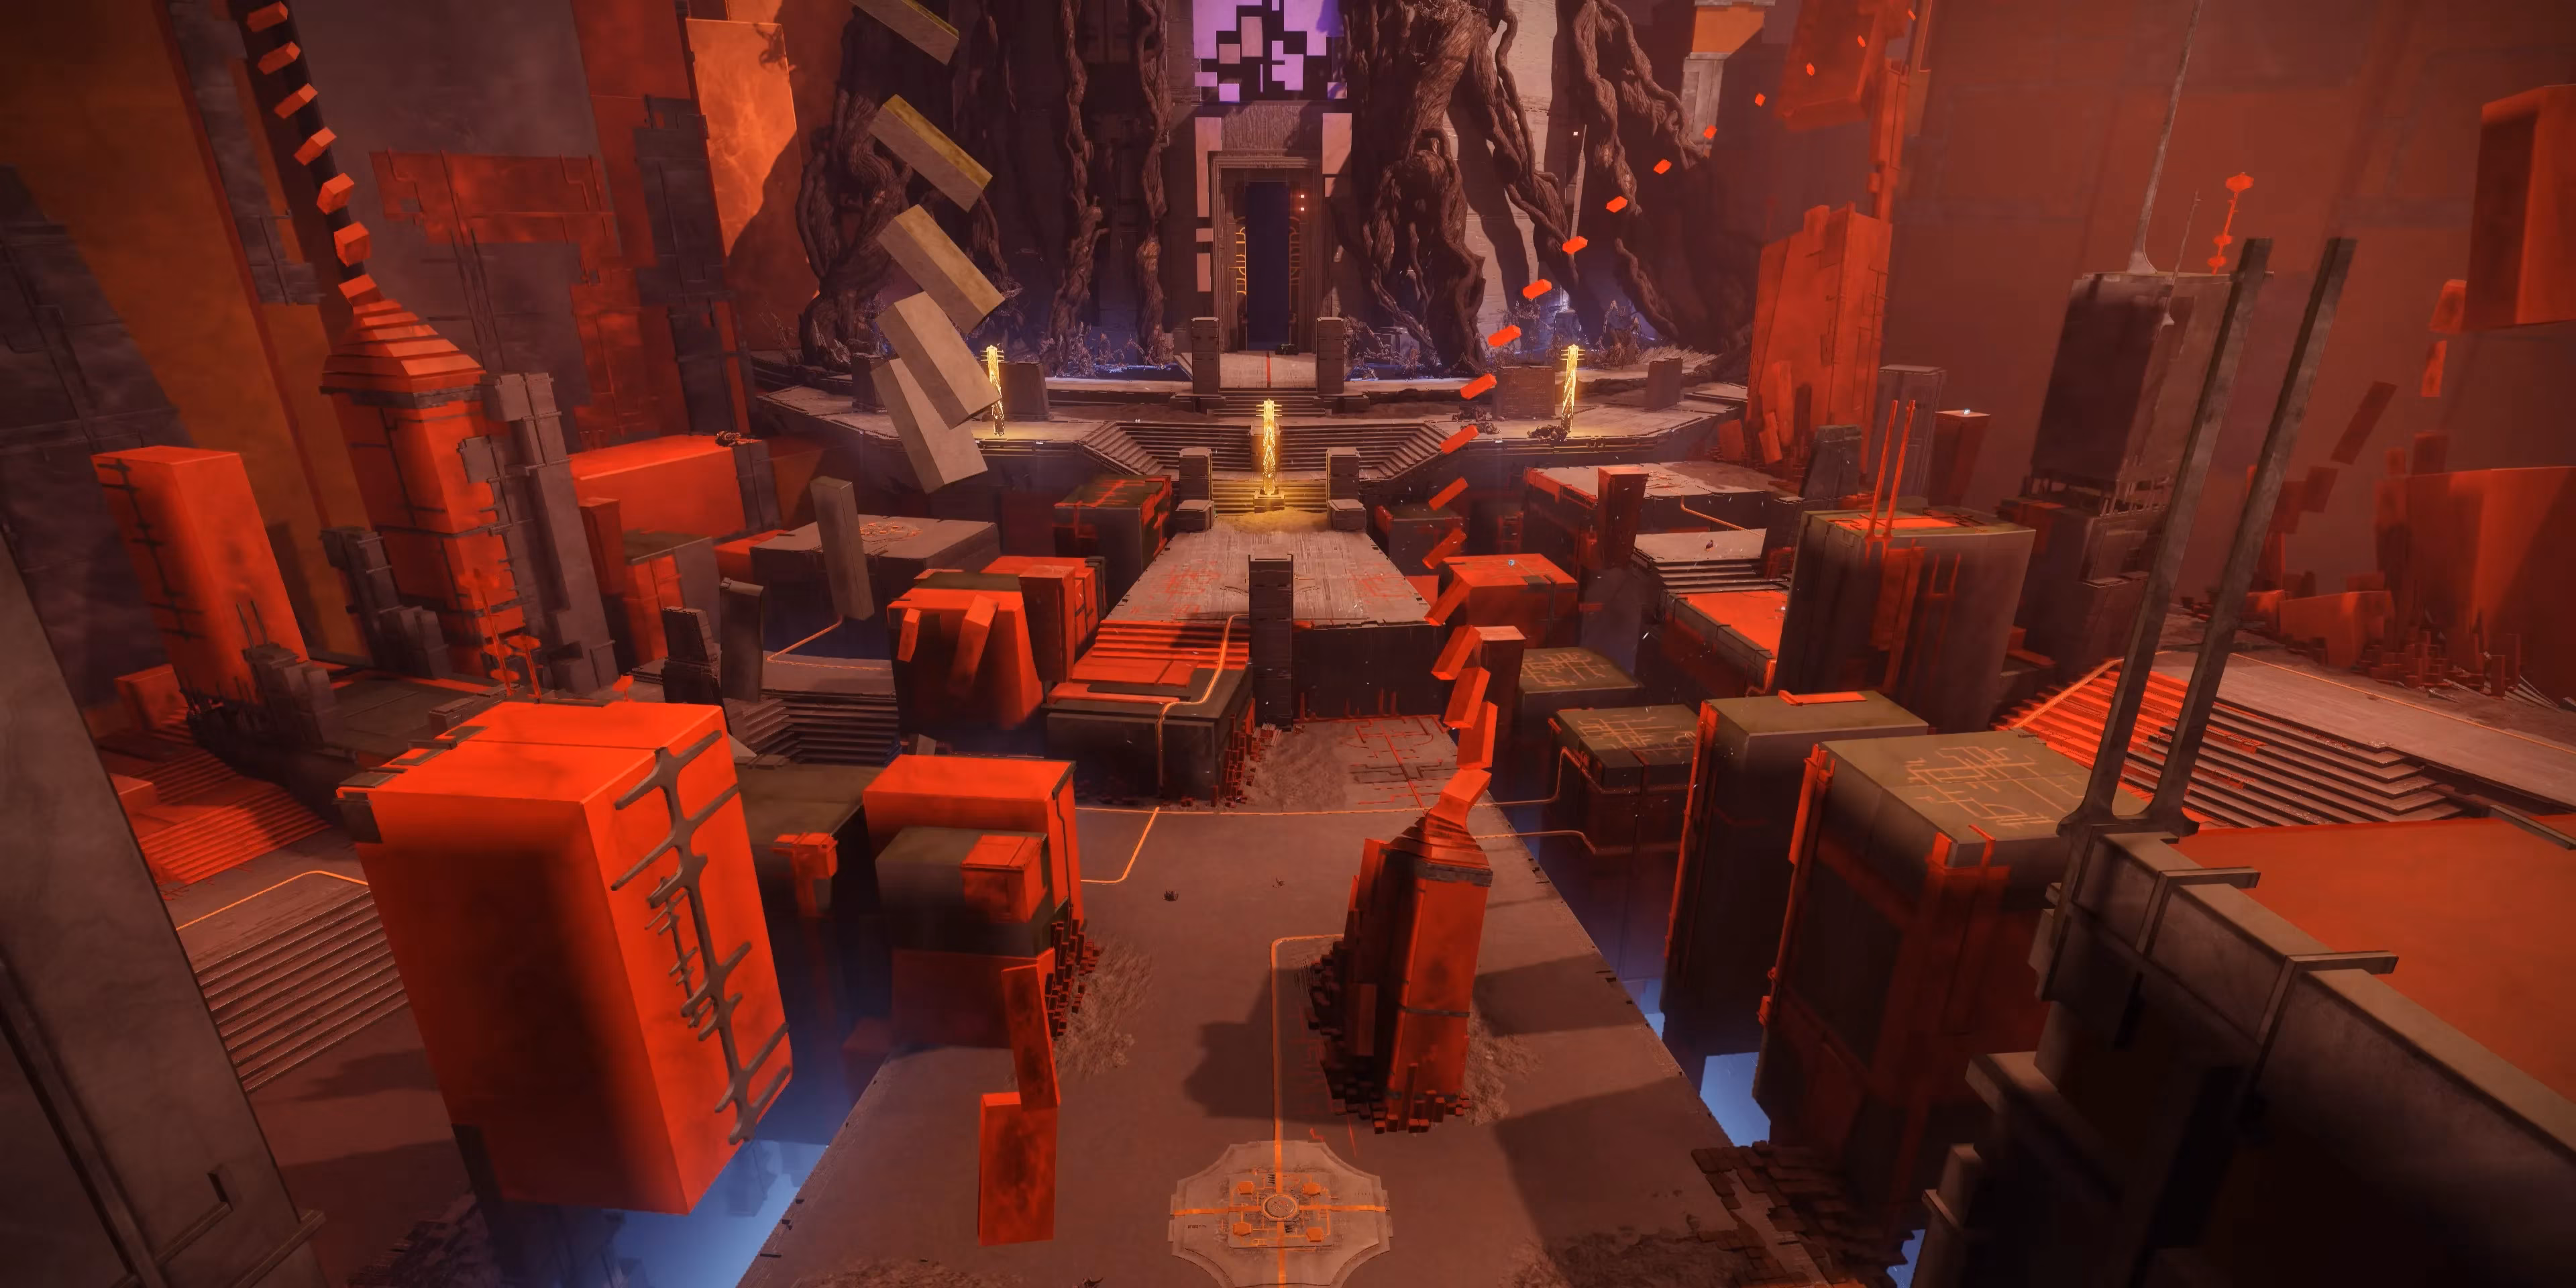
Moving on to the second encounter, Dissipation. Things get a bit more cerebral here.
The non-weekly challenge is Changing Tactics. This one changes up the role of the "Conductor" players. Normally, they just close their conductor. For this challenge, they have to pick up a Resonance from a wing other than their own before they go to close their assigned conductor. The smoothest method we've found is to do four bounces of energy on your "home" wing, let it fizzle, then have the called players enter. Then, communicate! The Conductor player needs to find out what Resonance the wing to their left needs to bank. They go grab that Resonance first, then head to the wing that needs closing, bank it, and close the conductor. It adds an extra step, but with clear calls, it's totally manageable.
The weekly challenge for Dissipation is At Capacity, and it's a strict one. You can only bank Resonance into the box if you have exactly three stacks. Dunk with one or two stacks? Instant fail. Back to orbit mentality. To coordinate this, assign roles clearly:
-
Sending Players: Grab all three of your specific Resonance.
-
Conductor Players: Only grab the one Resonance needed to close your Conductor.
Remember, the box only needs nine stacks total to max out your "Final Shape Looming" timer. Since the Conductor players lose their stack when they close their node, if all three Senders dunk their three stacks, you get a full 150 seconds. That's more than enough time to finish the encounter comfortably. Don't get greedy!
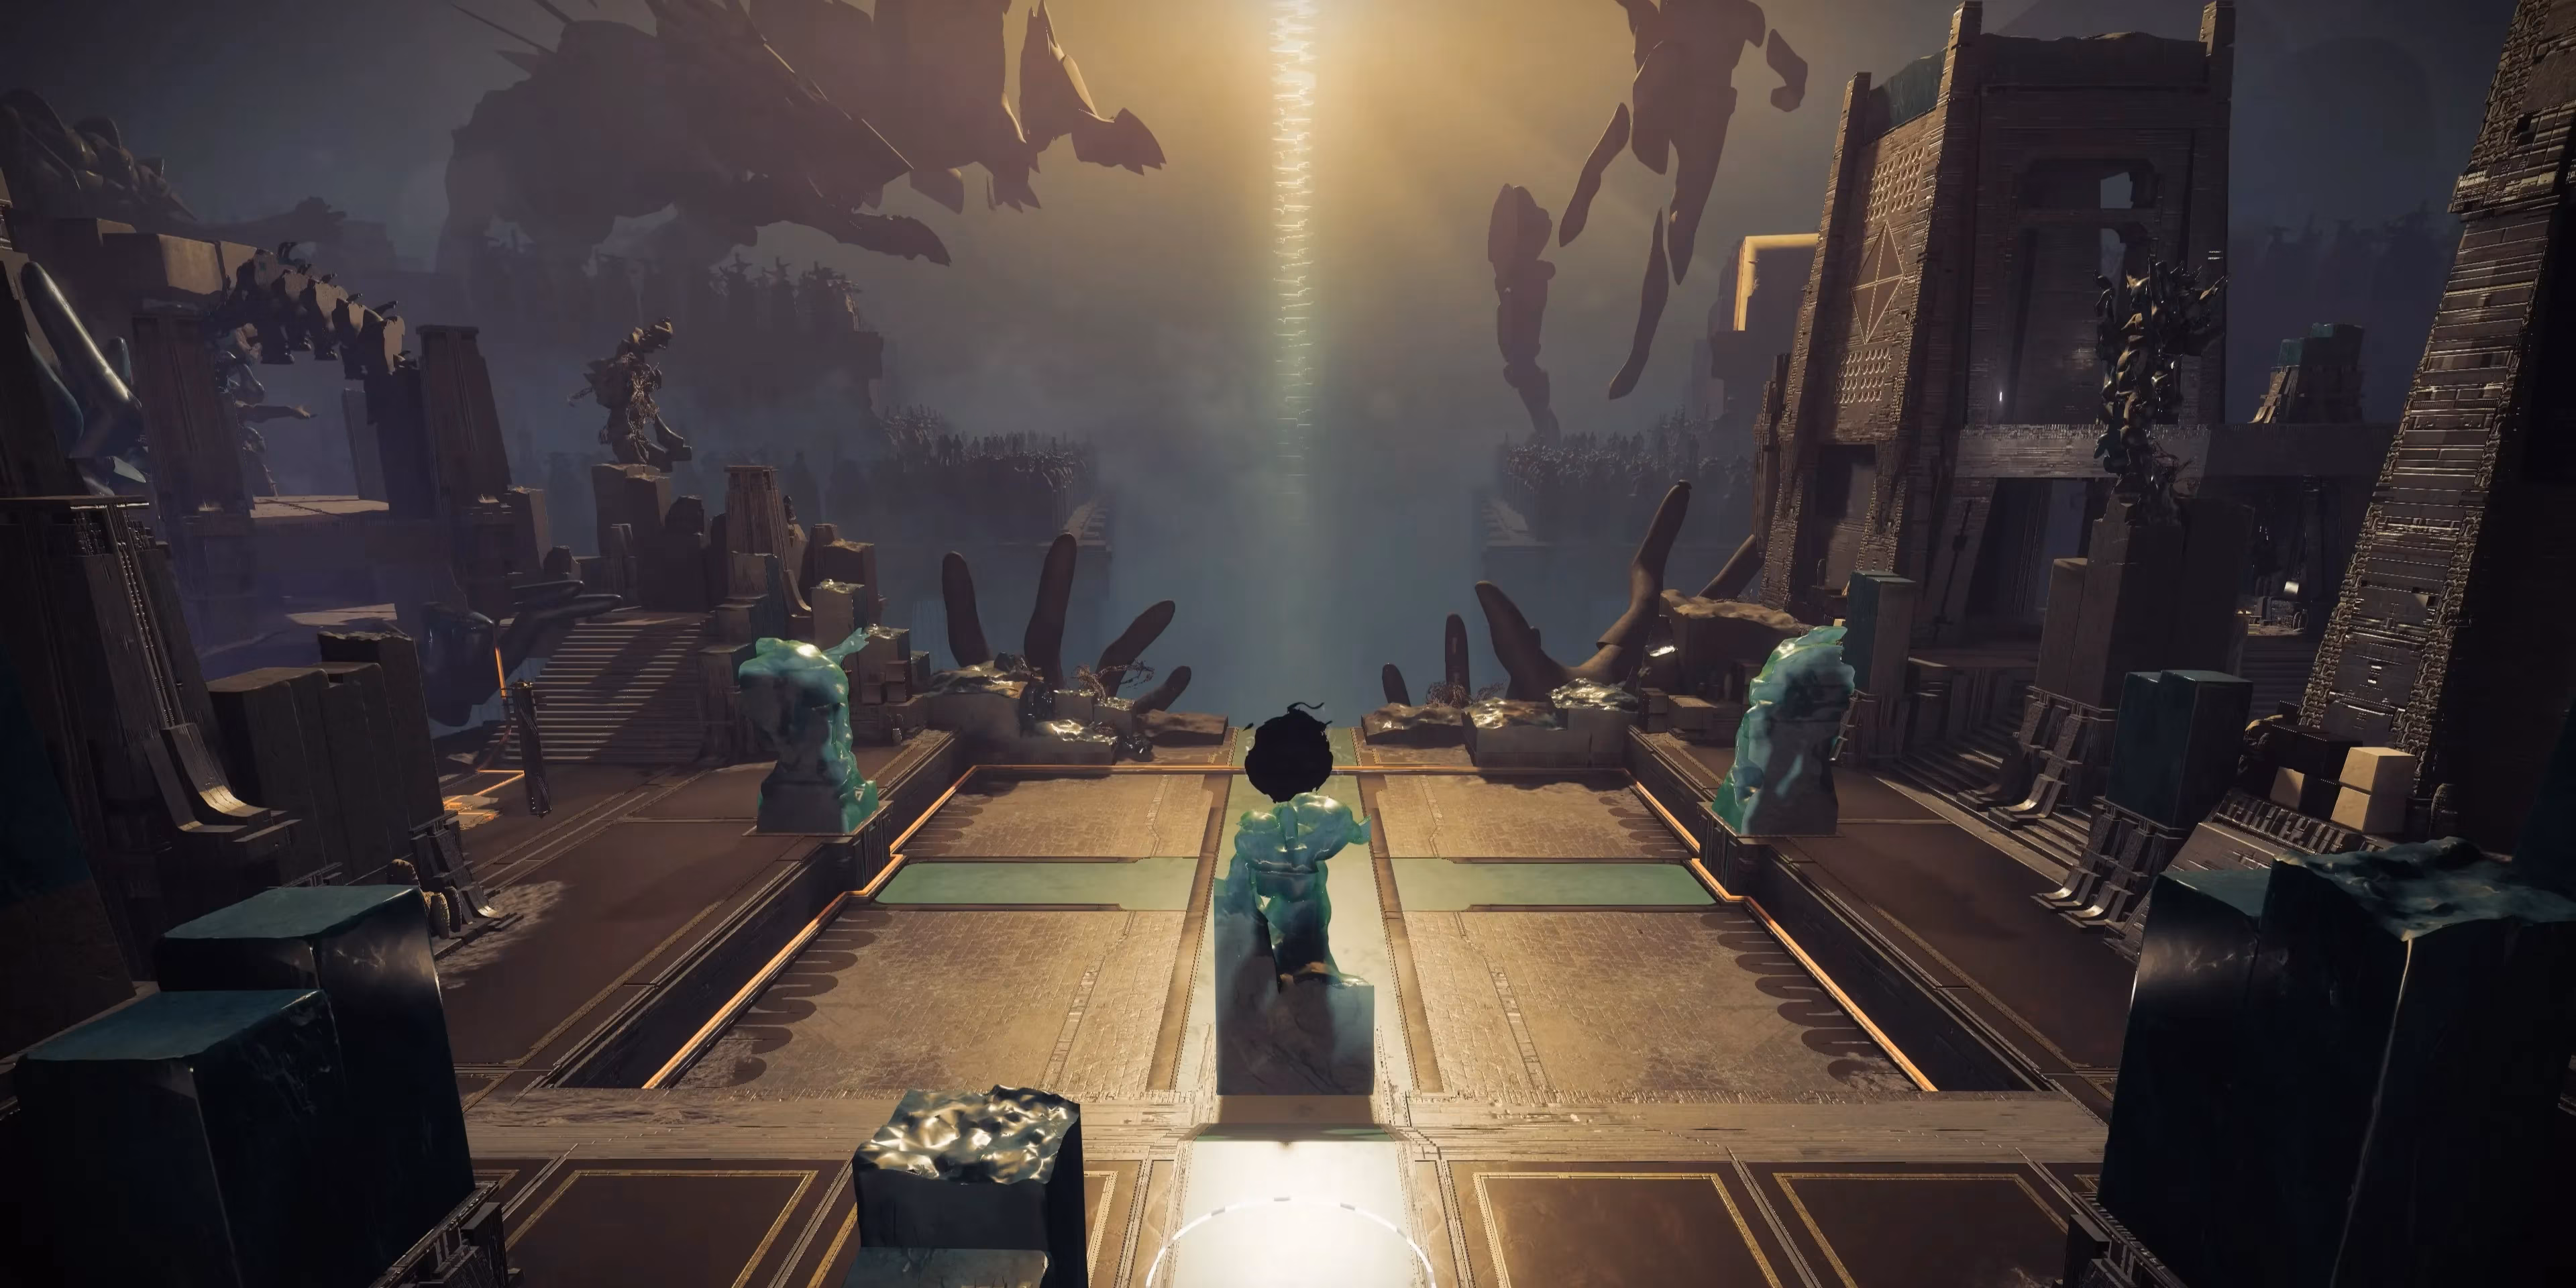
Next stop: the Repository. This three-room gauntlet has its own set of brain-teasers.
Singular Torment is the permanent challenge. The rule is brutally simple: only one player is allowed to get the final blow on any Tormentor for the entire encounter. The rest of the fireteam can soften it up, but that one player must be the executioner. This has a big side effect: that player will be the only one who can read the Conductors after killing a Tormentor. So, they become the dedicated callout person for what Resonance each Conductor needs. Pro tip: if your designated Tormentor-slayer is struggling with burst damage, equip something like the Exotic Heavy Trace Rifle, Microcosm. It melts through those big guys. As long as you stick to the one-killer rule, the challenge completes with the encounter.
The weekly challenge here is Balanced Diet. This one's about memory. No player may pick up the same type of Resonance twice in a row. And this restriction carries over between all three rooms! You have to remember what you picked up last. The best strategy is to plan your pickups. Aim to grab one of each Resonance type, saving the one you need for your Conductor for last. For example, if your Conductor needs a Square, first pick up a Circle and a Triangle (in any order), then finish with the Square. This method ensures there's a healthy variety of Resonance on the ground for everyone to follow their own "diet" and still get what they need to close their nodes. It's like a weird, violent buffet.
Now, for the puzzle-heavy Verity encounter. This is where communication really gets tested.
The always-active challenge is Equal Distribution. You cannot deposit a shape into the same statue twice in a row. This applies to everyone, including the solo players inside the statues, and it carries over between phases. So if an inside player dunks in the left statue to send a shape out, and then an outside player immediately dunks in the left statue to dissect a shape... boom, challenge failed. The workaround? Let the inside players complete all of their shape-swapping for a phase before the outside dissection team starts creating the 3D shapes to let them out. It requires patience and clear phase callouts.
The weekly challenge is Varied Geometry. This one needs both the inside and outside teams to pay attention. For each round of dissection (letting players out), you cannot use the same set of 3D shapes as you did in the previous round. If round one used Cone, Cylinder, Pyramid, you can't use any of those three in round two. The simplest plan? Use all your "complex" shapes (like the more intricate ones) in rounds one and three. For round two, strictly use the "simple" shapes (Cube, Sphere, etc.). As long as round two is completely different from round one, you're golden. Round three can then be the same as round one if you want. Just coordinate with your inside buddies!

Finally, we face the Witness in Zenith. The challenge here is Careful Calculation. The rule: do not gain more than two stacks of any single type of Resonance. In the chaos of breaking hands, clearing adds, and managing the DPS phase, this is trickier than it sounds. The key is speed and awareness. Assign each limb-breaking player a specific attack type to watch for. If you're quick enough to break the limb and call out the bracelet type, you can avoid picking up unwanted Resonance stacks altogether. But hey, mistakes happen. If you end up with Resonance you don't want, you can cleanse it by standing on the middle plate while the team is breaking the buttons on the Witness's coat. Just don't panic and run over more!
So, there you have it, Guardians! All nine currently available challenges for Salvation's Edge, broken down. As of now, the Master challenge for the fourth encounter is live, and we're all waiting for the fifth and final one to be revealed. Who knows what extra twist Bungie has saved for the very end? Maybe it involves that mysterious Conductor and their Vex plans... Whatever it is, with this guide, your fireteam should be ready to claim all those shiny Triumphs. Now get out there and show the Witness what a coordinated fireteam can do! 💪✨
Source: Based on strategies from community experts like SneakyBeaver.