Surviving The Communion: A Destiny 2 Witch Queen Mission Guide
Destiny 2 Witch Queen: The Communion mission guide covers Legendary and Master difficulty, shields, Champions, bosses, and reliable loadouts.
I still remember my first Legendary run through The Communion. It was one of those Destiny 2 Witch Queen missions that looked simple on paper — reach a Darkness statue, disable some jammers, kill a big Cabal — and then hit me like a Goliath Tank to the face. Even in 2026, when I load into this mission for weekly rewards or to help a friend, I bring the same mindset: slow down, respect the adds, and never treat the arena as a straight line. Trust me, the Cabal do not care about your heroic plans.
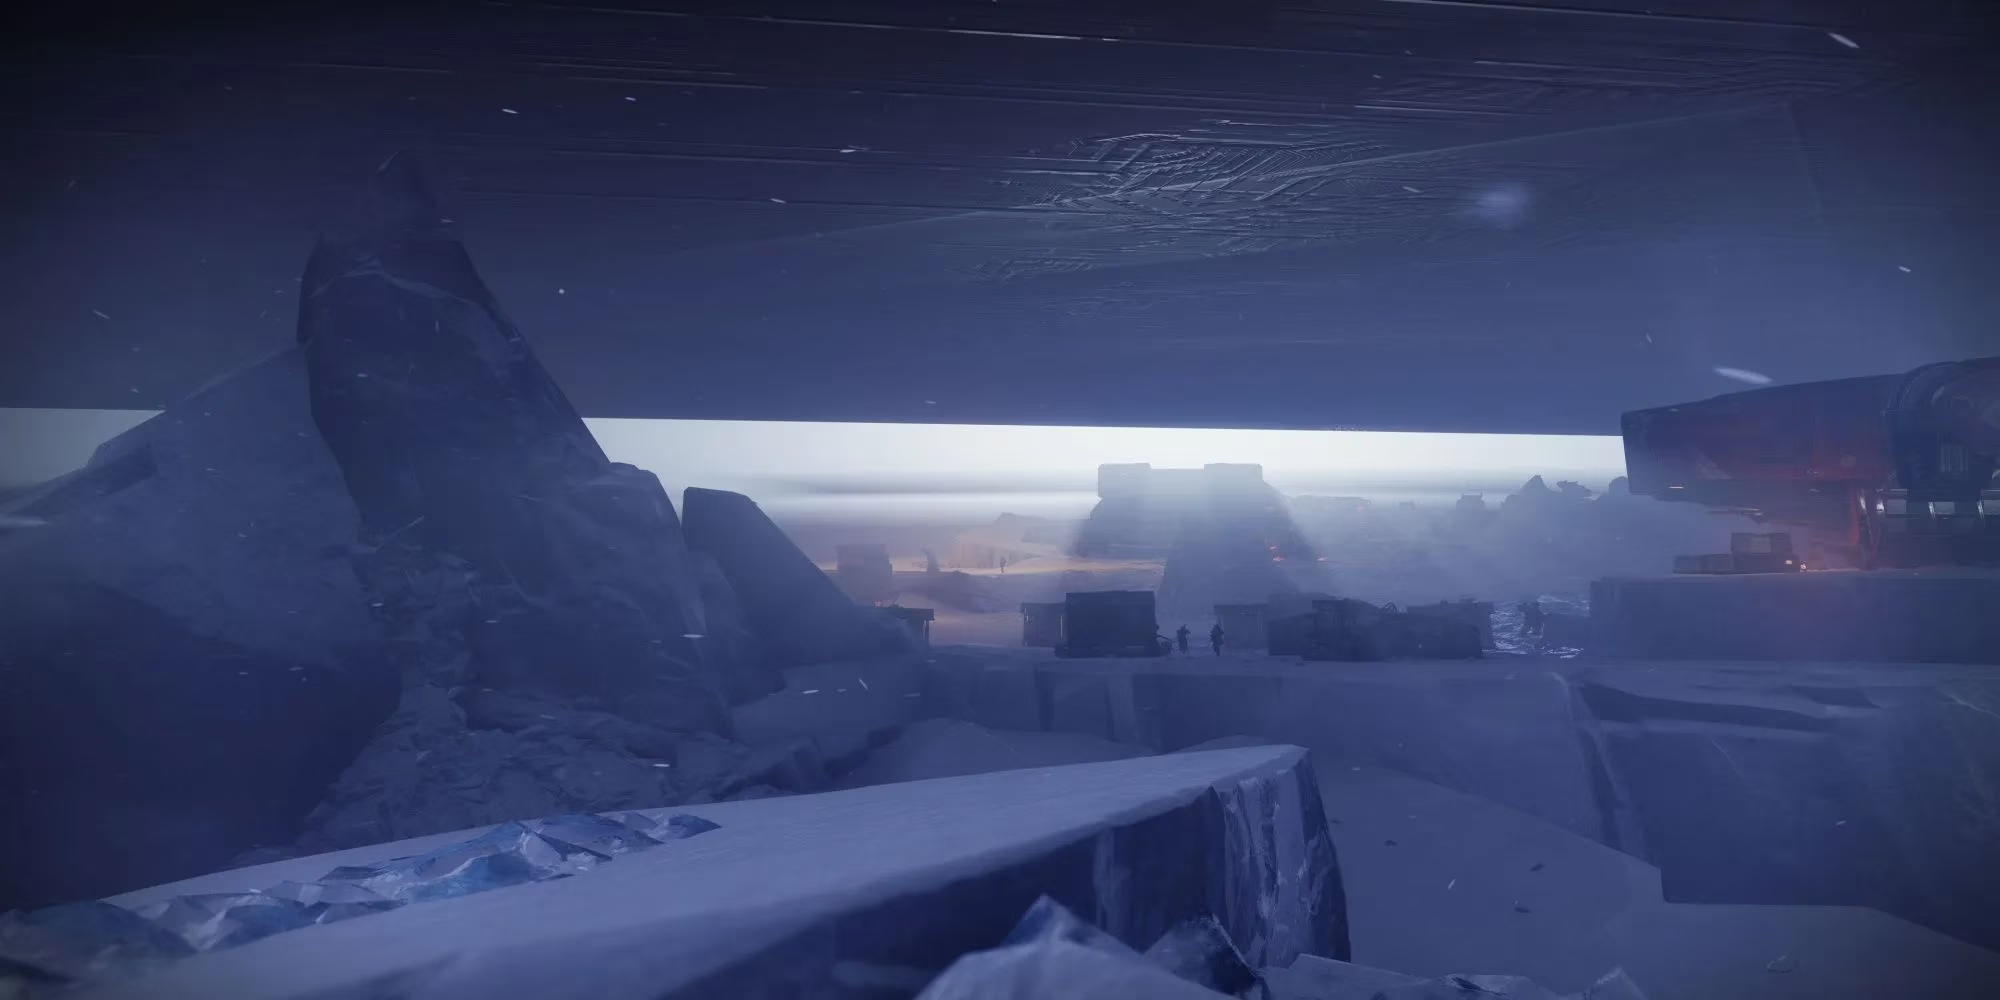
The Communion is the fifth mission in The Witch Queen campaign. Legendary difficulty doubles the rewards, and Master difficulty adds Champions and weapon-crafting resources for endgame players. If you are chasing the most out of the campaign, Legendary is the sweet spot. Master is for when you want a real fight — and maybe a few gray hairs.
Modifiers, Shields, and My Go-To Loadout
The mission throws Arc, Void, and Solar shields at you depending on difficulty. On Legendary, expect Arc and Void shields in the opening section, then Arc, Solar, and Void shields at the final boss. On Master, the shield mix narrows to Void in the early encounters and Solar plus Void at the end. Champions show up only on Master: Barrier and Unstoppable.
| Difficulty | Shields | Champions | What I Bring |
|---|---|---|---|
| Legendary | Arc, Void, then Arc/Solar/Void at boss | None | Void primary, long-range special, burst heavy, survivability |
| Master | Void early, Solar/Void at boss | Barrier and Unstoppable | Anti-Barrier and anti-Unstoppable tools, Void weapons, strong healing |
My personal checklist is simple: one reliable Void weapon for shields, one long-range option for picking off turrets and Colossus enemies, and one heavy weapon that can delete a major before it becomes a problem. On Master, I will not leave orbit without both Champion counters. No shame in swapping gear mid-mission if the next room demands it.
Enter The Pyramid
The opening stretch is a Sparrow ride toward the Europa Pyramid. A small Cabal patrol blocks the path, but they fold quickly. Destroy the turrets, clear the adds, and continue forward.
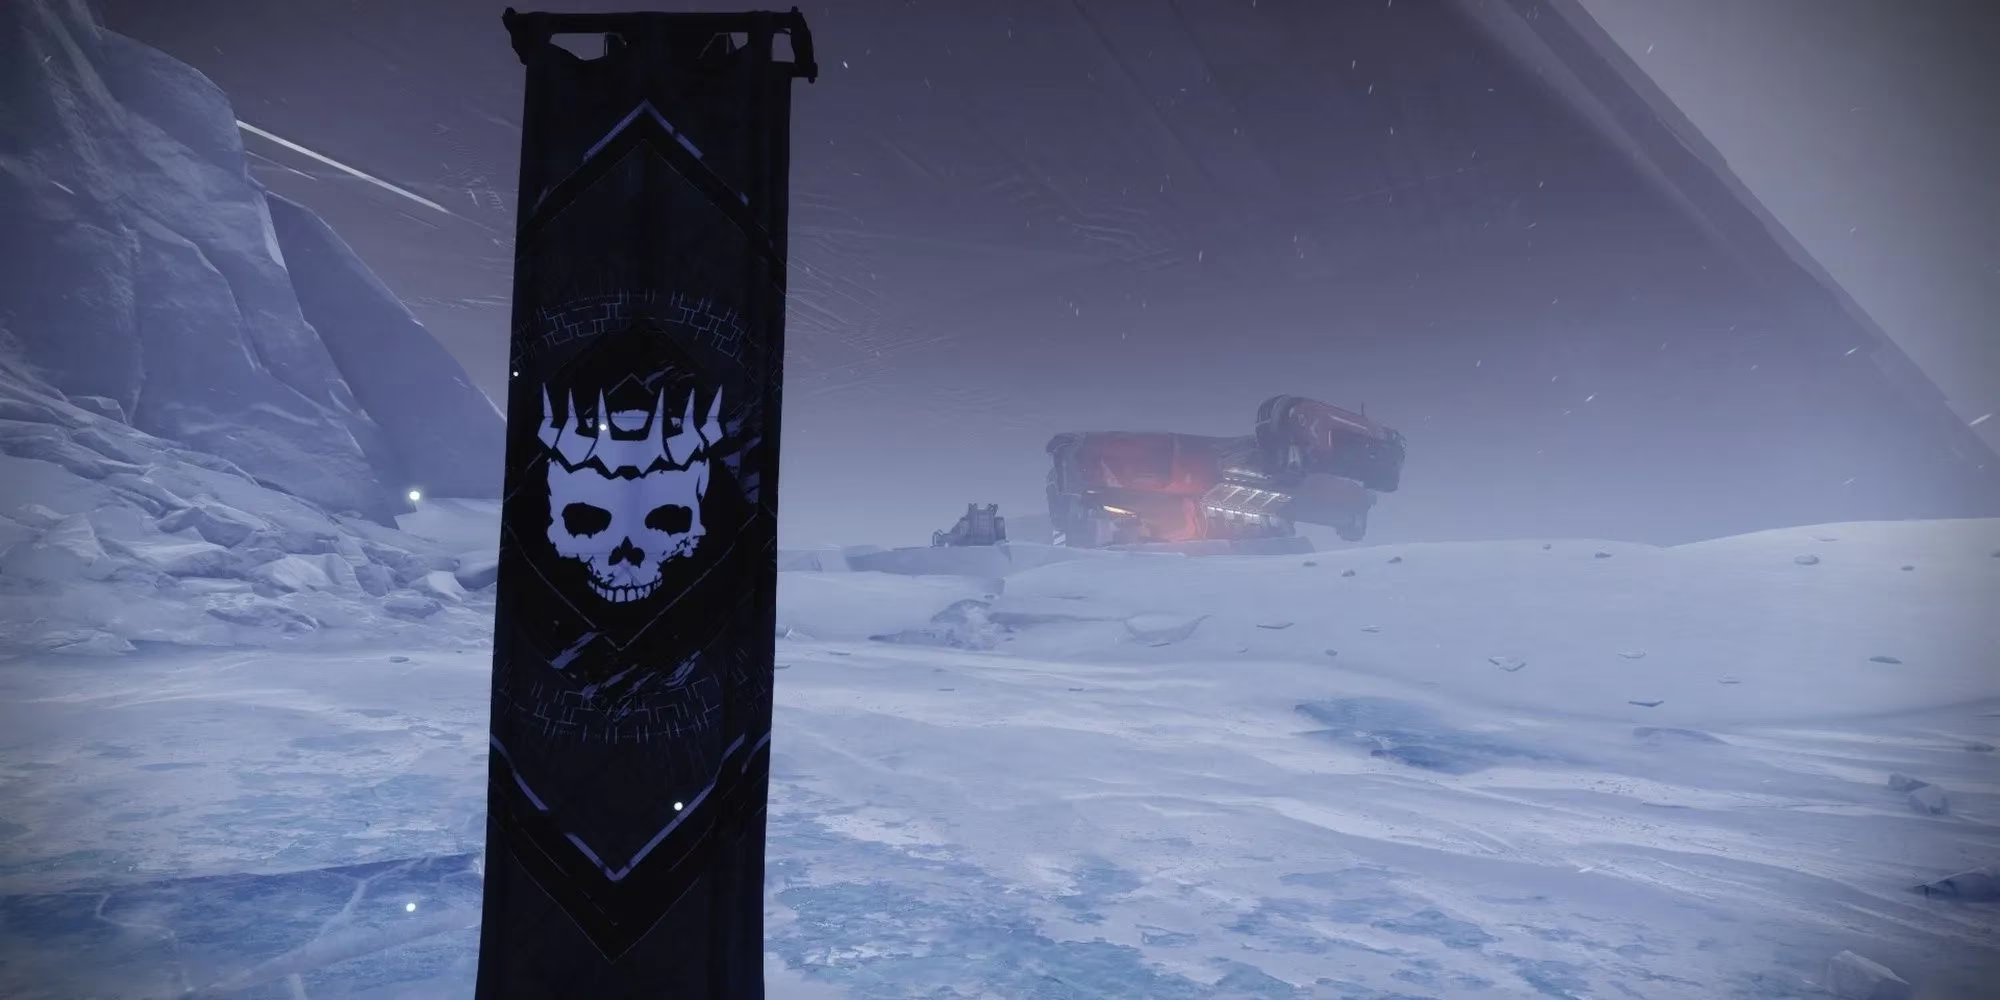
The first real arena is an outpost outside the Pyramid. Two Colossus enemies with Arc shields — Barrier Champions on Master — and a Goliath Tank anchor the fight. I use the crates at the edges as cover and do not push forward early. Moving up too fast draws the tank's aggro, and that cannon hurts. Kill the Colossus enemies first with a Super or heavy burst, then deal with the Incendior major that pushes you. On Master, that Incendior is an Unstoppable Champion, so stun it before you commit.
For the tank, aim for the repulsors on its side. Three destroyed repulsors put it out of commission. Those thrusters count as critical weak points, so Triple Tap and similar headshot effects work well. When you hear the cannon charging, duck. Do not push into the base until the tank is dead.
Further in, another tank supports a cluster of Cabal. Use the buildings for cover, destroy the turrets on the left-most building first, and watch for the second turret outside the right-most building. Area-of-effect abilities are great here because the Cabal bunch up, but do not overexpose yourself. Clear the adds, kill the second tank, stock up on ammo, and interact with the Pyramid shard.
Cabal Jammers And The Path Inside
The Darkness shard activates an elevator into the ship. Follow the waypoint, stick to the left-most wall during the first platforming section, and follow the lights. At the bridge, destroy the turrets before crossing. On Master, an Unstoppable Incendior guards that area, so stun and burst it down before you move in.
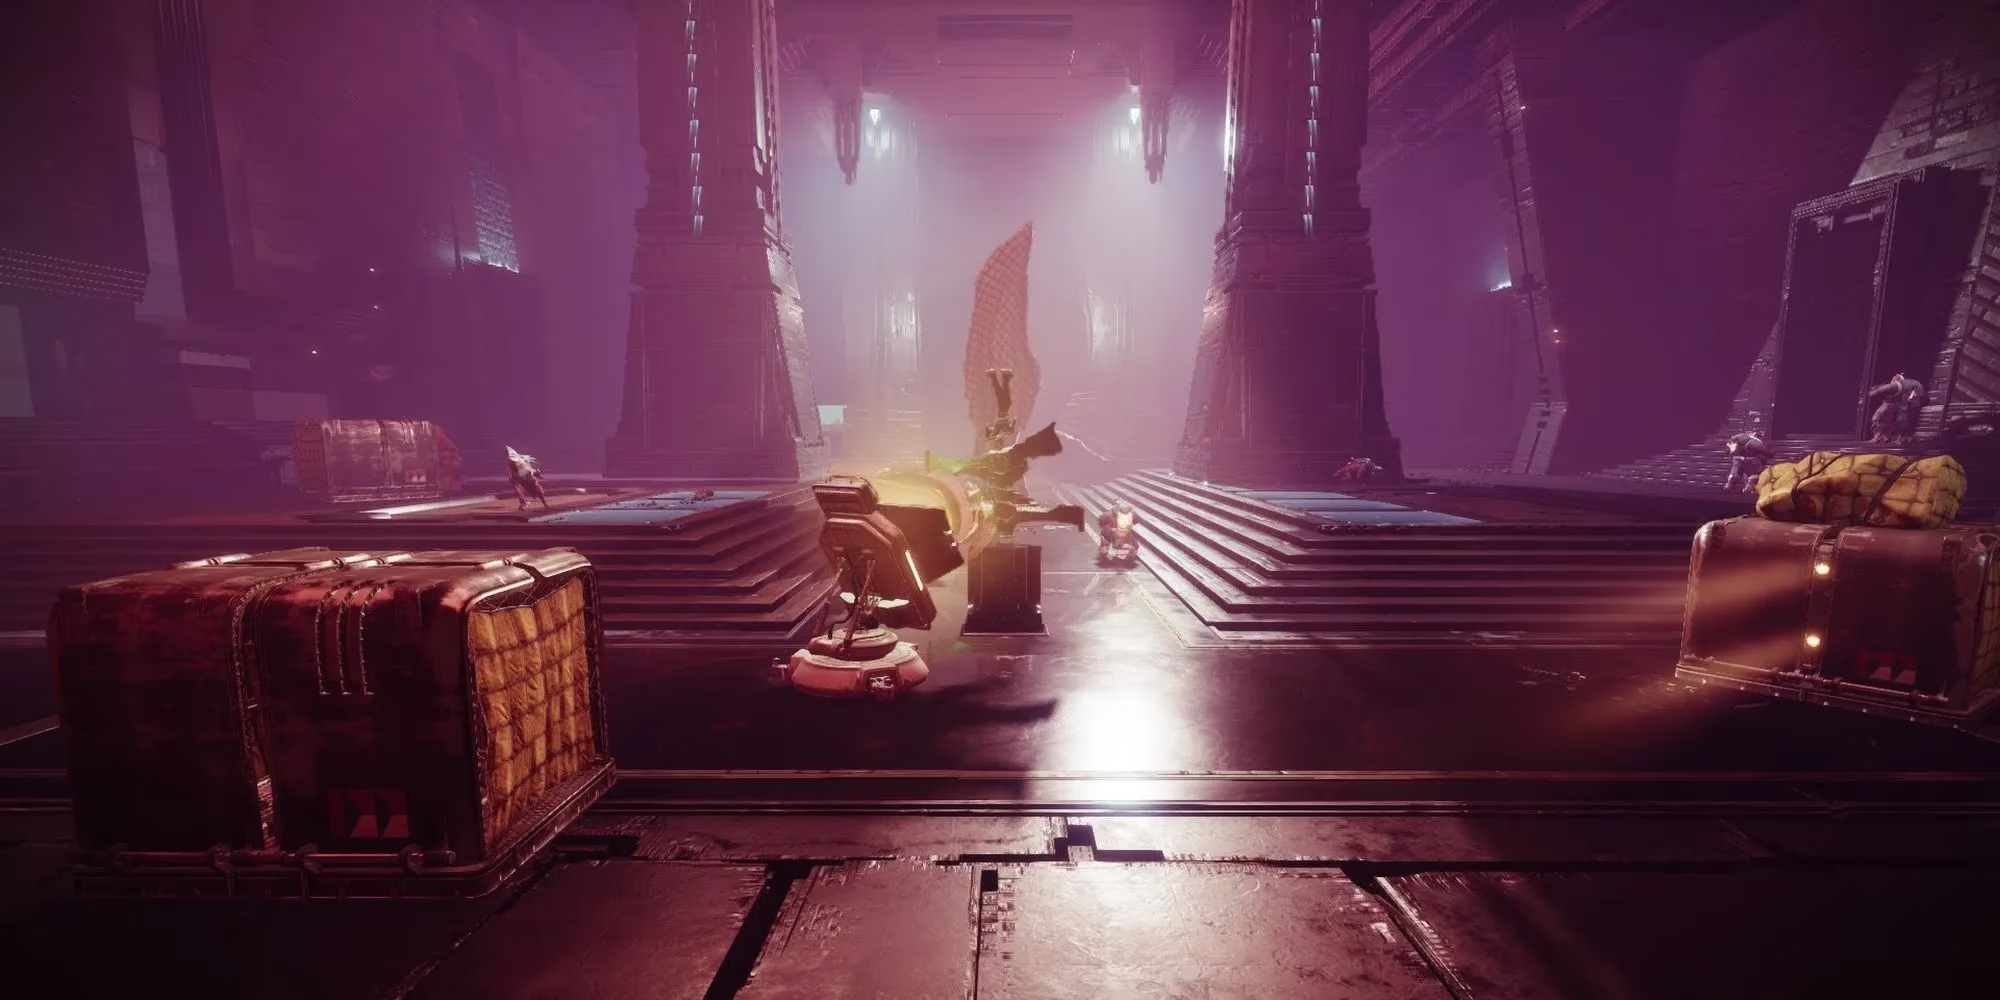
The first jammer room is where I learned to respect dynamic cover. Cabal solar panels suppress the Darkness, and disabling the jammer spawns another wave. Stay near the jammer, but not on top of the spawn points. On Master, an Unstoppable Incendior appears directly right of the jammer, and a Barrier Colossus follows on the back-right. Kill the Champion quickly, then clean up the rest. The dynamic Darkness cover can kill you if it spawns on your head, so keep moving.
After that, you will find stairs guarded by an Incendior and a Colossus — Barrier and Unstoppable on Master. Use the pillars and crates below as cover, pick at the enemies above, and watch for War Beasts pushing your position. A grenade on the stairs handles that push nicely. Wait for the majors to funnel down, stun them, and kill them. Then run up and drop through the hole in the floor.
The next arena has floating Darkness platforms. On Master, I avoid those platforms as my main cover. There is very little cover here, so I rely on class ability, invisibility, or raw healing. Many enemies are melee units, so kiting them between platforms works. Kill the Legionaries first, then the melee units, and deal with the Unstoppable Incendior as soon as it appears.
Defeat The Imperial Deserter
The Imperial Deserter fight is a three-phase jammer dance. Kill the scattered Cabal, then watch for a ship dropping two Incendiors — one is Unstoppable on Master — and the boss. Damage the boss immediately when it spawns. Dump heavy ammo into it to take the first third.
When the boss goes immune, move to the right-hand elevated platform. This forces the boss and the new Cabal wave to spawn below and in front of you. More Incendiors flood in, including another Unstoppable on Master. Use Void weapons to clear adds, then hop down and disable the jammer. Make sure no enemies are nearby because the interaction takes a second.
Disabling the jammer opens the boss to damage again. Burn the second third, then reposition to the raised platform at the end of the arena for the second damage phase. Tons of Incendiors and Legionaries spawn afterward. Clear them, disable the jammer again, and finish the boss. Cover spawns when the boss is damageable, so do not stand in the open just because the health bar is visible.
The Final Stretch And Valus Dralgur
After the Deserter, follow the path to the back of the arena. A short platforming section and a small Cabal group stand between you and the statue. A ship drops enemies, so do not sprint ahead blindly.
The narrow bridge room is a trap. Multiple Colossus enemies — Barrier Champions on Master — and War Beasts push your position. Do not cross the bridge. Stay back and damage from as far away as your loadout allows. On Master, an Unstoppable Incendior also pushes, so keep it stunned. For Legendary, a grenade or Super on the Colossus cluster is a good opener. Clear the melee units, crawl up to the crates, and wipe out the rest. If you get pushed, fall back.
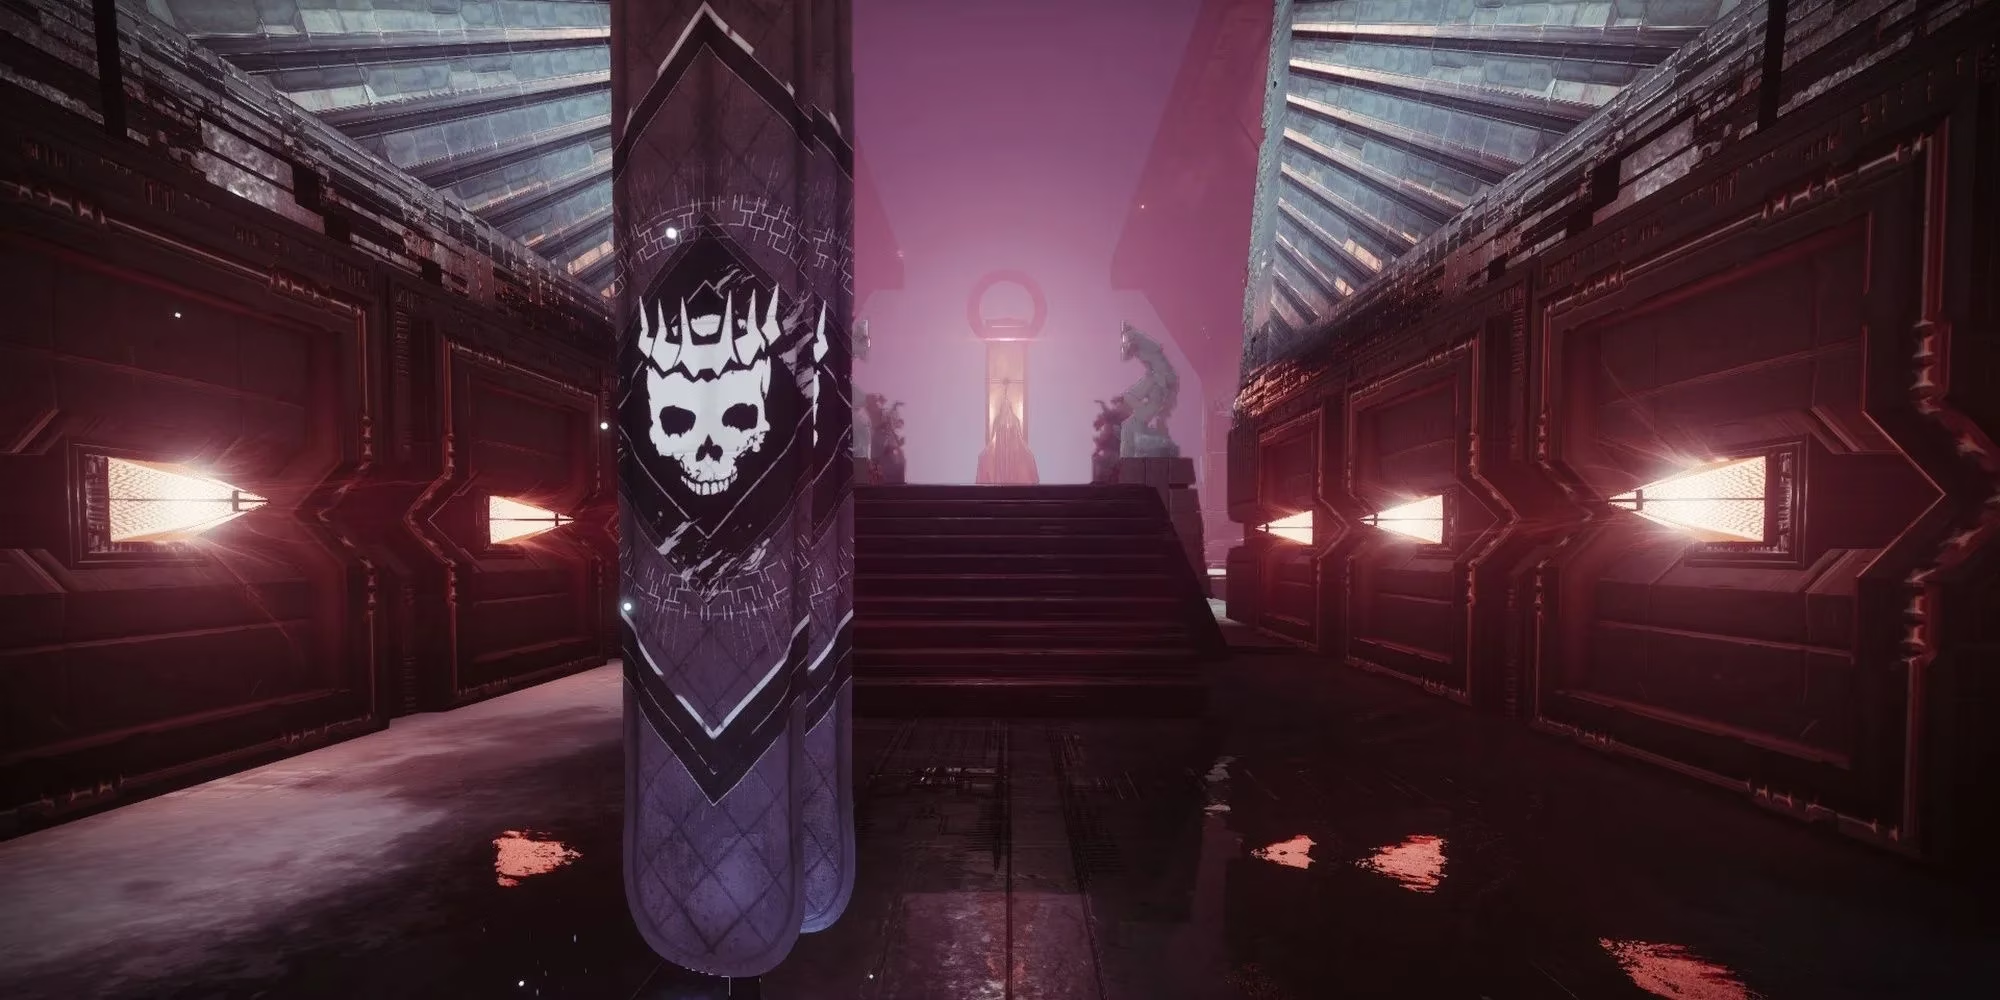
The final arena has three jammers: one left of spawn, one midway on the right, and one left of the Darkness statue. I save the second one for last because it spawns Valus Dralgur, the Exiled. Kill the room adds first and top off your weapons.
Valus Dralgur is a Colossus with a huge three-part health bar. It spawns across from the statue, where you came from. Start damaging it immediately. At 33 percent health, it shields itself, and you must disable all three jammers to break the shield. Swarms of Cabal spawn throughout this section. Find a corner with good cover — I like the cover near the second jammer — and pick enemies off from range. If they push, relocate. Never stand on the central platform and trade shots with the boss.
Rotate to each jammer after clearing adds, disable all three, damage the boss, and repeat. When Valus Dralgur finally falls, interact with the Darkness statue to finish the mission. Even in 2026, The Communion is a mission that rewards patience more than speed. Slow is smooth, smooth is fast... and the Cabal will absolutely remind you if you forget.