The Cunning in 2026: My First-Person Guide to Witch Queen’s Scorn Temple
Destiny 2 Witch Queen The Cunning guide: loadout tips and Scorn tactics.
I’ve been a Destiny 2 player since the Red War, and in 2026 I still find myself dropping into The Witch Queen campaign. The Cunning is the sixth mission, and it’s a proper gauntlet. You’re diving into an ancient temple to learn how Savathûn stole the Light, and the Scorn are not rolling out the red carpet. No cap, this mission can be a sweatfest on Master. But with the right loadout and a bit of patience, it’s a cakewalk. Here’s my no-nonsense breakdown, complete with the tips I wish I’d had when I first ran it.
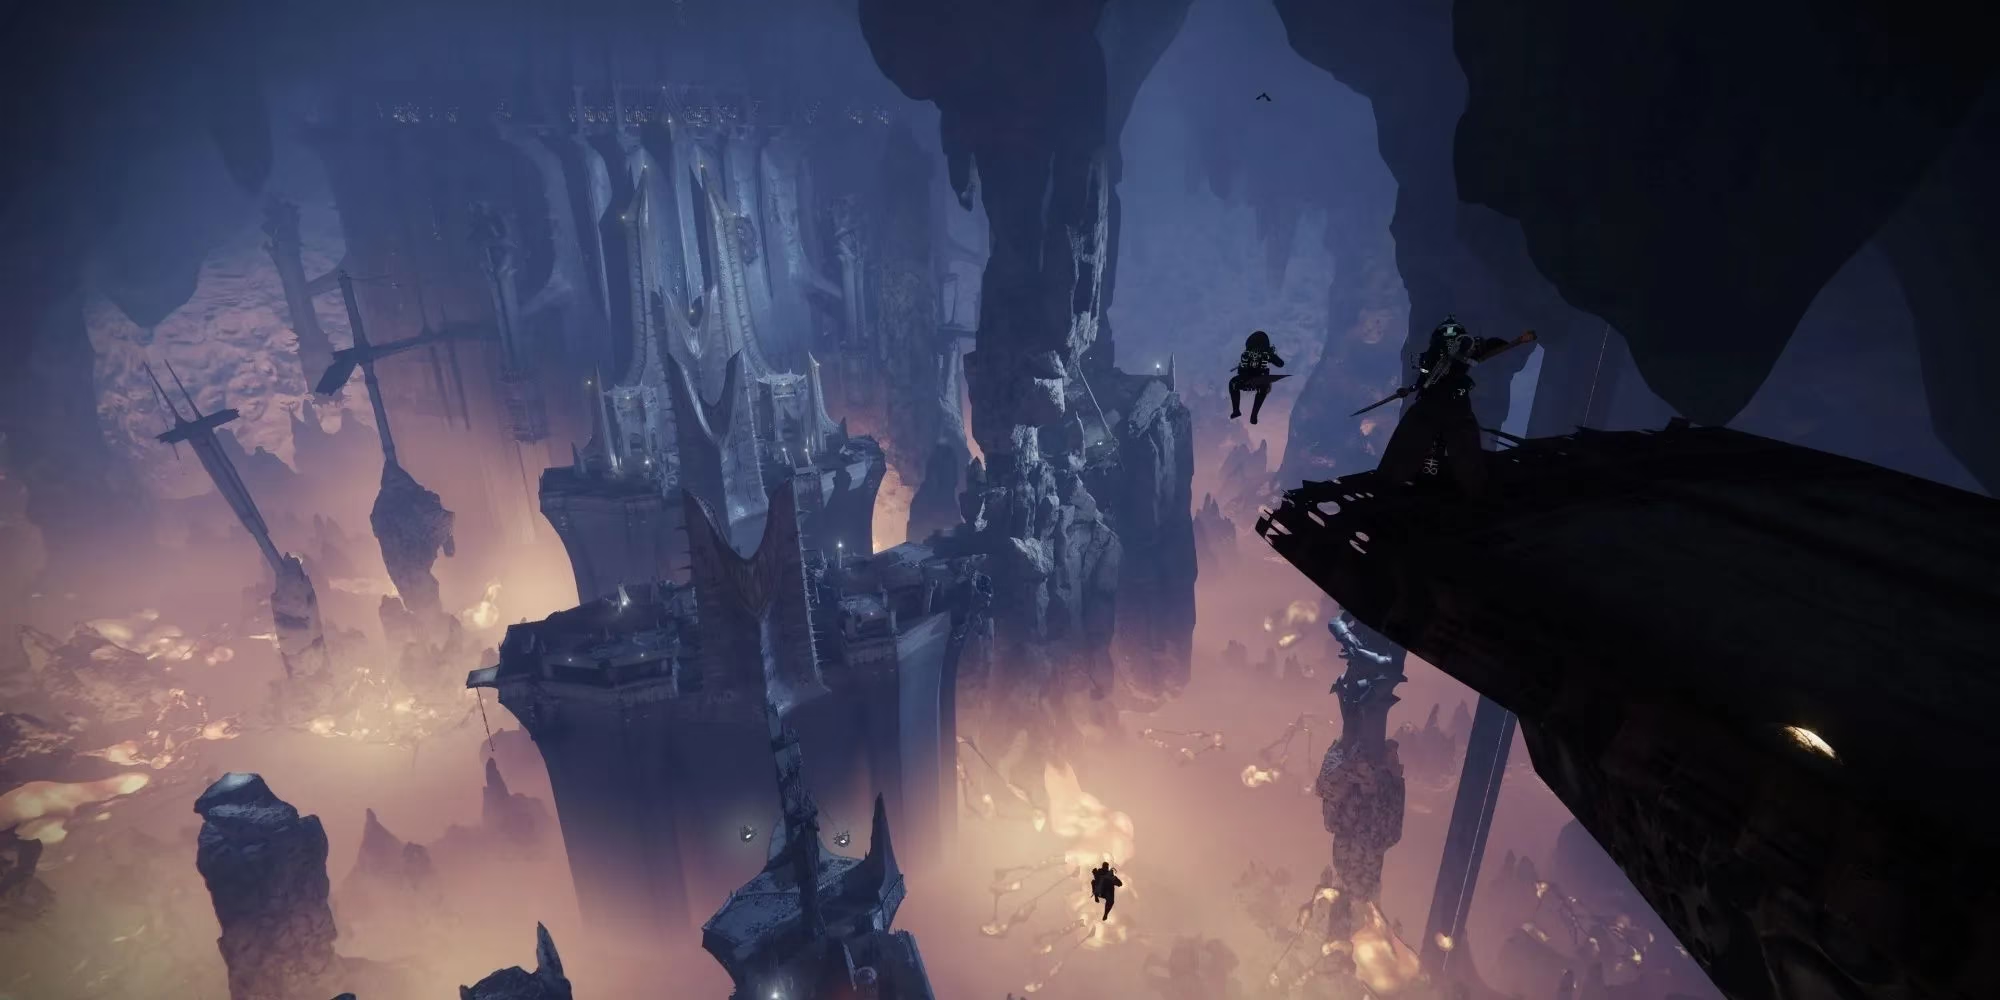
Loadout and Modifiers: Don’t Bring a Peashooter to a Scorn Fight
The Cunning throws a ton of Scorn Chieftains at you, and their totems make all nearby allies immune to damage. That’s a recipe for a bad time if you’re not prepared. I always bring a solid Void weapon—something with good range and add-clearing potential. On Master, you’ll also need to respect the Champion mods. Here’s the quick and dirty:
| Difficulty | Shields | Champions |
|---|---|---|
| Legendary | Void, Arc | None |
| Master | Void, Arc | Overload, Unstoppable |
On Master, Overload Chieftains and Unstoppable Abominations are everywhere. I recommend speccing for damage resistance or invisibility—surviving is half the battle. If you’re a Hunter, Graviton Forfeit or Omnioculus can save your bacon. Titans can lean on Void overshields, and Warlocks can use Devour to stay topped off. Don’t sleep on a good Heavy weapon for burning down Champions and bosses.

Locate Sathona’s Temple: Warm-Up or Trap?
You spawn outside the Temple of the Wrathful. Hop on your Sparrow and cruise through the tunnels, shooting any spores on the walls to light the way. Inside, you’ll find a small pack of Scorn. There are no Lucent Lightbearers here—just standard fodder enemies. Stick to the back of the room and eliminate the Chieftains from a distance. On Master, that Chieftain is an Overload variant, so have your counter ready. Don’t push too close, and always play near cover. When everyone’s dealt with, hop through the portal at the end of the temple to start the first encounter. Easy peasy.
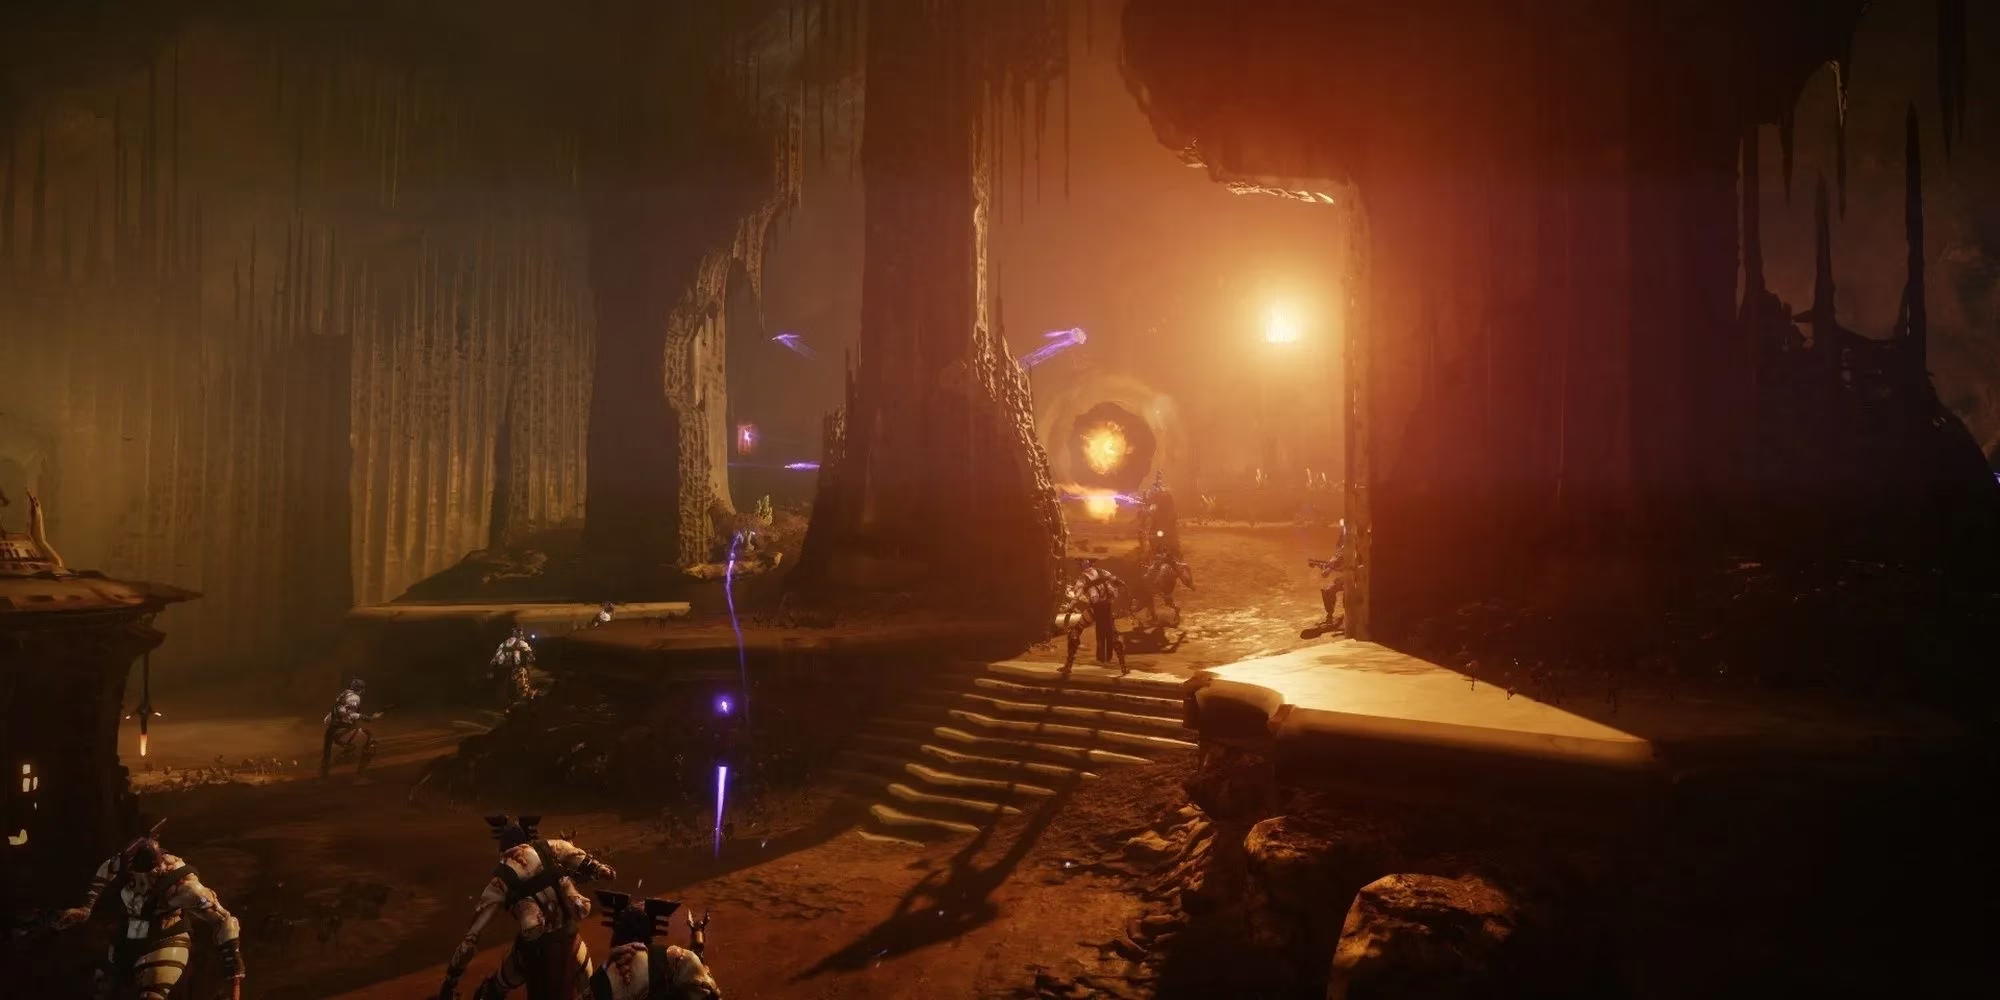
Descend Into Sathona’s Temple: The First Real Test
This encounter is a scrap. Here’s the breakdown:
| Objective | Notable Enemies | Shields | Champions (Master Only) |
|---|---|---|---|
| Defeat the Scorn guarding the path | Scorn Chieftains, Abominations | Legendary: Void, Arc; Master: Void, Arc | Overload and Unstoppable |
Before you start shooting the Scorn overlooking the area, plant a Rally Flag. When ready, take out the two snipers in front of you. Jump onto the platform, then use your new vantage point to snipe away at the Scorn below. Only push forward when most of the fodder enemies are dead. You’ll need to push through an onslaught of Scorn Raiders, Chieftains, and Abominations. On Master, keep an eye out for Overload Chieftains and Unstoppable Abominations on the platforms above the path. When it’s safe, head onto these platforms to quickly kill the two Chieftains. Using your Super here is highly recommended. Wait for the Ravagers to spawn, then toss a grenade near the platform’s stairs to kill most of them as they funnel toward you. If that doesn’t work, backtrack until you have enough distance to kill them all.
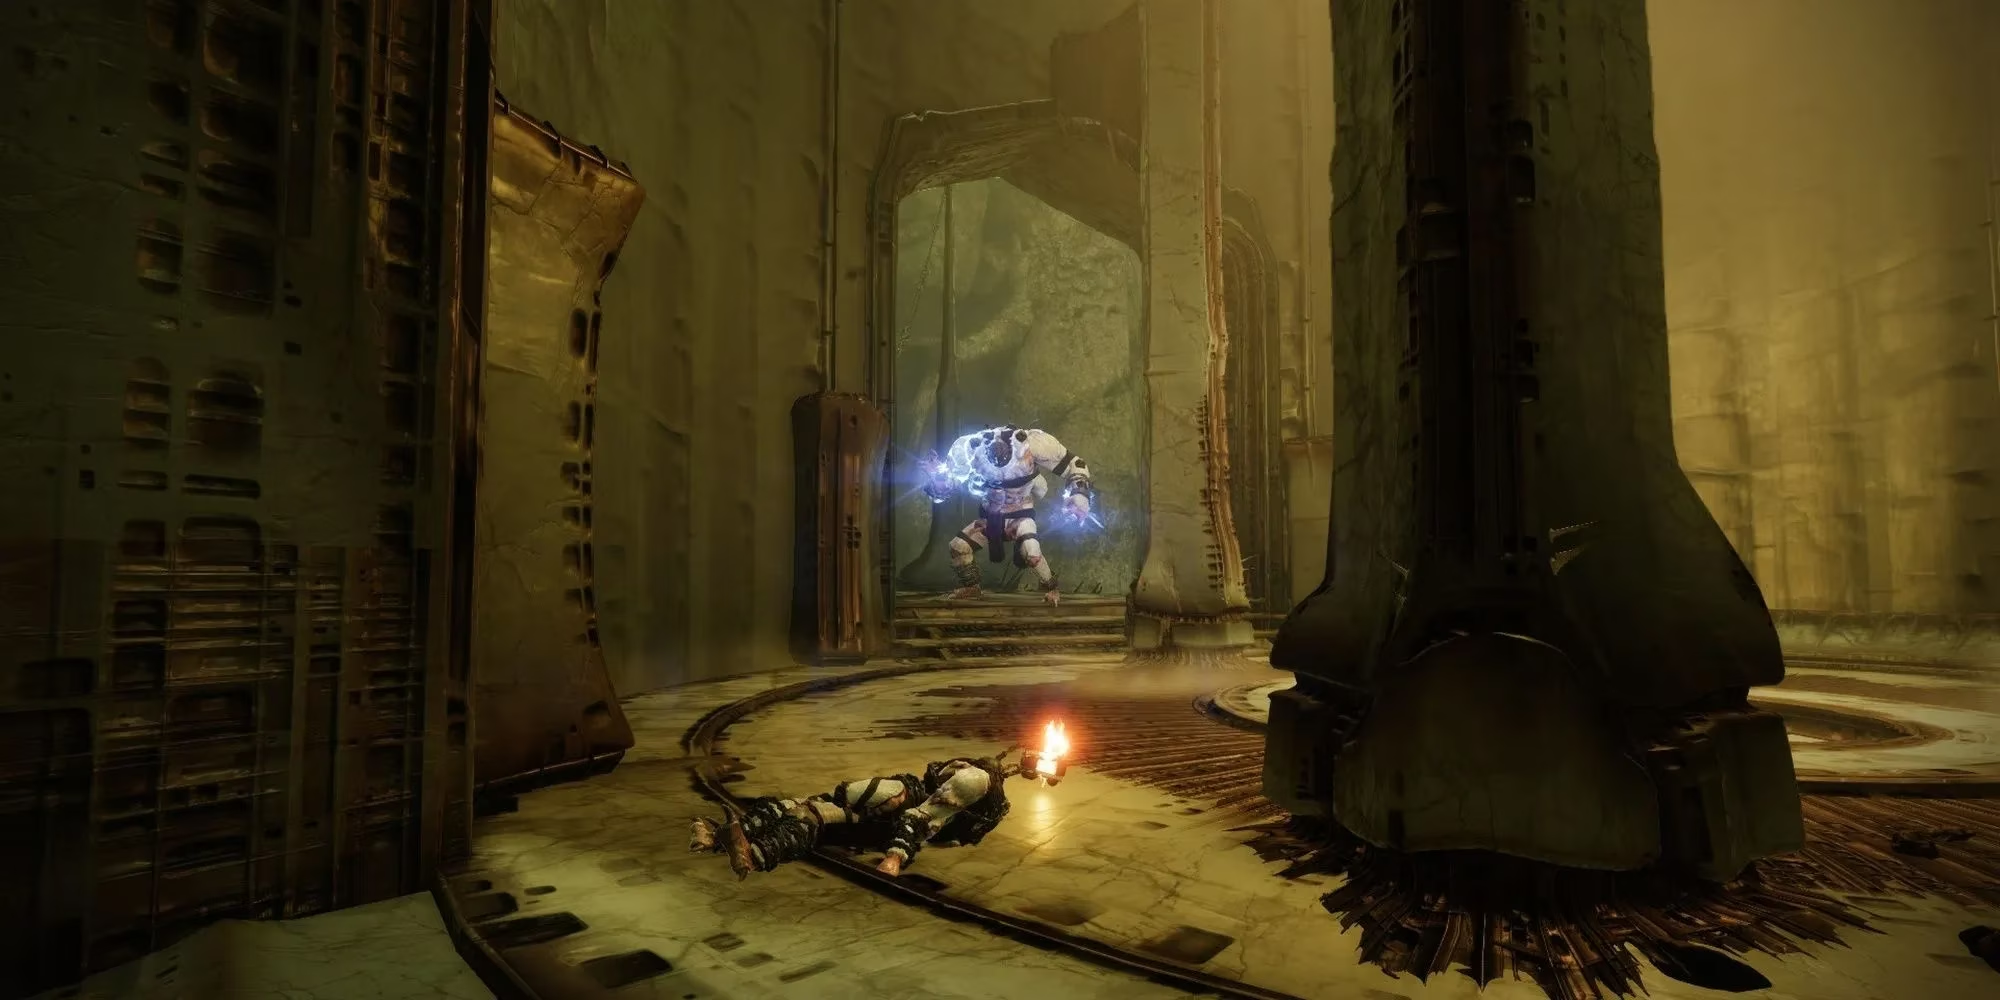
At the end of the path, an Abomination—Unstoppable on Master—guards a bridge. Your Heavy weapon should make short work of them, but don’t get too aggressive; stick to cover. Adds will begin spawning on the bridge shortly thereafter, including another Abomination on Master. Lure the adds toward you before doing anything, separating them from the Abomination. If you haven’t used your Super yet, do it now. Grenades work well too. Clear out the adds, kill the Abomination from a distance, then proceed forward to find Sathona’s Temple. This is where the mission starts to earn its reputation.
Continue the Descent: Deepsight Puzzles and Screeb Rush
Savathûn has locked her lair behind Deepsight puzzles. For this mission, Deepsight Orbs reveal five symbols you must shoot within 30 seconds. The first one is simple—five symbols spawn in front of you. Shoot them all to open the path forward.
The next section drops you in a cramped cave. Interact with the Deepsight Orb, then look for these symbols:
-
🎯 Symbol #1: Spawns right in front of the Deepsight Orb.
-
🎯 Symbol #2: Turn around and look slightly up. It’s nested in a corner near the ceiling.
-
🎯 Symbol #3: Run to the corner where Symbol #2 was. Turn around to find a symbol hiding near a pillar.
-
🎯 Symbol #4: Look directly under the Deepsight Orb. It’s facing the entrance.
-
🎯 Symbol #5: Found on the pillar to the right of the Deepsight Orb. You can see it from Symbol #2’s location.
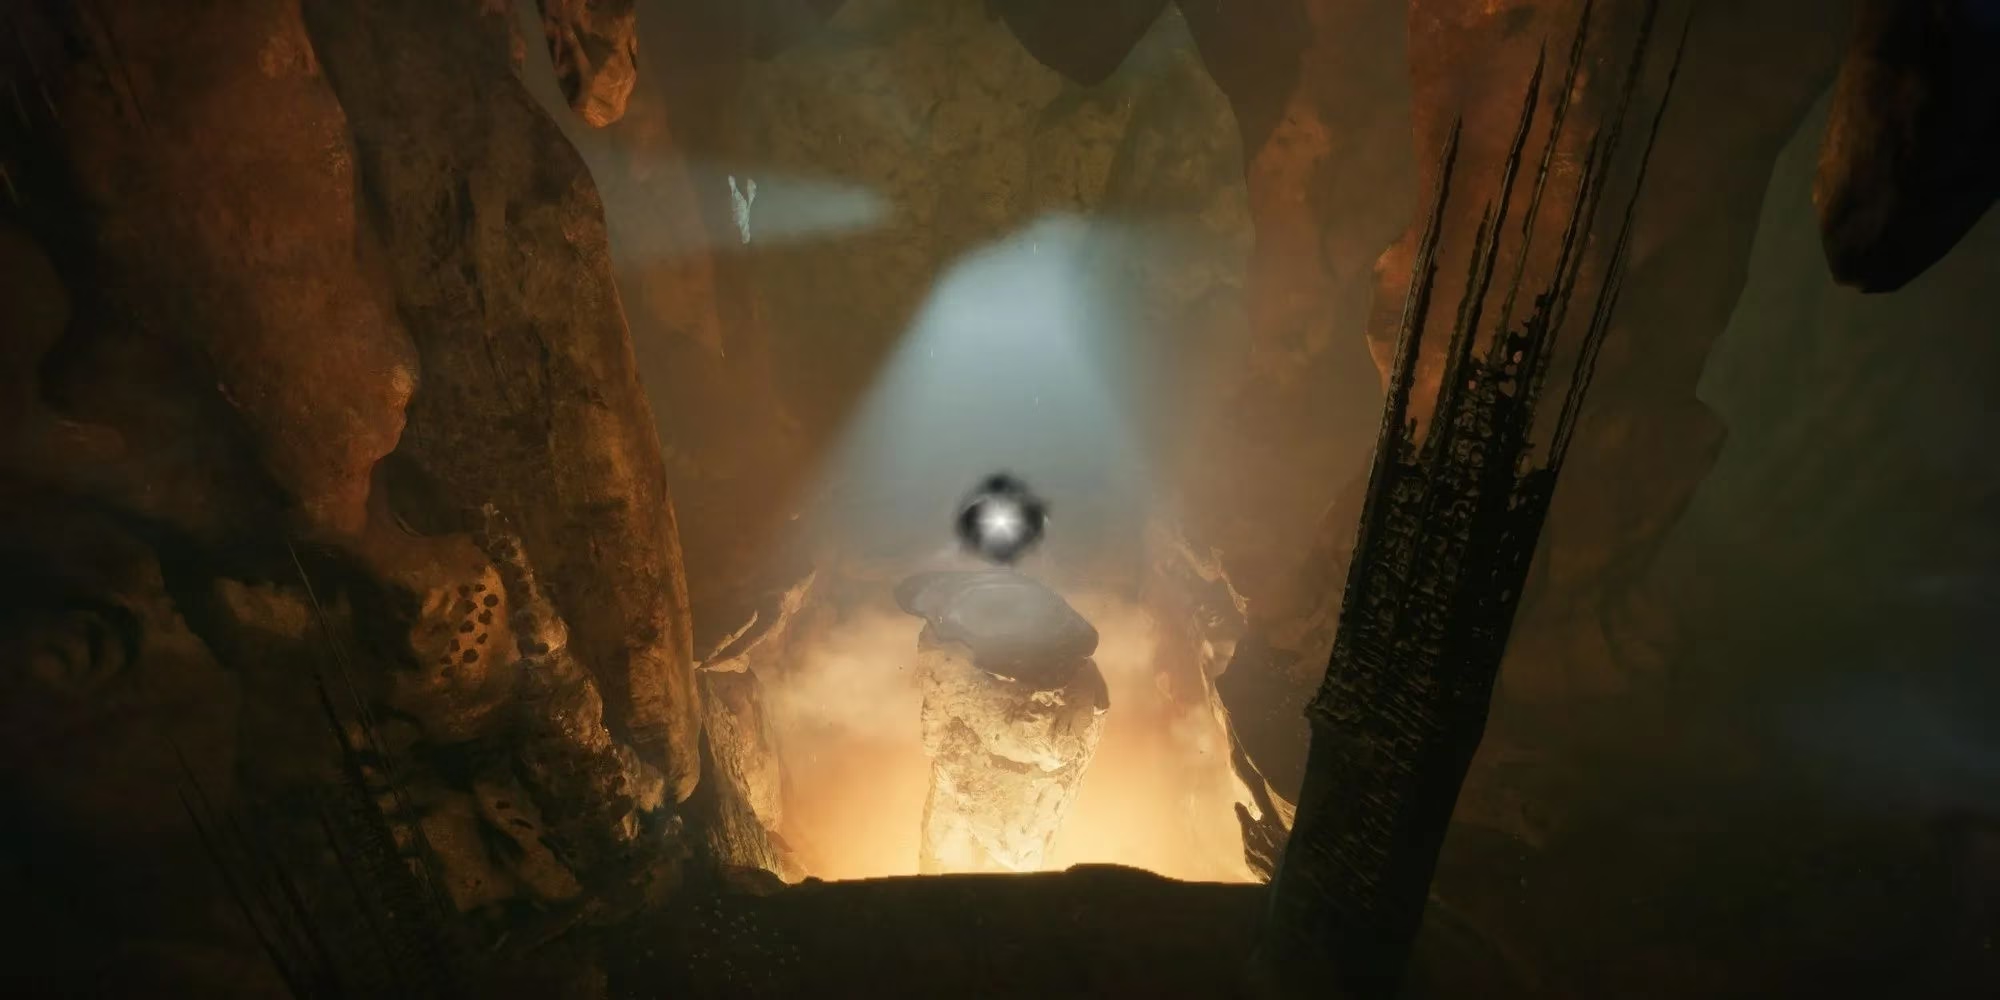
Proceed through the newly revealed path. You’ll find yourself in a square room with a horde of Screebs trying to charge you. Funnel them near one end of the room, then use a grenade or AoE weapon to kill them. A Chieftain spawns at the other end—Overload on Master. If you killed the Screebs, the Overload shouldn’t be a big threat. Kill the other adds, deal with the Chieftain, then make your way into the temple proper.
Forge The Caldera: Bridge of Pain
The path into the temple is blocked by raised drawbridges and a small army of Scorn. Before you descend into the temple outskirts, make sure your weapons are reloaded and abilities are charged. It’s about to get hectic.
Right as you descend, you’ll come across multiple Scorn Raiders and two Chieftains—Overload variants on Master. Kill the Raiders first, then work on the Chieftains. Consider using your Super or Heavy weapon against them, as both Chieftains spawn close to each other.
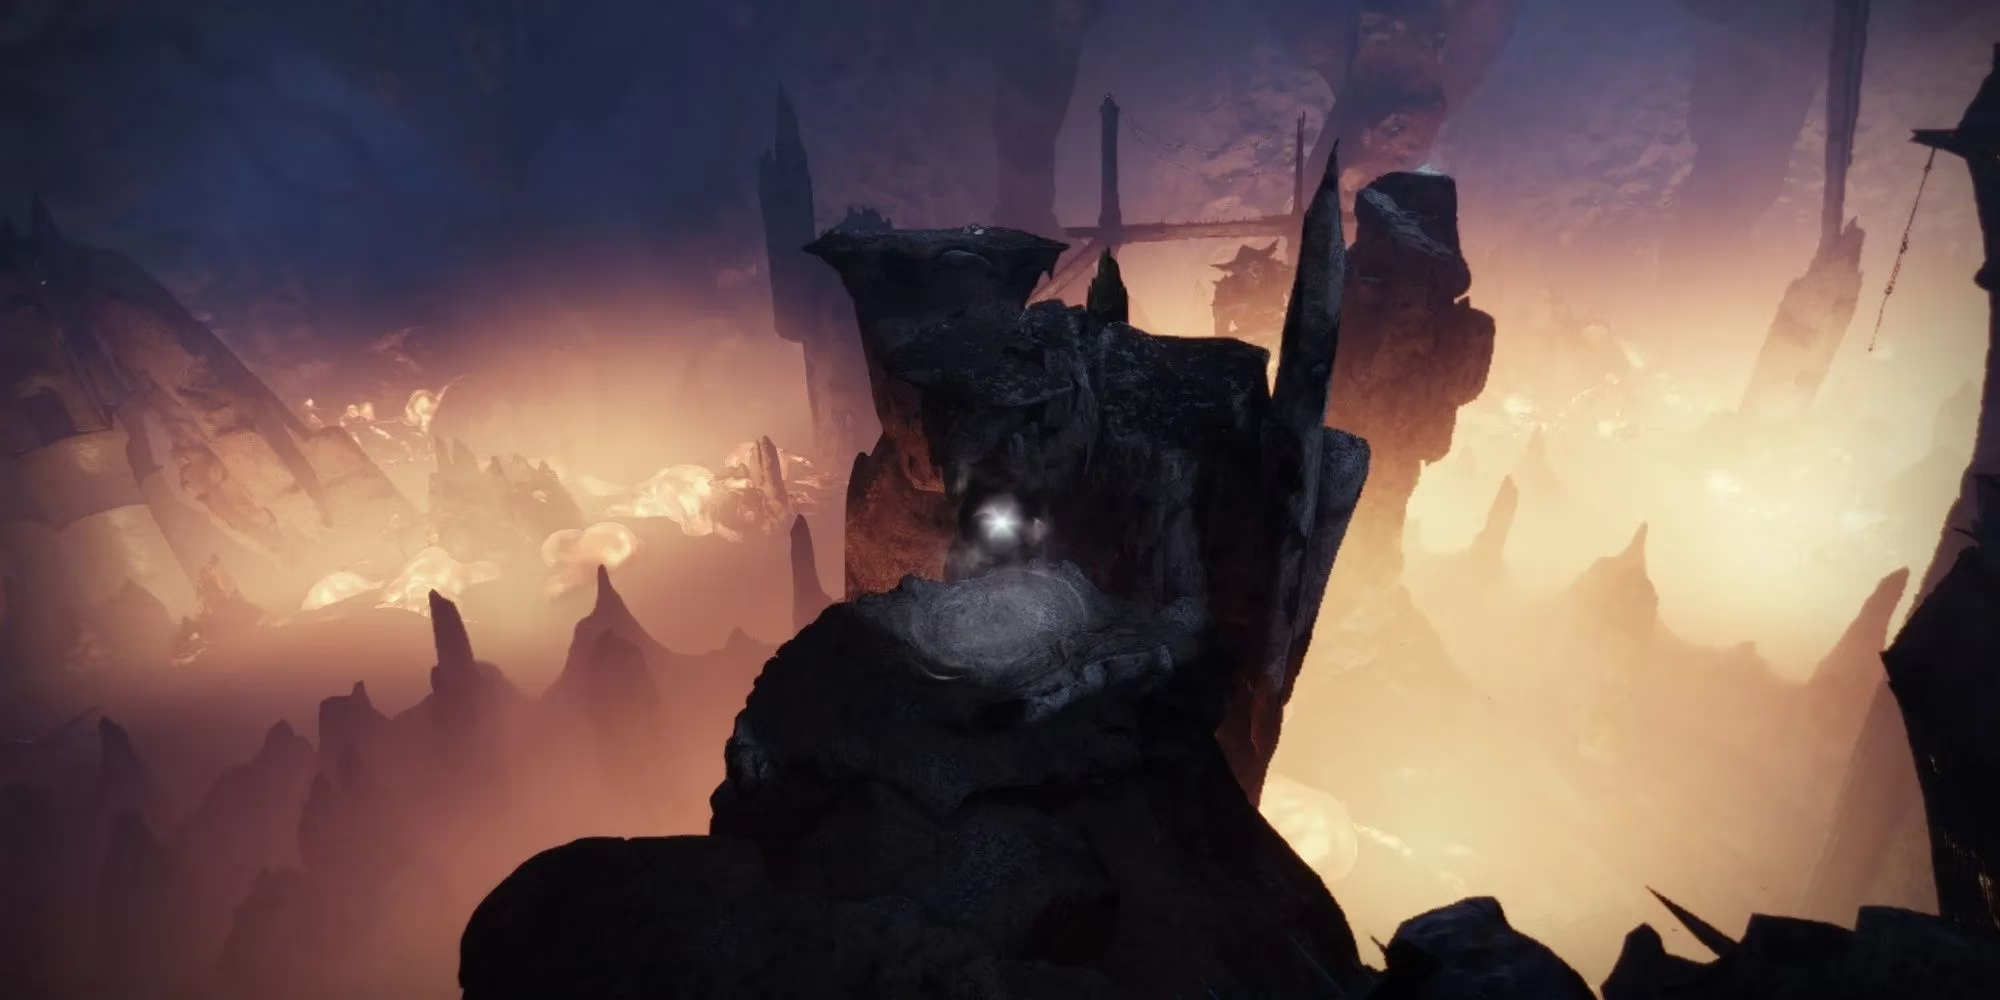
You’ll find a Deepsight Orb to the left of where you dropped down. Hop across the terrain to activate it. Jump to the first platform, and you should see all five symbols you need to shoot. Breaking them reveals a second Deepsight Orb. Interact with that second orb to make your way further along the bridge.
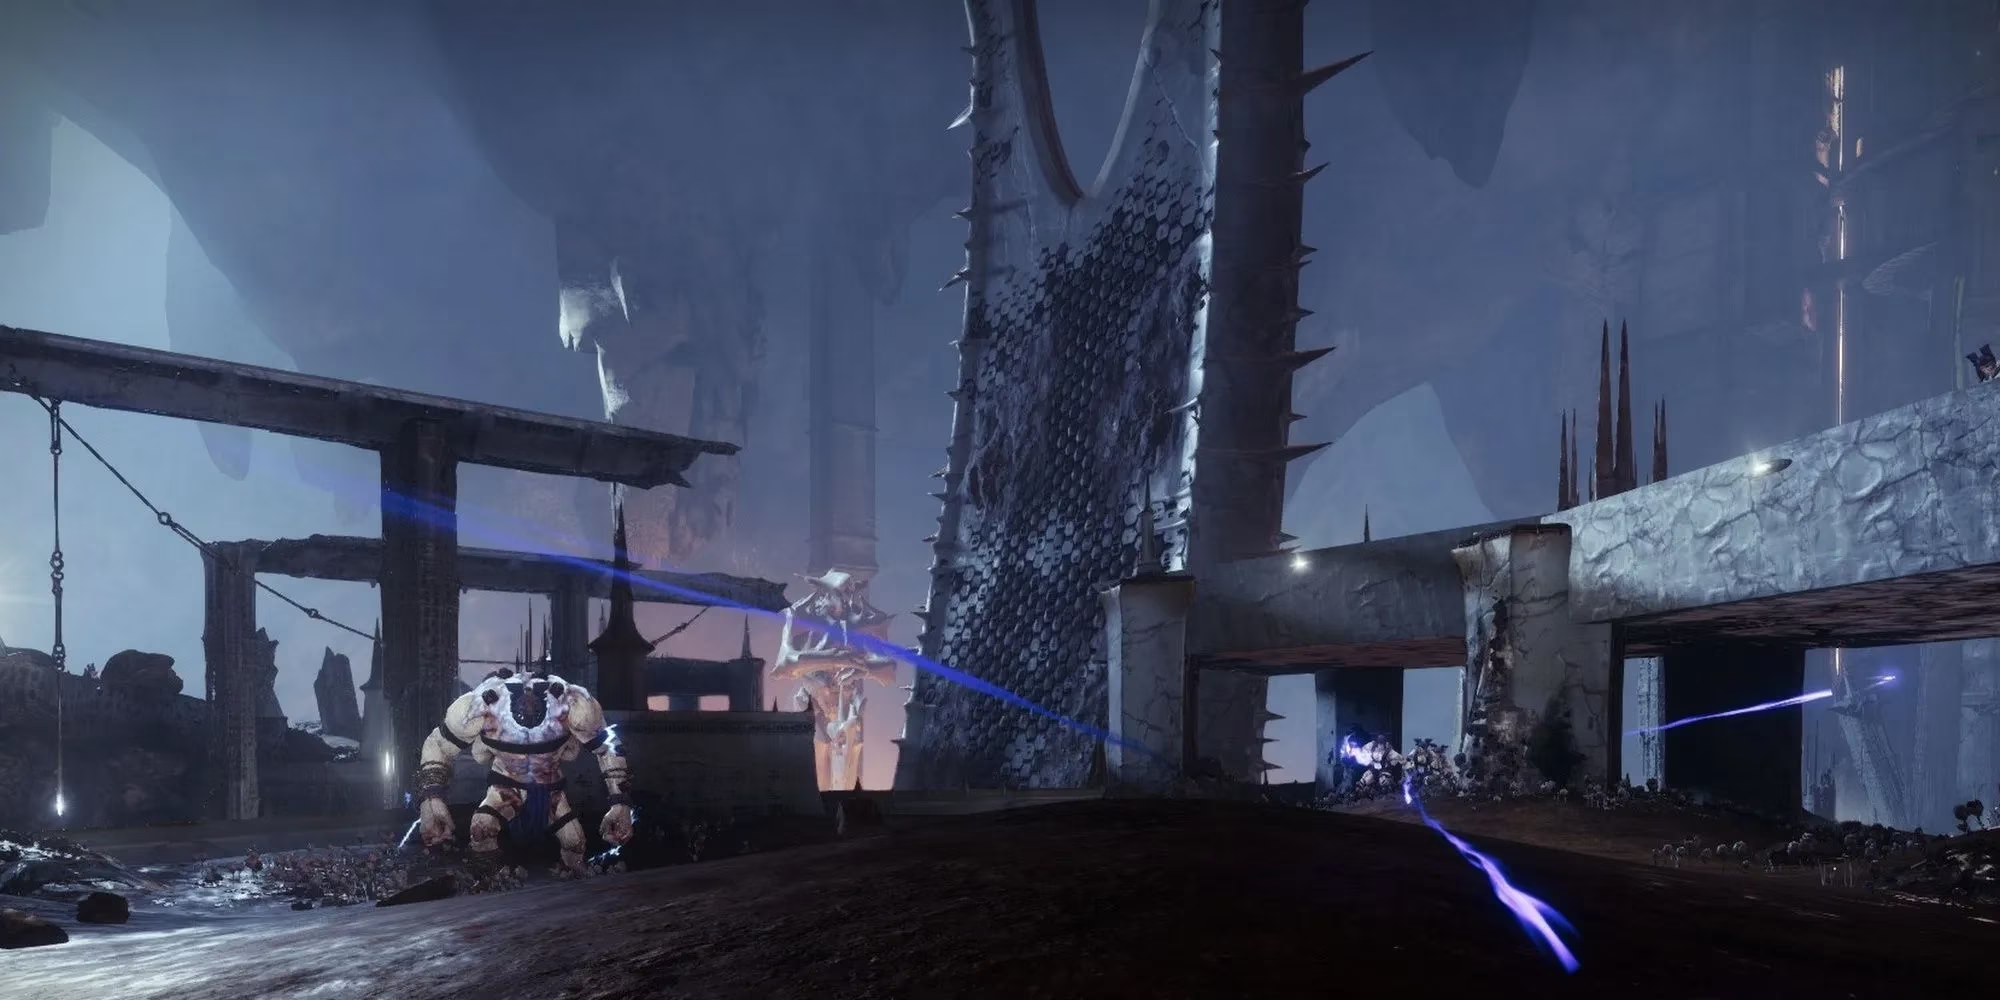
The second section of the bridge is guarded by Scorn Raiders and an Abomination—Unstoppable on Master. Find cover from the Abomination immediately and kill it. Raiders will be beside you and on the other end of the arena. Kill these Raiders as soon as you can, but don’t stray too far from cover. When their crossbow begins to glow purple, duck back into cover.
Make your way to the Raiders you just killed. You’ll find another Abomination and a Chieftain. On Master, they’re Unstoppable and Overload Champions, respectively. This is the perfect time to use your Super and Heavy ammo to burn through them quickly. If they prove too punishing, take them out from a distance as you did with the Raiders earlier.
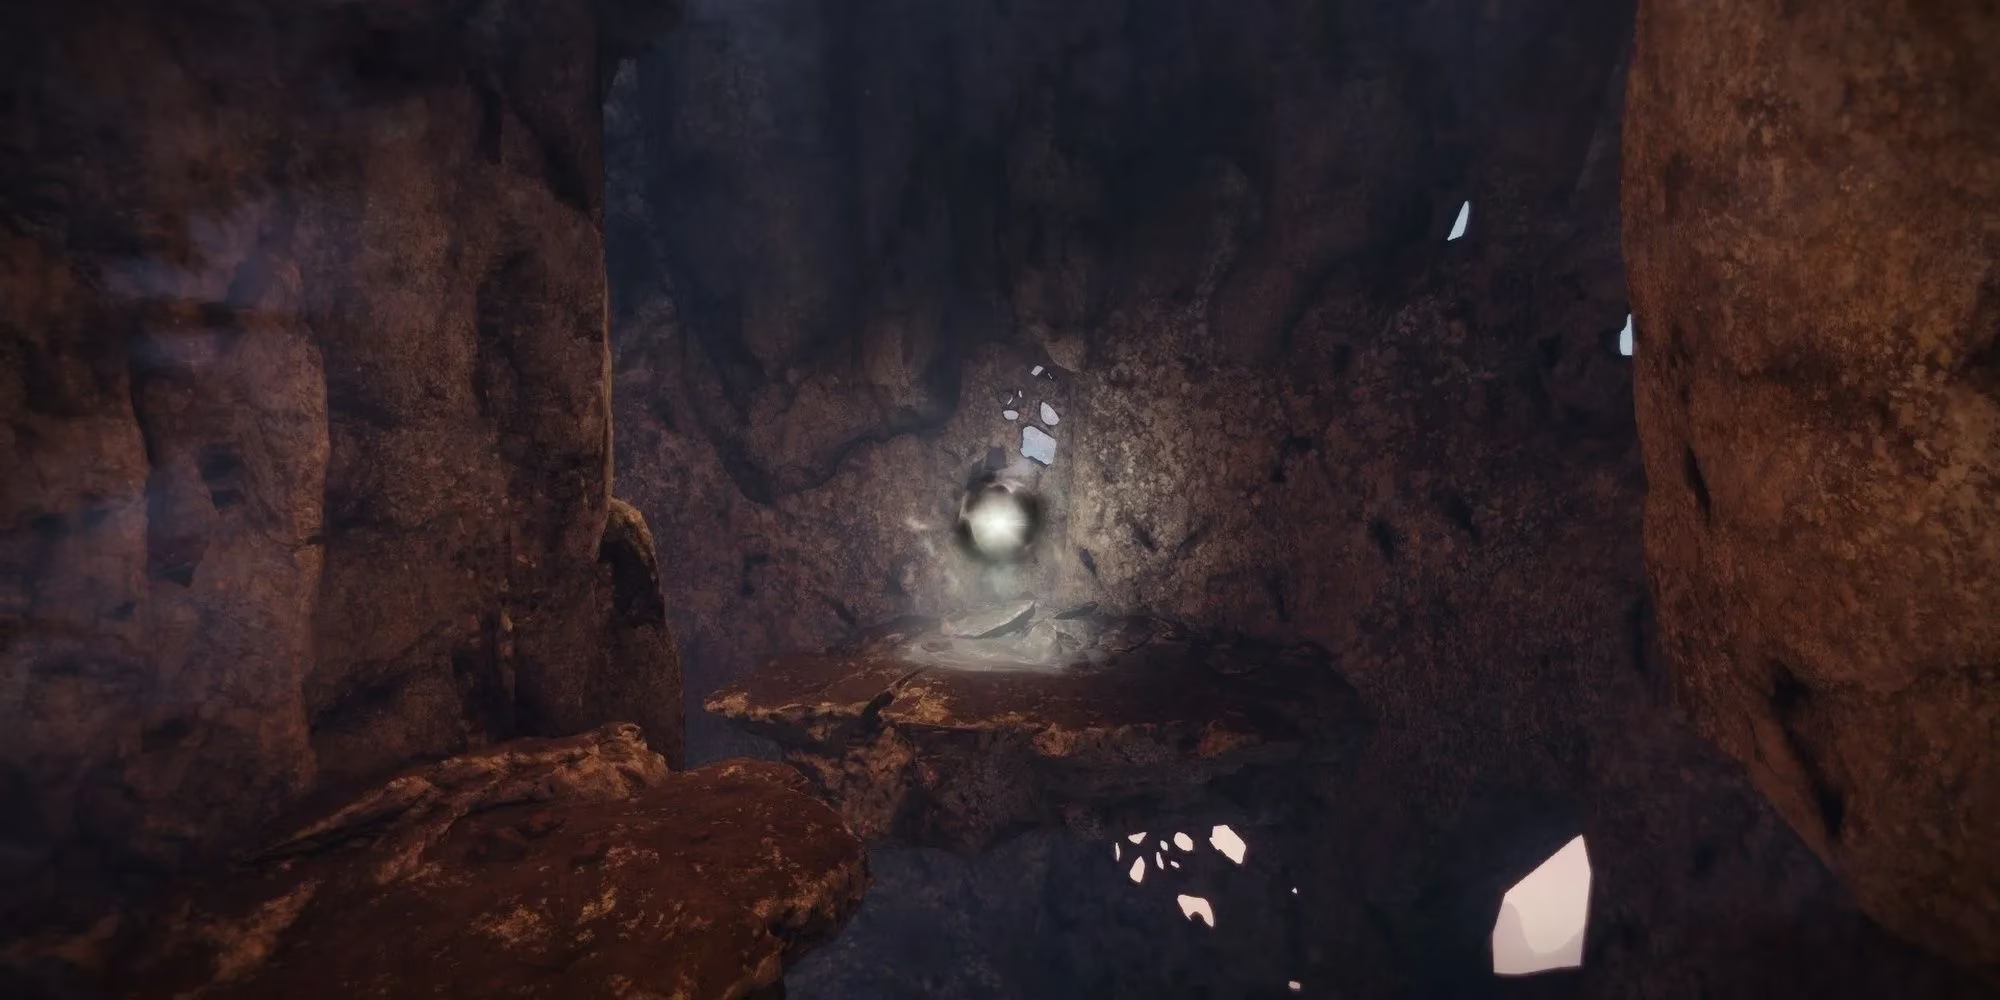
Across the way is yet another Deepsight Orb. Using this orb leads you to another orb. The second orb projects five symbols again, although they’re extremely easy to find. Break all five symbols, activate the third and final orb, then make your way across to the raised drawbridge.
Lower The Drawbridge: Hold the Plate, Don’t Get Sniped
Lowering the drawbridge requires you to stand on a Hive plate for a short duration. Scorn spawn to your left and right throughout this section, but they all need to funnel down a set of stairs on each side. Stasis users can easily freeze the Scorn here, and other subclasses can rely on grenades to get the job done. No Champions or particularly tough enemies spawn here, but you should find cover if things get dicey. If you aren’t on the plate, additional enemies cannot spawn.
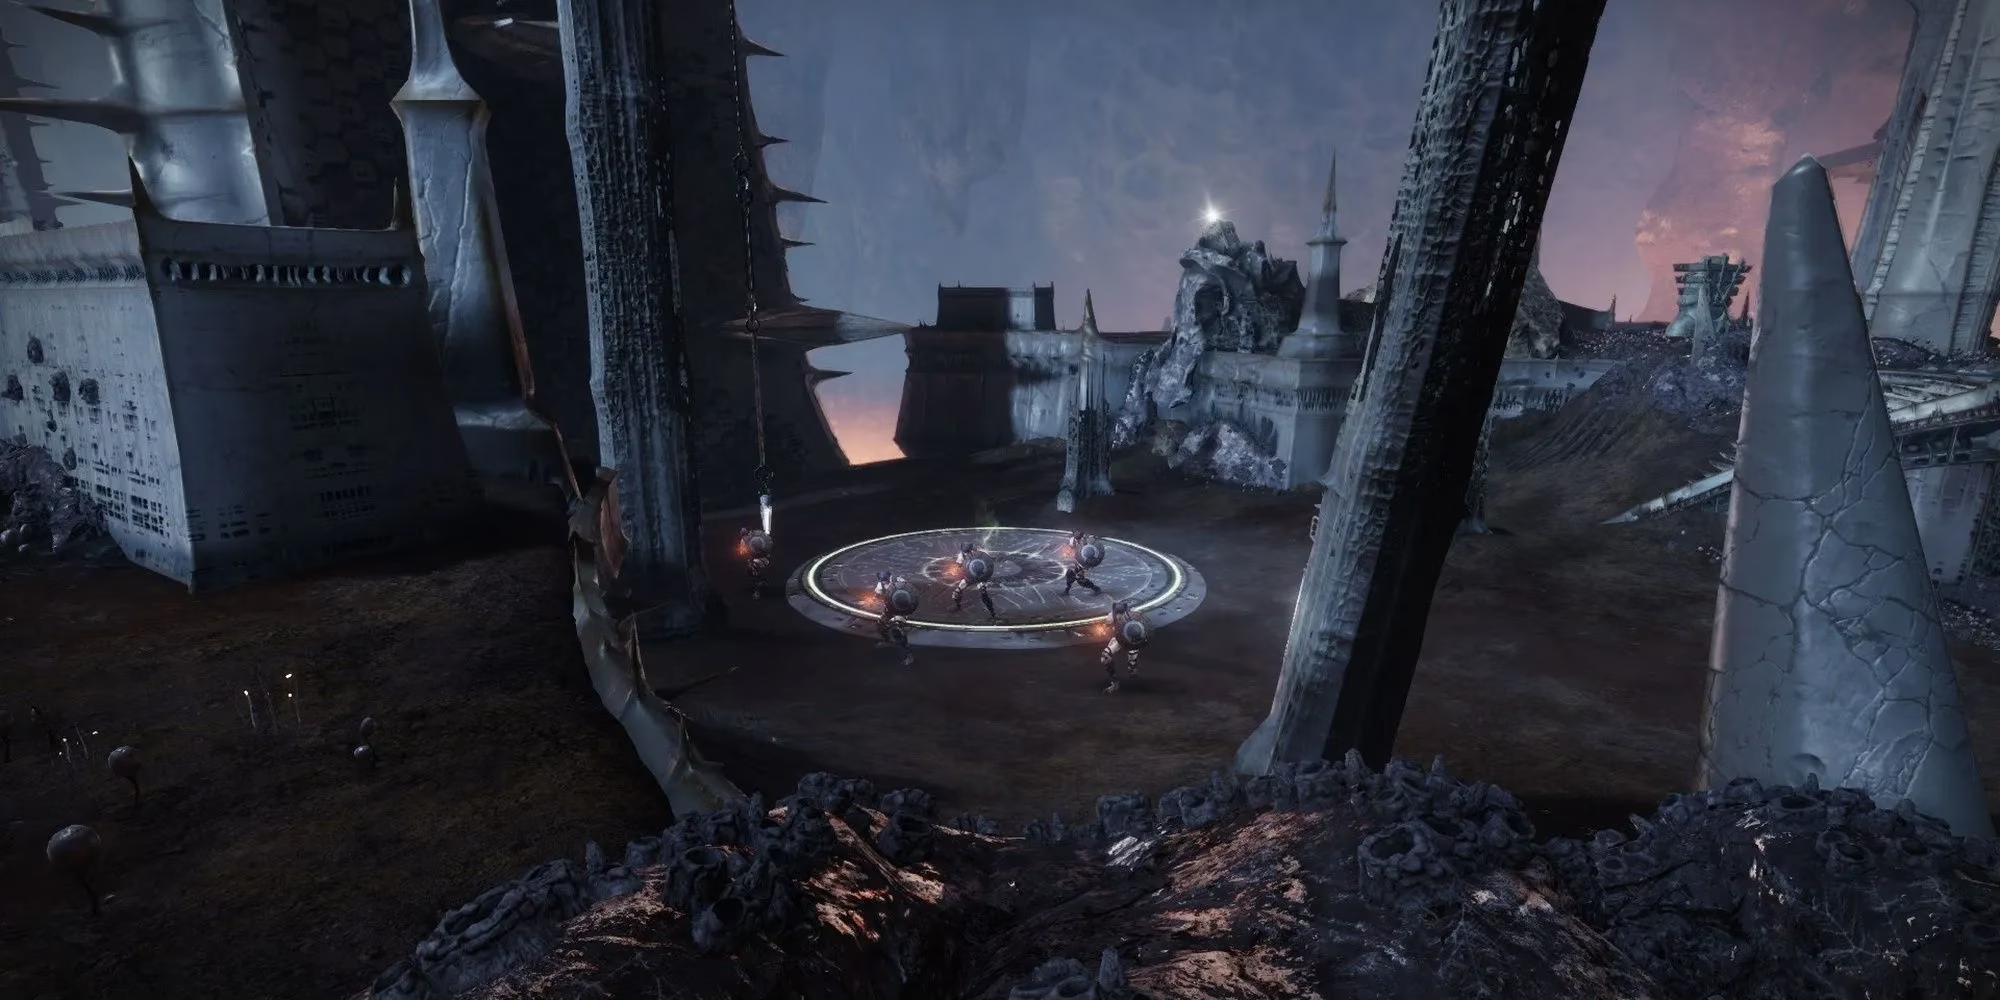
When you’ve lowered the drawbridge, another group of Scorn spawns. One of them is a Chieftain—Overload on Master. Try not to get sniped by the Raiders here. Kill the enemies from safety, then make your way inside. You’ll find two Abominations—Unstoppable variants on Master—inside. Try to lure them outside if you’re attempting to solo flawless this mission. Otherwise, just burst them down with your Heavy weapon. Cross the internal bridge when you’re ready for the next encounter.
Defeat The Warden: The Boss That Two-Taps
Here’s the encounter breakdown:
| Objective | Notable Enemies | Shields | Champions (Master Only) |
|---|---|---|---|
| Defeat the Warden boss | Scorn Chieftains | Legendary: Void; Master: Void | None |
When you start the encounter, Scorn Chieftains begin to spawn in each corner of the arena. The Warden spawns in the center, acting as a tanky Scorn Raider that can instantly kill you on Master. It two-shots you on Legendary, so you’ll want to be careful regardless.
Focus on killing the Chieftains first, as they can make all nearby allies invulnerable with their totems. After you’ve dealt with the adds, slowly chip away at the Warden’s HP. Removing a large percentage of the Warden’s HP spawns additional adds near the center and edges of the arena. Enemies that spawn near the corners tend to have a wind-up spawn animation, so you have a few seconds to prepare whenever this happens.
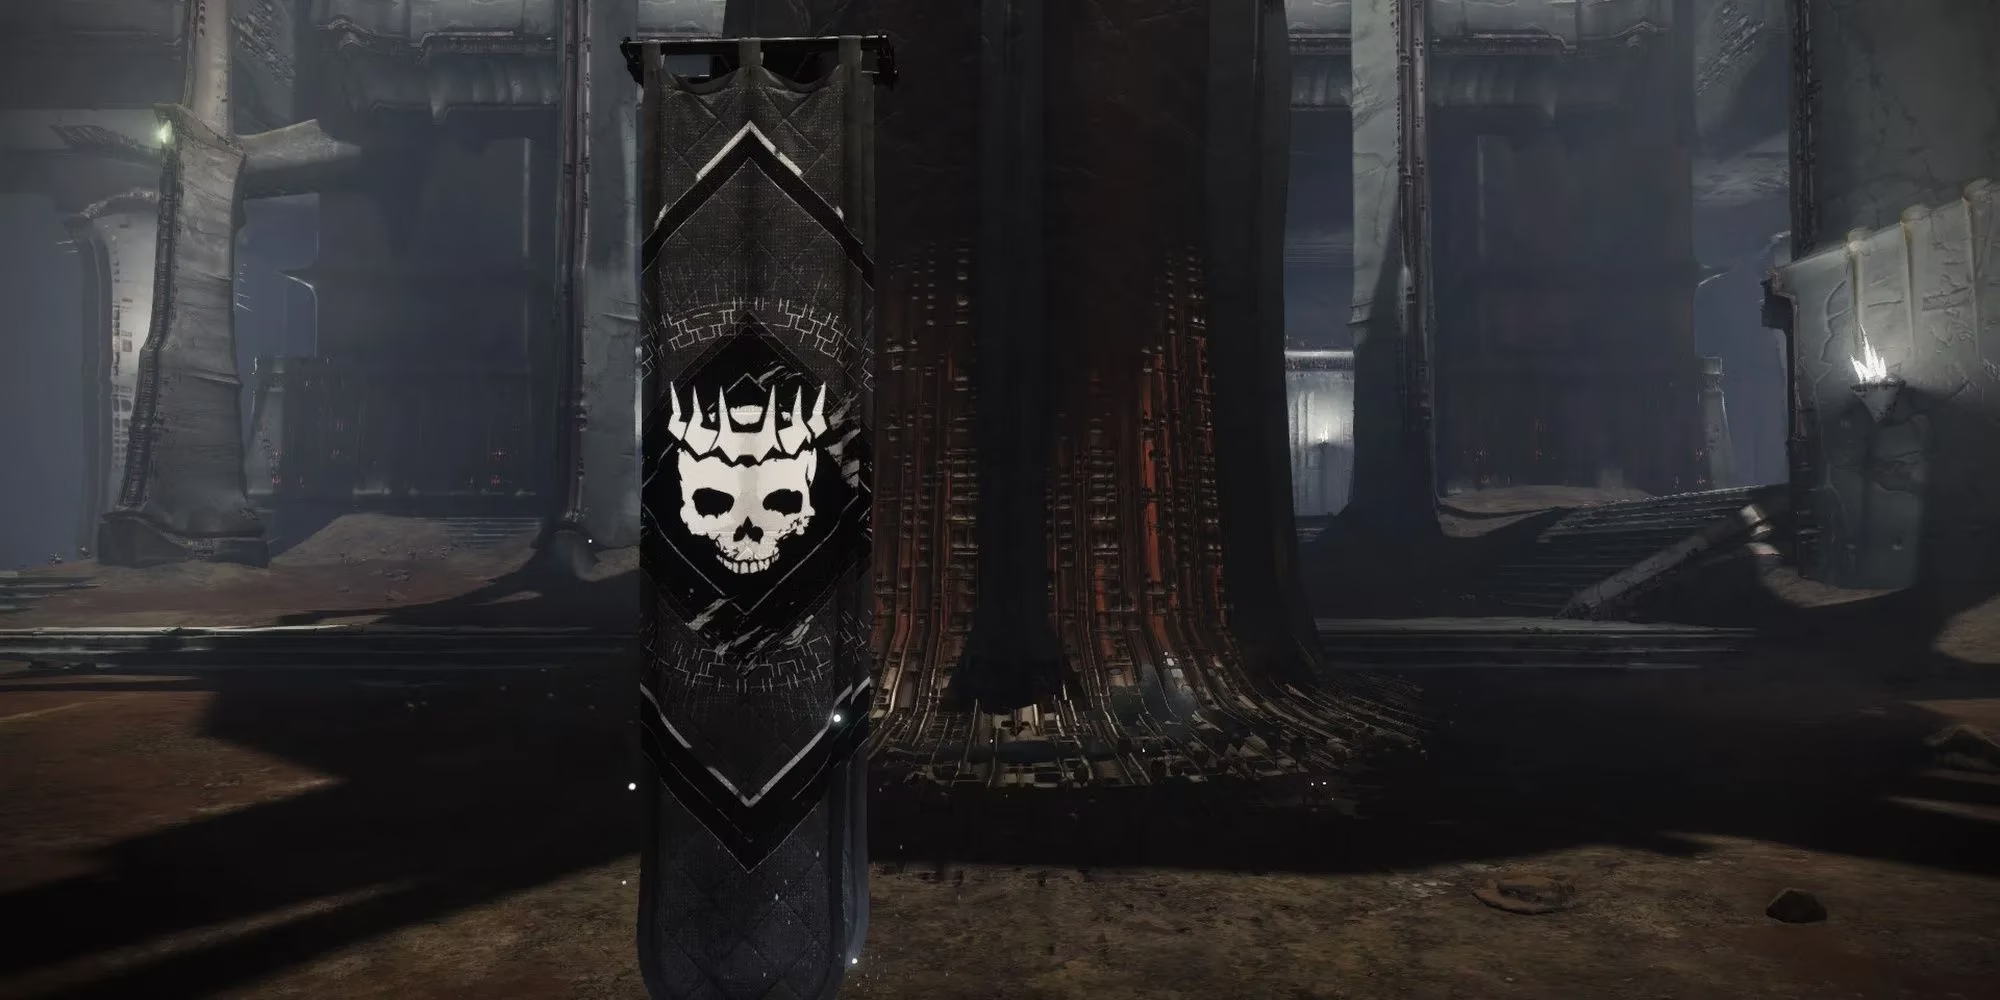
Removing most of the Warden’s HP makes it immune for a short duration and spawns a major wave of enemies. Stick to one corner of the arena, and use your abilities and Super to quickly kill the Chieftains and Ravagers. If they close the gap, you won’t last long. Killing all of the adds makes the Warden vulnerable again. Burst down the Warden with your Heavy weapon to finish the fight. This is a clutch-or-cry moment.
Acquire The Worm Familiar: Deepsight Shenanigans
With the Warden dead, grab the Hive Worm held by the statue in the center of the arena. Interact with the Deepsight Orb beside the Rally Flag you planted earlier. Look to the left of the arena to find all five symbols. Shoot them, climb up the platforms that spawn, then interact with the next Deepsight Orb. Shoot the vertical line of symbols, and you should now be able to grab the Worm off a nearby platform. Once you grab the Worm, prepare for yet another boss fight.
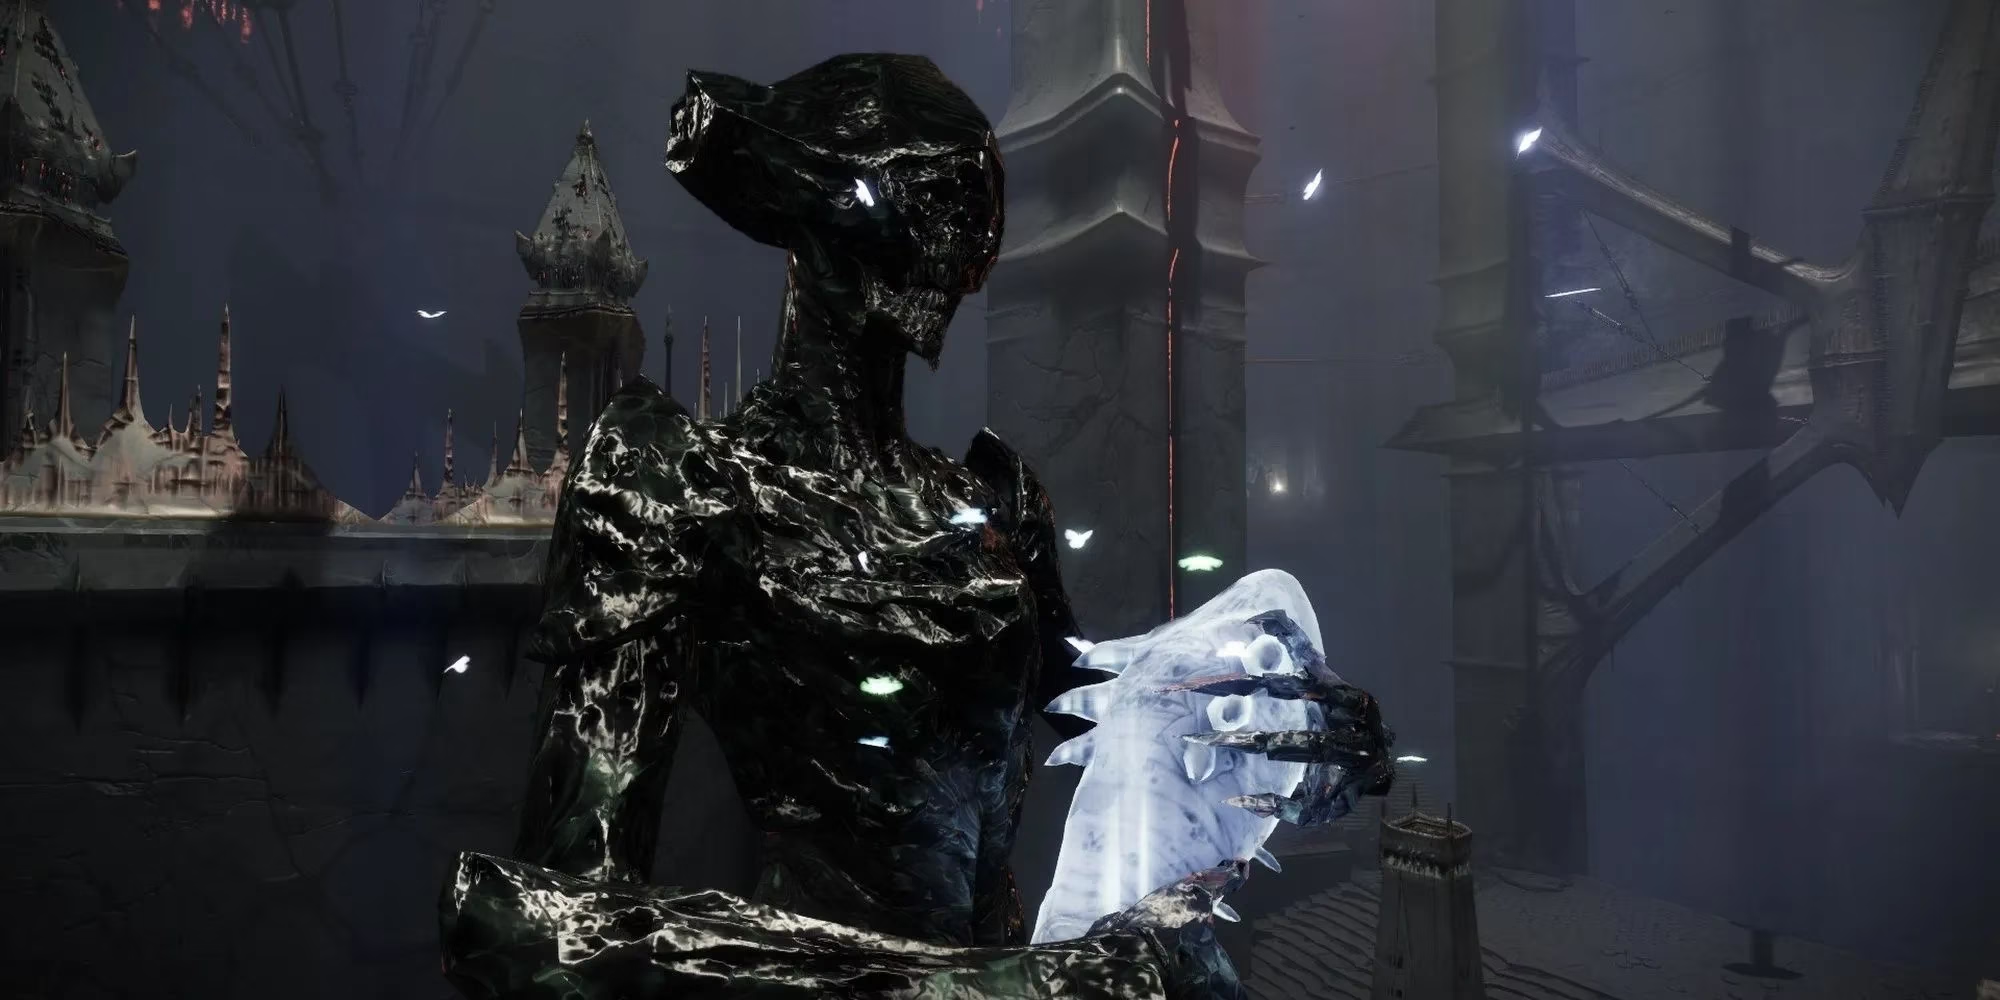
Outlast The Illusion: Ahamkara Made Easy
| Objective | Notable Enemies | Shields | Champions (Master Only) |
|---|---|---|---|
| Defeat the Ahamkara illusion | Scorn Chieftains, Abominations, Screebs | Legendary: Void; Master: Void | None |
Grabbing the Worm Familiar sets off a trap, spawning an Ahamkara illusion. This Ahamkara acts similar to Riven of a Thousand Voices from the Last Wish raid, spewing a deadly stream of fire at your location whenever it can. After the Ahamkara breathes fire, shoot its glowing mouth to deal damage. When the mouth glows orange, you can damage the illusion.
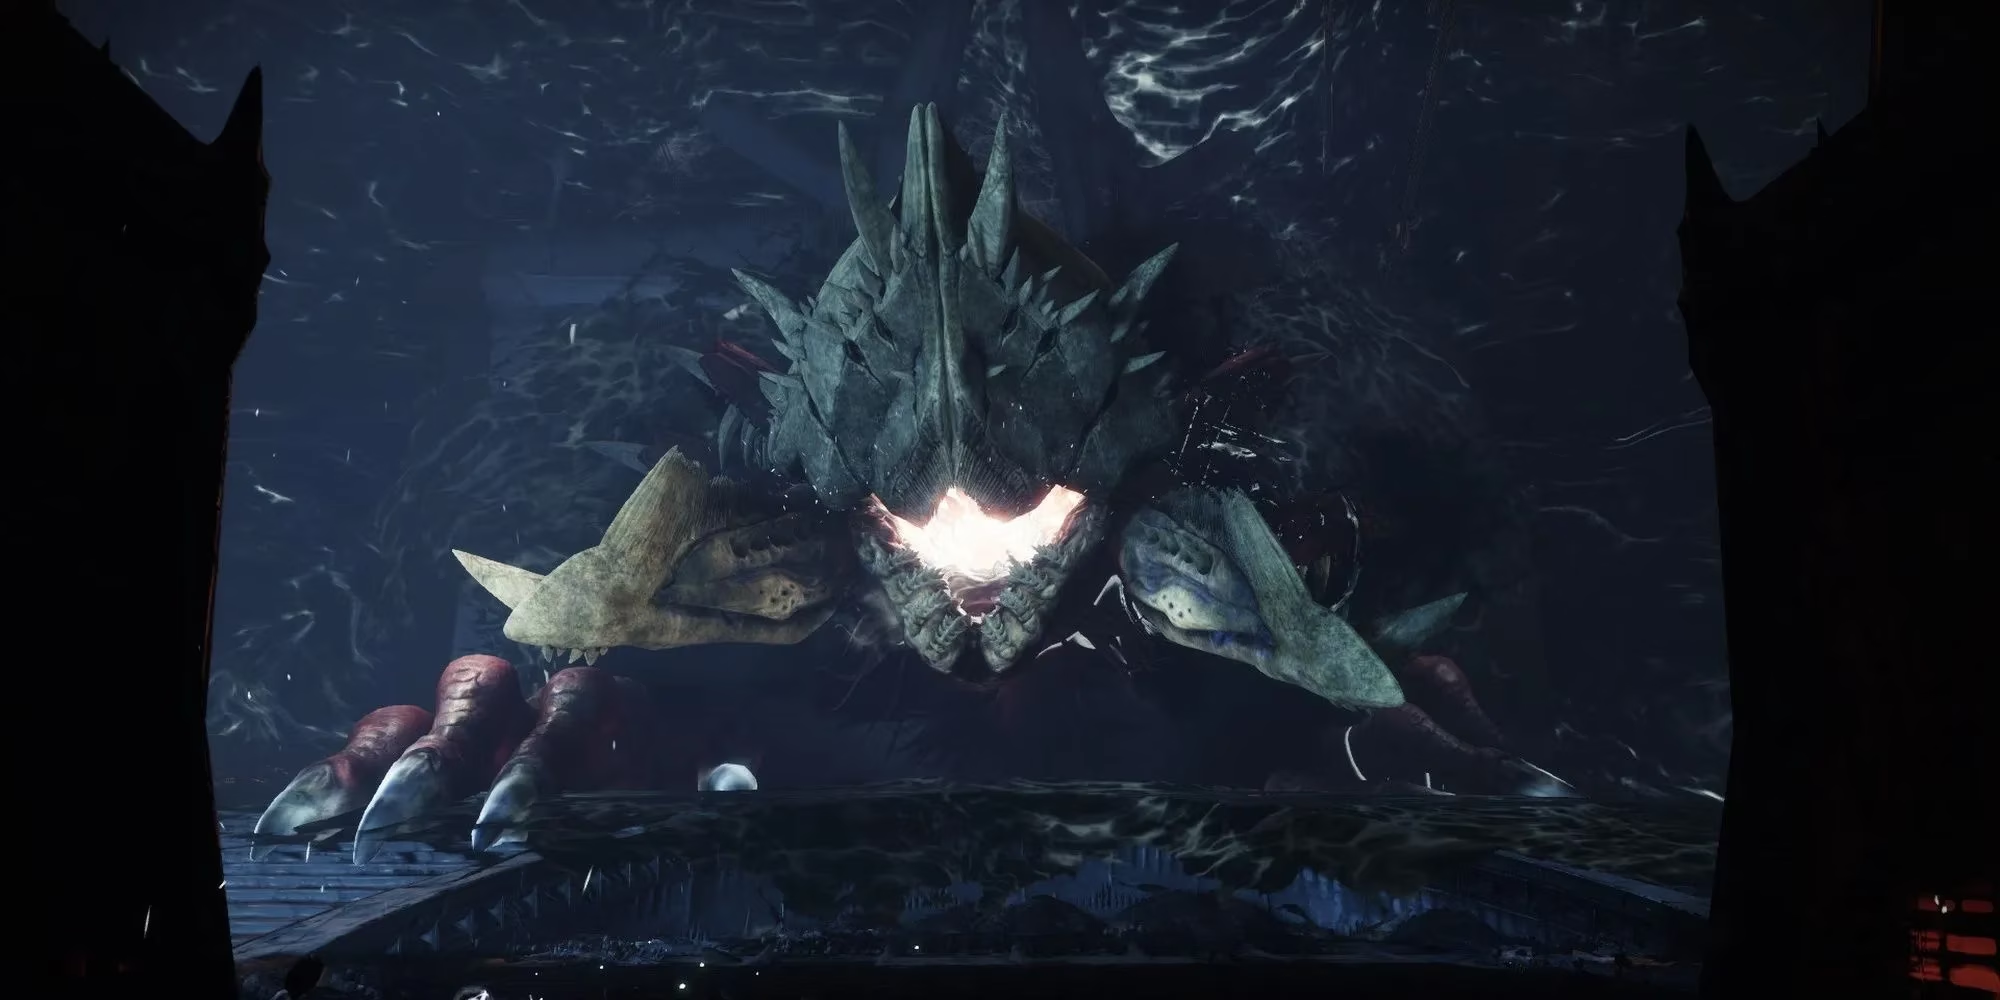
This Ahamkara is surprisingly easy to kill. Stick to the two pillars right in front of the boss, and you should be able to avoid the fire attacks with little issue. Peek around the pillar to damage the boss, and repeat. You need to remove three chunks of its HP to finish the fight.
Between each DPS phase is an add-clearing phase where a swarm of Scorn spawns near the Ahamkara. Grenades and Supers are your friends here. Feel free to use any abilities you have to quickly clear these enemies out. Champions aren’t present here on Master, but there are plenty of Chieftains, Abominations, and Screebs that spawn during these phases. If you get overwhelmed, retreat further into the temple to create distance. The Ahamkara won’t come back until all of the adds are slain, so take your time. Remove all three health chunks to finish the fight.
Escape: Three Minutes to Not Die
Landing the final blow on the Ahamkara causes it to scream, blinding you temporarily. The arena is covered in a green haze shortly afterward, and you get a debuff called 'Suffocating Haze.' You have three minutes to escape or the mission fails. Run to the Deepsight Orb beside a nearby ramp to reveal the path out of the temple. Hop onto the Scorn Pikes in the next room and follow your HUD. Enemies will block the path, but you can drive past most of them on Legendary. On Master, you might want to dedicate a few seconds to killing them.
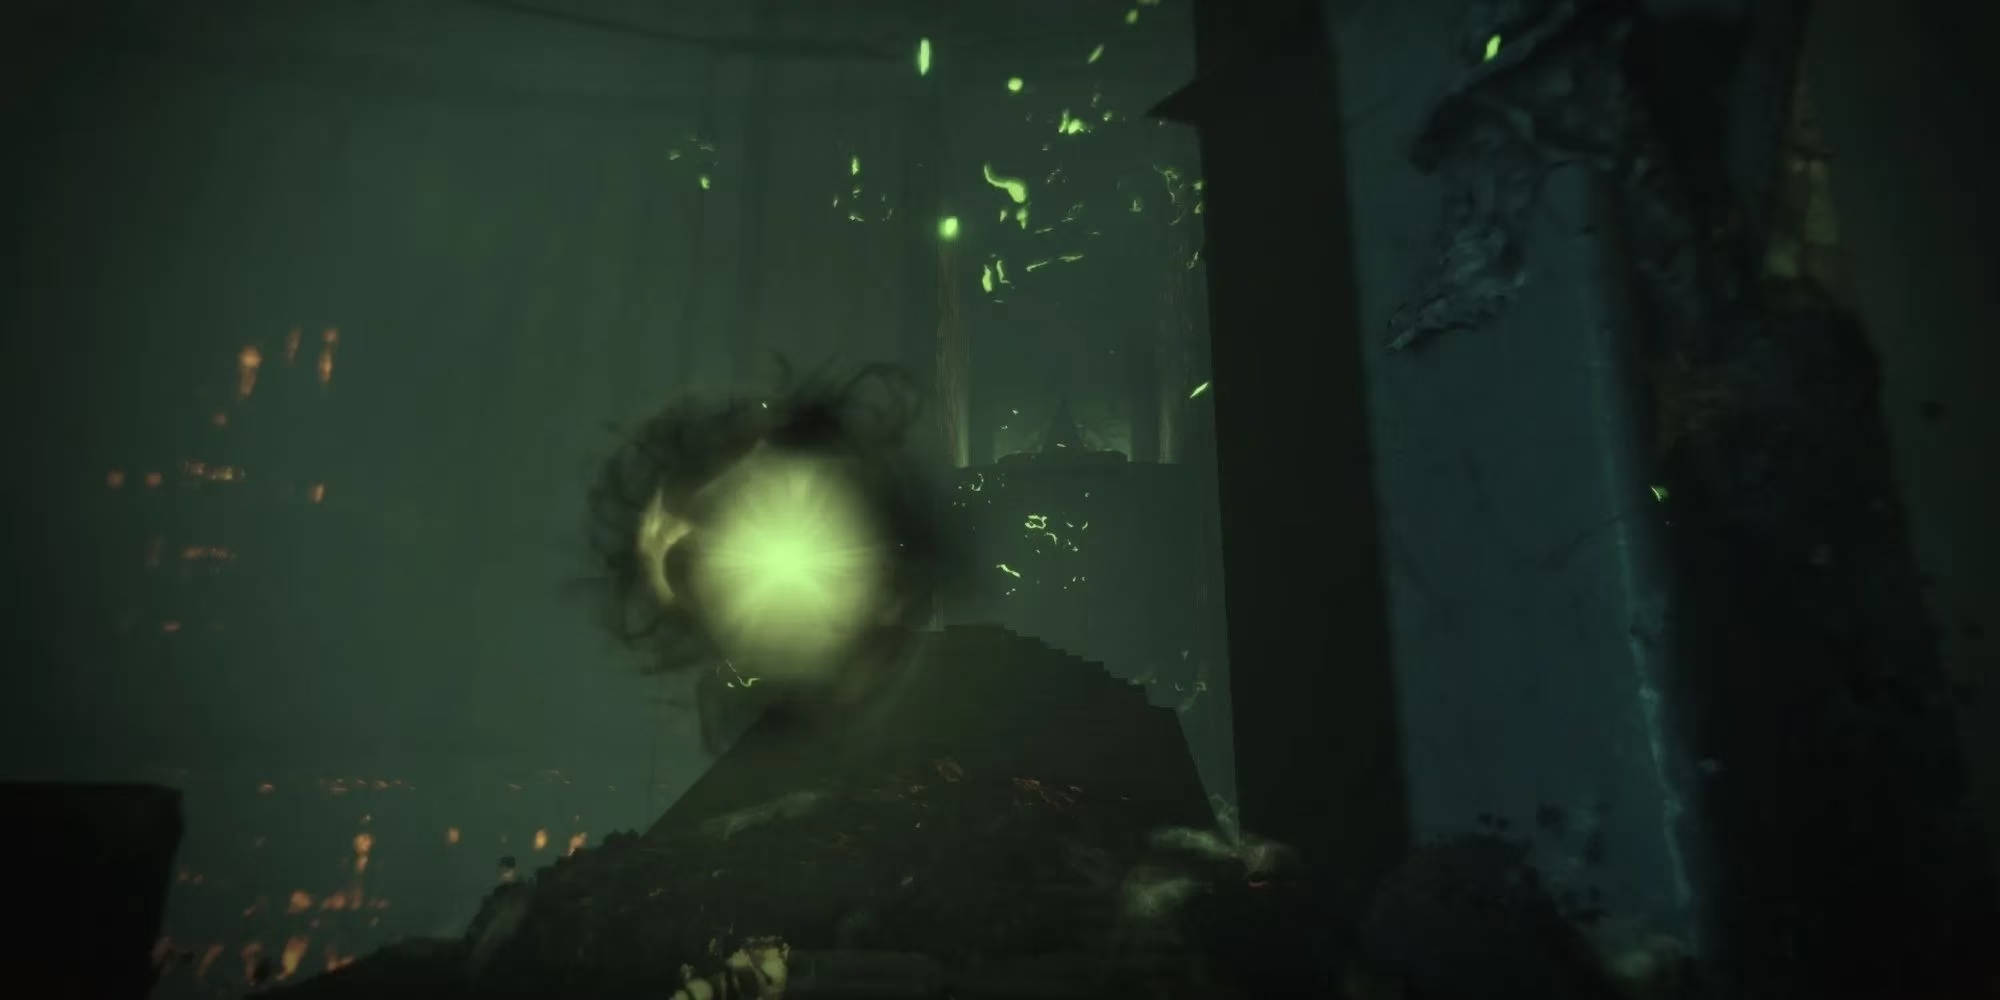
The very end of the path has an elevator, protected by a pack of Scorn. Two of these enemies are Chieftains, upgraded to Overload Champions on Master. This is the perfect time to use your Super and Heavy weapons. Burst down the Scorn as fast as you can; there isn’t much cover for playing defensively. Legendary players can book it for the elevator if they find it safe. Master difficulty requires that you kill the Champions to get a Platinum rating, so defeat them first before using the elevator. Using the elevator ends the mission.
Final Thoughts
The Cunning still holds up in 2026 as one of the tougher Witch Queen missions. It’s not just a nostalgia trip—it’s a proper test of your buildcrafting and add-clearing skills. Bring a Void weapon, respect the Champions, and don’t get greedy. If you follow these tips, you’ll clear it without too much sweat. And remember: when in doubt, retreat, regroup, and let the Scorn come to you. That’s the secret sauce. No cap.