The Ultimate Guide to Conquering Destiny 2's Legendary Operation: Seraph's Shield in 2026
Master the legendary Destiny 2 Operation: Seraph's Shield with our comprehensive guide, conquering its tactical brilliance and relentless challenge to secure coveted Seraph and Ikelos weapons.
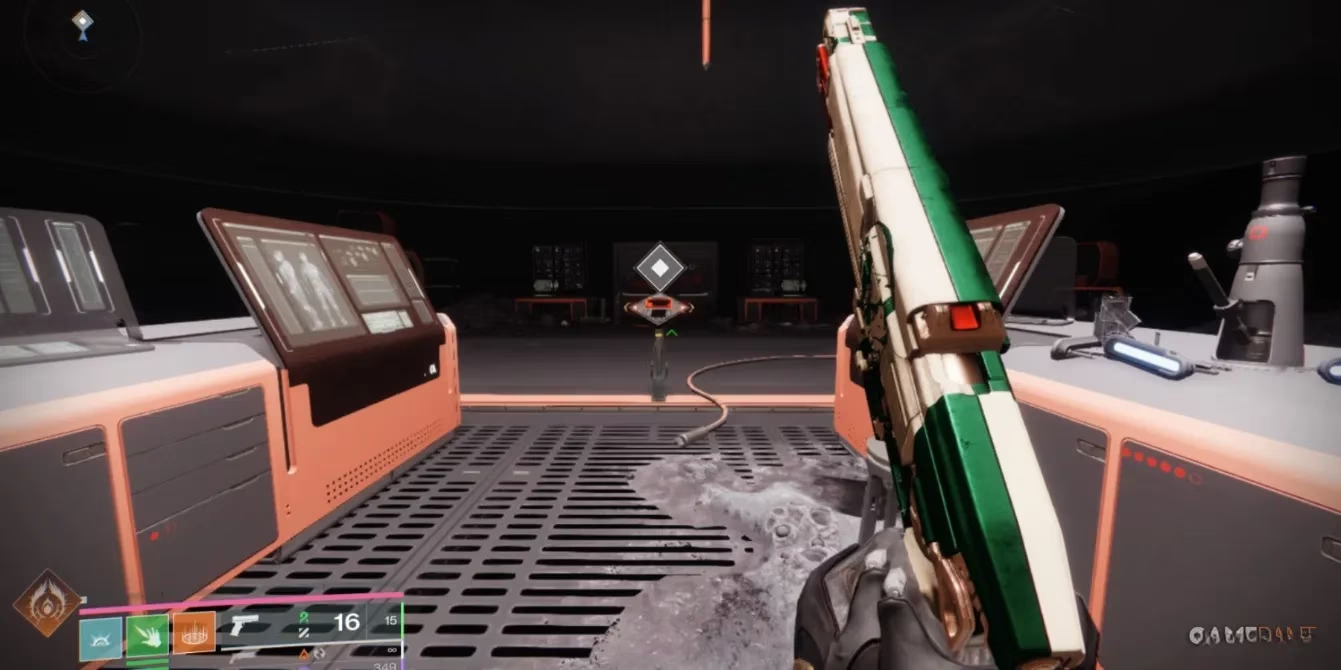
In the ever-evolving cosmos of Destiny 2, where gods fall and legends are forged anew, one mission stands as a monument to tactical brilliance and relentless challenge: Operation: Seraph's Shield. As of 2026, this legendary Exotic mission, a relic from the fateful Season of the Seraph, remains a pinnacle activity accessible through the revered Exotic mission rotator in the Legends tab. For Guardians seeking the coveted Seraph and reprised Ikelos weaponry, this is the crucible. However, be warned, Lightbearer—this is no simple patrol. It is a gauntlet of Deep Stone Crypt-inspired puzzles, a marathon of combat, and a test of fireteam synergy that will separate the wheat from the chaff. This is your comprehensive guide to emerging victorious.
❄️ The Frigid Gauntlet: Breaching the Perimeter
The mission begins not with a bang, but with a silent, deadly chill. You spawn into a blinding white expanse, a field of snow as unforgiving as a Titan's fist, guarded by automated perimeter towers whose gaze is more lethal than a thousand Ahamkara wishes. Moving from cover to cover is not a suggestion; it is a law of survival. The debuff applied by their line-of-sight ticks down like a Doomsday clock—a mere 15 seconds until instant, ignominious death. Your goal is a distant entrance, a maw in the ice guarded by a hulking Ogre, a sight as welcoming as a dentist's drill. Navigate this frozen killbox with the precision of a surgeon and the speed of a startled deer.

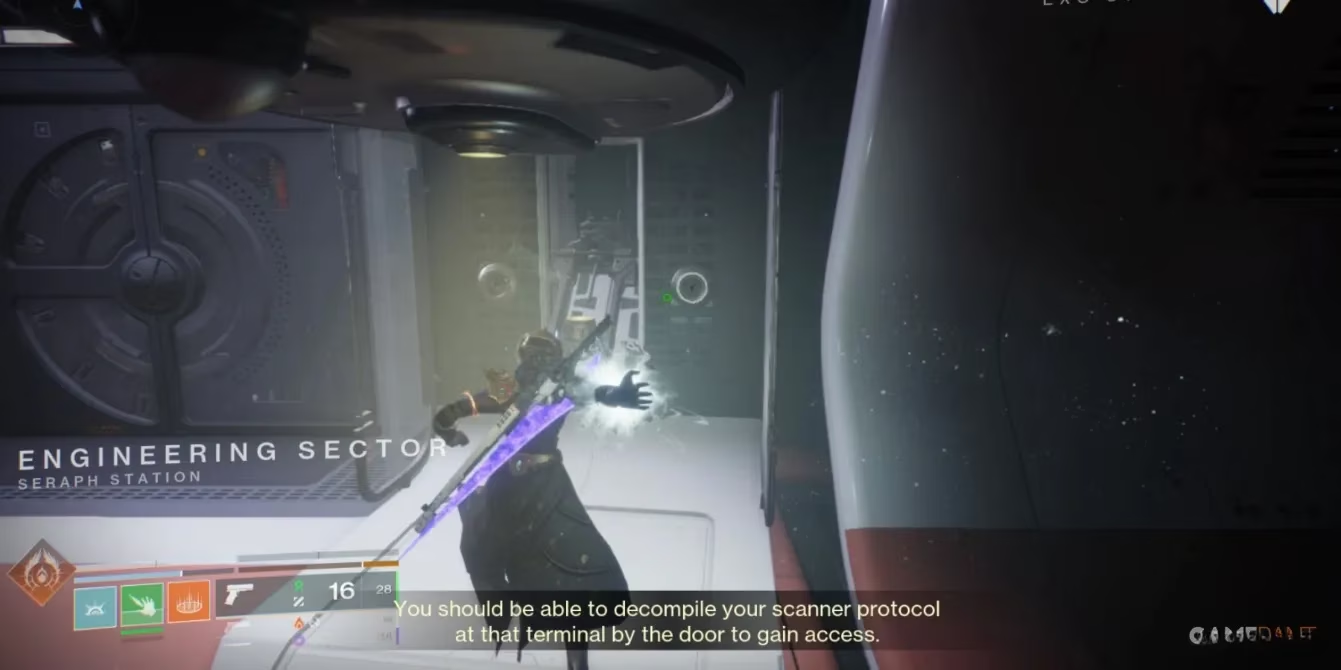
Once inside, the environment shifts to sterile, hostile architecture. Your path is immediately barred by laser doorways, humming with malevolent energy. Slide, jump, or crouch beneath them like a contortionist avoiding a closing trap. At the first junction, take the left door, a decision as critical as choosing your primary weapon. This leads to a room swarming with Fallen and dormant space pods. Here, you secure your first key: the Scanner Protocol. This golden buff, dropped by a designated foe, transforms your vision, highlighting interactable terminals like fireflies in a dark forest. Activate the three marked terminals in sequence:
-
Front left of the pods.
-
The back of the room, facing the rear wall.
-
Front right of the pods.
With all three humming with energy, board a pod and launch yourself toward the heart of the Seraph Station.
🧠 The Protocol Waltz: Scanner, Operator, and Suppressor
The core mechanic of Seraph's Shield is a intricate dance with three unique buffs, each more vital than the last. Mastering their use is the difference between triumph and a swift return to orbit.
🟡 Scanner Protocol: Your eyes and ears. It reveals hidden terminals and safe paths.
🔴 Operator Protocol: Your skeleton key. It allows you to shoot glowing red keypads to manipulate the environment.
⚪ Suppressor Protocol: Your shield breaker. It lets you stand under white orbs and fire at shielded targets to disable their defenses.
Upon arrival at the station, you'll face a closed door. Bank your Scanner Protocol at the terminal on your left to proceed. This act of "depositing" the buff to open paths becomes a recurring theme, a ritual as familiar as reloading.
The next chamber is another Fallen playground. Clear it, grab a fresh Scanner buff, and locate three more terminals:
-
Near your entry door.
-
Behind an observation window (accessed by shooting a vent on the left wall and crawling through).
-
Next to the exit doorway, now likely swarming with Shanks.
Bank the Scanner again after defeating a meddling Servitor to move forward.
A larger, more hostile room awaits. The puzzle complexity ramps up. After clearing enemies and grabbing the Scanner, find these terminals:
-
On the left wall near a pillar upon entry.
-
Inside a vent on the right wall (crawl in, navigate a laser-grid chamber).
-
This one requires finesse. After exiting the vent and killing a Servitor, you'll see a glowing terminal behind glass. Bank your Scanner at the augmentation terminal nearby to open a door. Inside, find and activate the matching terminal among four to proceed.
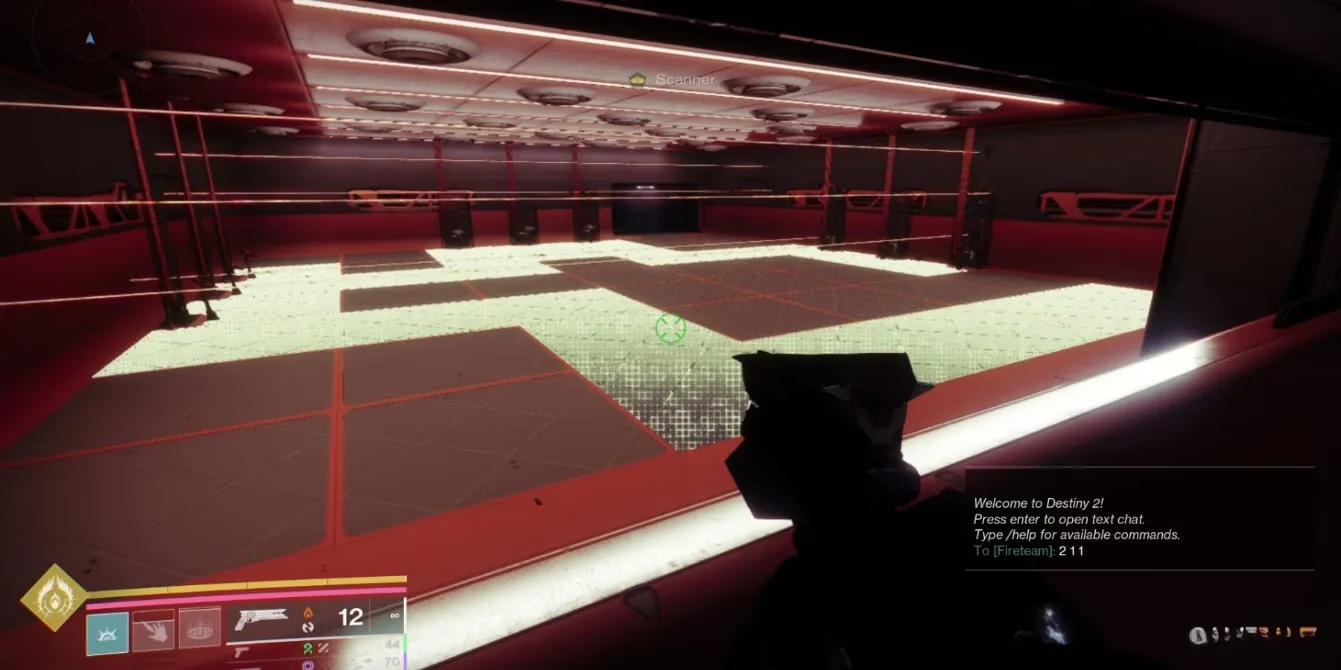
🔥 The Trial by Fire: The Heat Room Puzzle
After navigating a room of tanky turrets (best avoided like a political debate), you'll enter a chamber that separates the casual from the committed. This is the infamous Heat Room. Clear the Fallen and turrets—here, destroying the turrets is wise. An enemy will drop the Scanner Protocol. Two observation windows are your lifeline:
-
Upper Window: Shows which specific terminals to activate (this changes each run).
-
Lower Window: Reveals the one true safe path across the deadly floor plates (this path is static).
⚠️ Crucial Warning: Stepping into the heat room immediately expires your Scanner buff. You must either memorize the terminal sequence and path or rely on flawless fireteam communication. The safe path is as follows:
🗝️ The Operator's Domain and the First Boss
Successfully crossing the heat room introduces the Operator Protocol. Your first task is simple: shoot the glowing red keypad ahead. The next area is a Hive-infested nightmare. Key actions include:
-
Clearing a red room of Cursed Thralls and shooting a keypad.
-
Fighting through a room of Shriekers and Knights, then crawling into a vent to snipe a second keypad from a distance.
-
Returning to the Thrall room, finding a second vent behind a pillar, clearing the area beyond, and shooting a third keypad through a window slit.
This opens the final door to a control room. Eliminate everything, including a Servitor, and claim the control room key from a slain Fallen Captain. Bank your Protocol, and brace for the first boss.
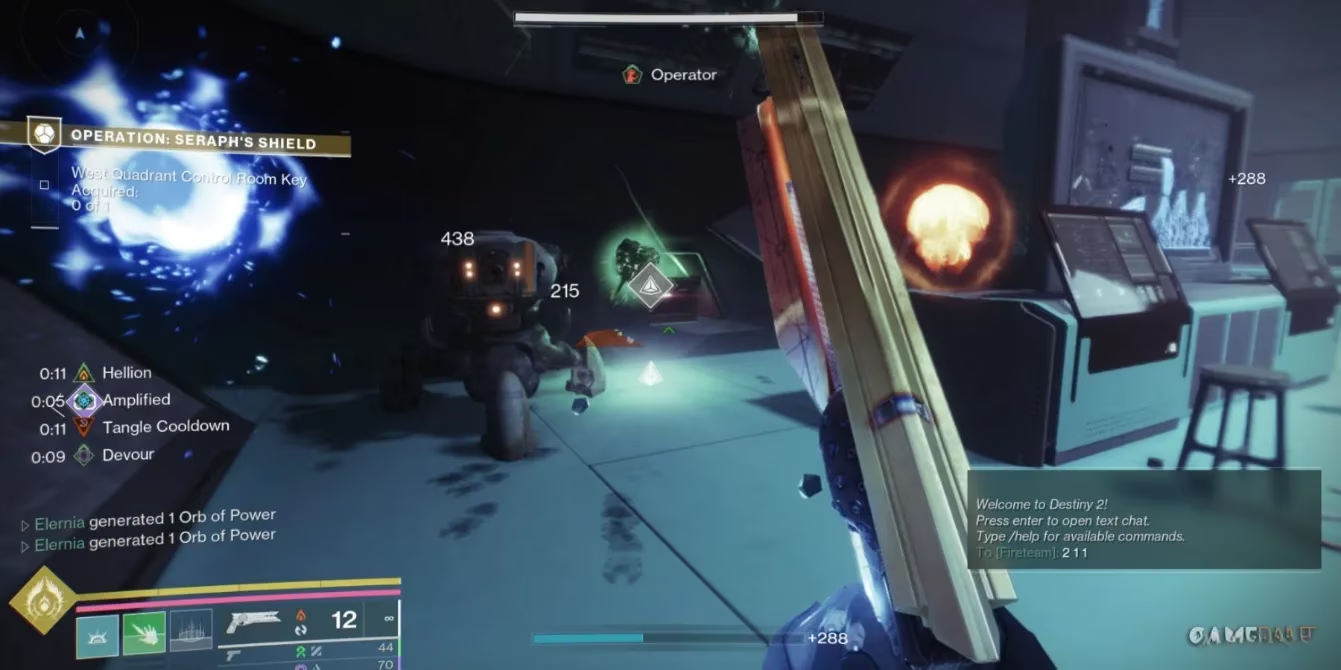
The boss arena features a large Hive Knight who flees after sustained damage, making way for the true challenge: a wave of three Brigs and a small army of Fallen. This is an add-control frenzy. Use area-of-effect weapons to clear the chaff and high-damage weapons (like Linear Fusion Rifles or Swords) to dismantle the Brigs once their front panels are destroyed.
🚀 The Great Escape and the Final Gauntlet
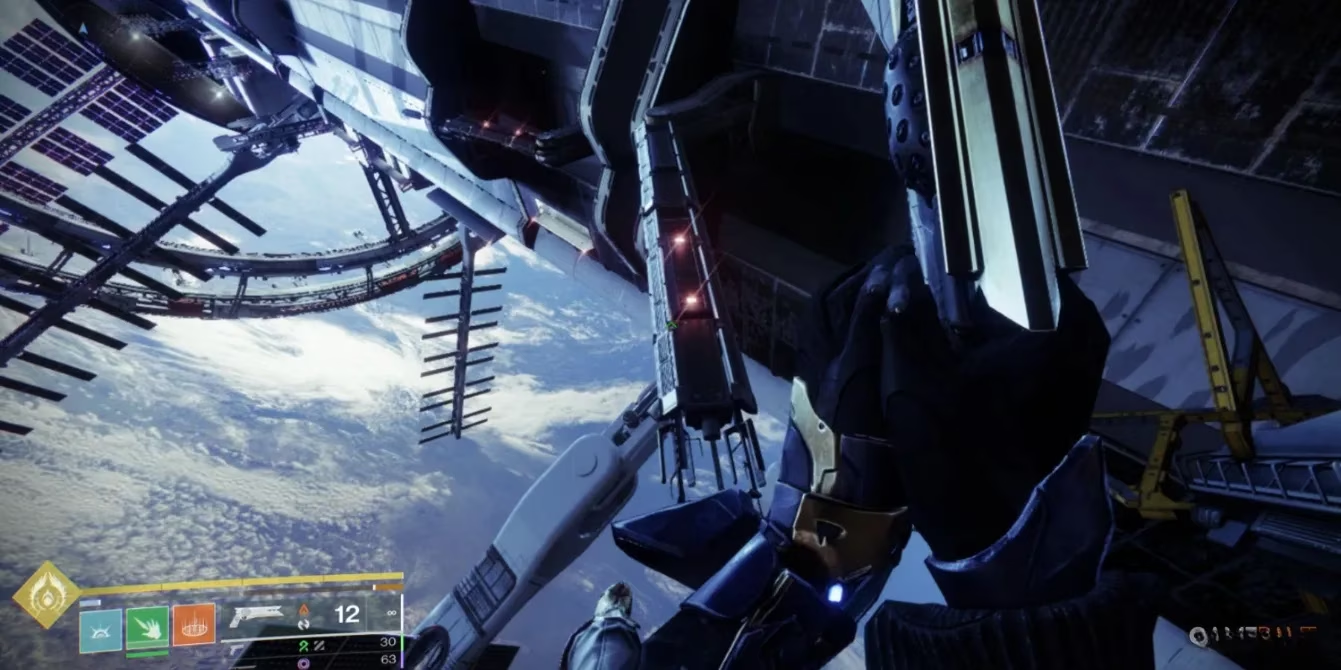
After the boss, you are captured! Surrender your weapons, get teleported to a Fallen Ketch, retrieve your gear, and fight your way out. Activate two ship access terminals to free allied robots, then blast your way into the vacuum of space for the mission's jumping puzzle. This section is a ballet of precision, avoiding moving machinery, mines, and sniper fire.
A Fallen with the Operator Protocol waits. Kill it, take the buff, and shoot three keypads to materialize platforms. Two are near the fallen enemy's spawn, one is further ahead. Climb, defeat two Ogres at the summit, bank your Protocol, and face the mini-boss, Haroktha. This fight is a straightforward DPS check—unload your heaviest weapons to burn him down quickly.
The final stretches involve a symphony of Protocol switching:
-
Operator + Scanner Duet: Grab an Operator buff, shoot two keypads on a central wall to open side rooms. Each side room contains a Scanner buff and a terminal to activate, guarded by a turret. Coordinate with your team.
-
The Teleporter Puzzle: In the next room, use Operator to shoot a keypad on a hanging pillar, opening a left-side door. A player with Scanner must then activate a terminal inside to power a teleporter.
-
The Final Protocol - Suppressor: After another Servitor, you acquire the Suppressor Protocol. In the next room, stand under three glowing white orbs one at a time and shoot a shielded target. This opens a door containing a red shield drone. Destroy it, kill the now-vulnerable Servitor, bank the Suppressor Protocol, and prepare for the grand finale.
👑 The Final Confrontation: Praksis, the Technocrat
The arena opens to reveal Praksis, a formidable Scorn commander. He can be damaged initially, stripping one-third of his health. Then, his immunity shield activates. The mechanic is a refined version of the Suppressor puzzle:
-
A Fallen with the Suppressor Protocol spawns on an upper walkway. Eliminate it and claim the buff.
-
Three white orbs appear (left, middle, right). Stand under each and shoot Praksis once to Suppress him.
-
Suppressing him opens three doors around the arena, each revealing a shield drone. Destroy all three drones to break his shield.
-
Damage him until his health is gone. Repeat the Suppression process for his final health segment.
Pro-Tip for 2026: The new Prismatic subclass is exceptionally potent here, offering versatile damage and survivability tools to handle the chaotic mechanics.
With Praksis defeated, your journey is not quite over. Head left in the arena to a newly opened area. You must upload the virus to claim your mission loot. Do not forget this step! Remember, Operation: Seraph's Shield is a commitment with no checkpoints. Each farm run is a fresh, full sprint from the frozen start to the triumphant finish. Master its rhythms, and the legendary Seraph weapons shall be yours.