Unlocking All Nine Neomuna Region Chests in Destiny 2: Lightfall – A Guardian’s Guide
Unlock a powerful Legendary weapon by looting three Neomuna region chests in Destiny 2’s From Zero quest—all nine locations!
As a seasoned Guardian wandering the neon-drenched streets of Neomuna in 2026, I still get a rush of excitement every time I revisit the hidden city on Neptune. Back when Lightfall and Season of Defiance first launched, those golden Region Chests scattered across the map became my obsession—not just for the gear, but because the quest “From Zero” required opening at least three of them to unlock a powerful Legendary weapon. Even now, knowing the exact spots where these chests are tucked away makes leveling new characters a breeze, and I’m happy to retrace my steps with you. There are nine in total, each a small puzzle that rewards a tidy pile of Glimmer and some quality armor or weapons. Let’s dive into the chrome-and-glass labyrinth and grab them all.
Chest 1: North Zephyr Concourse
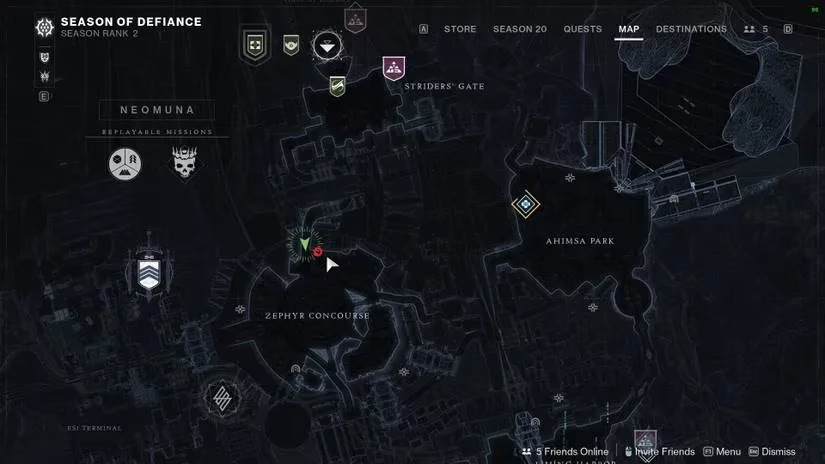
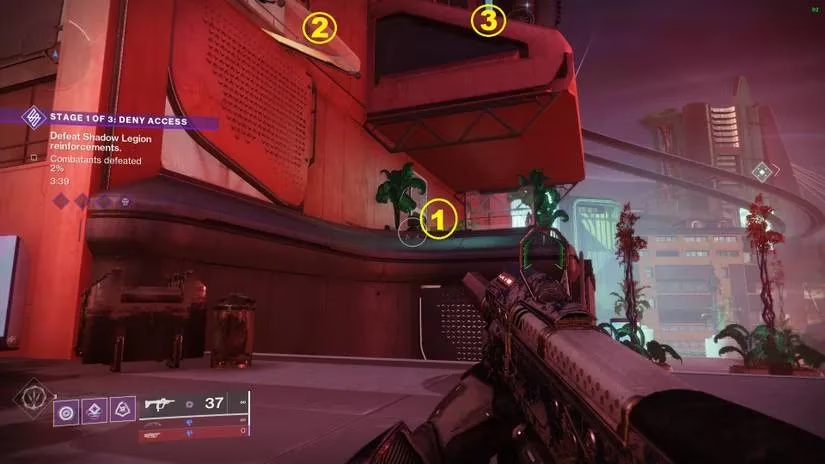
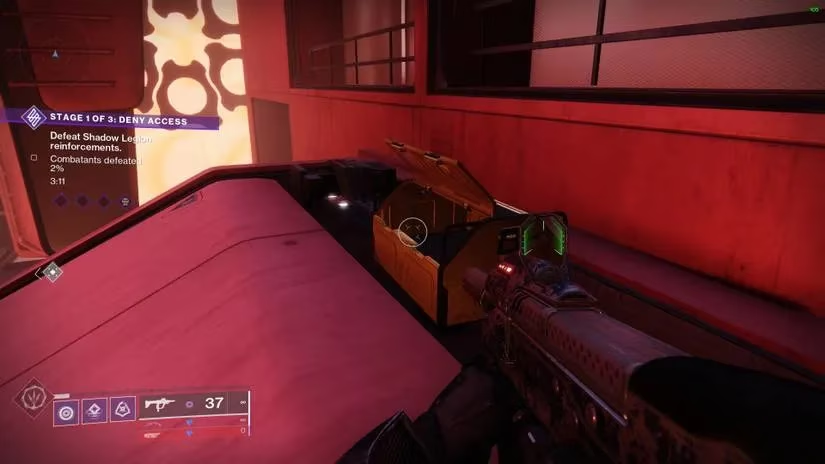
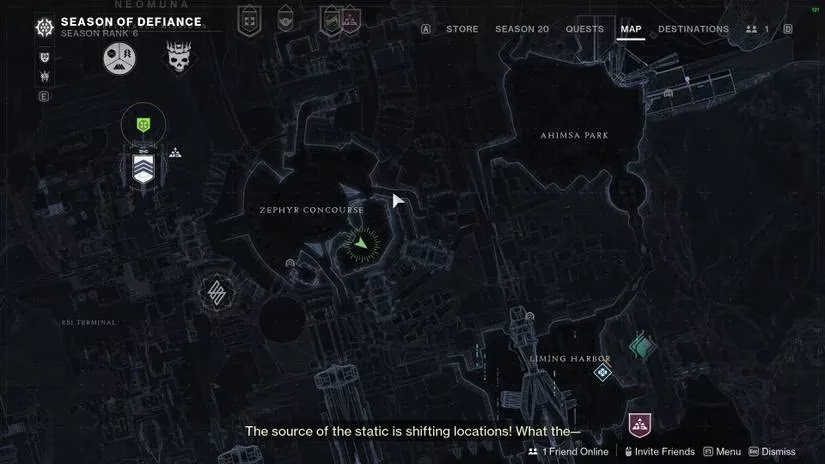
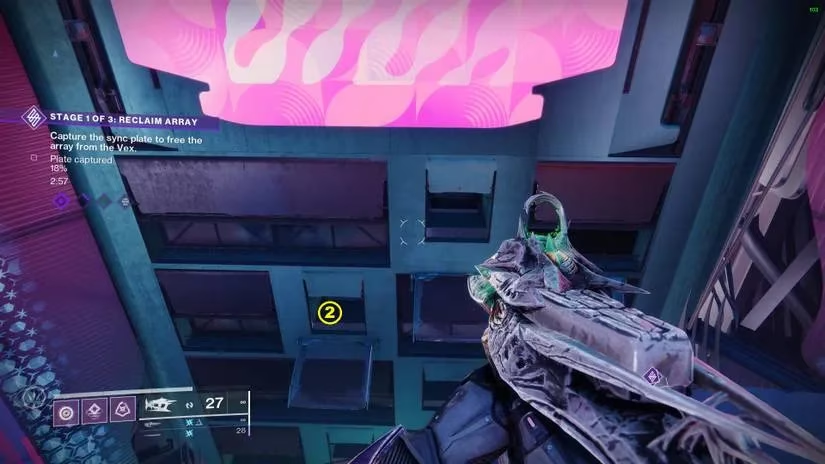
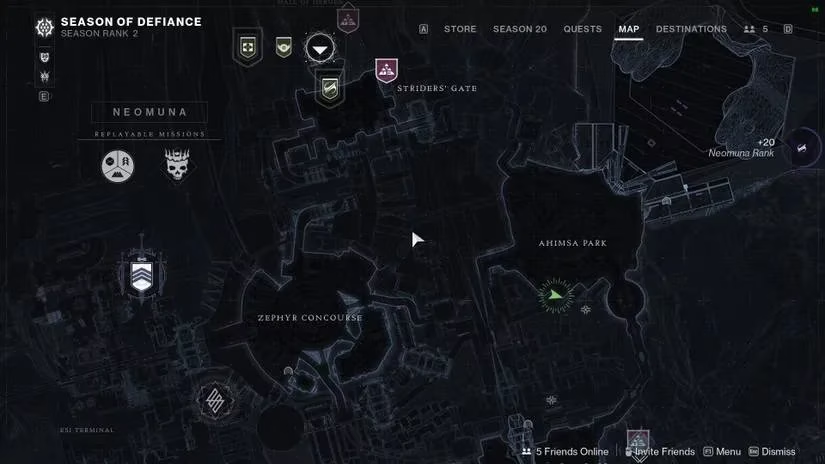
I remember standing near the northern edge of Zephyr Concourse, consulting my map and matching the red circle to the environment. You’ll want to position yourself exactly where the green player marker sits below the main platform. As you step out from the corridor into the open area, glance left and slightly upward. You’ll spot a series of glass platforms jutting out from the wall, looking almost like floating steps. The chest rests on the third and highest of them. To reach it, you need to start at the lowest glass ledge (platform 1), jump to the middle one (platform 2), and then leap across to the final platform. It’s a straightforward sequence, but watch your footing—the smooth surface can be deceptive. Once you land on platform 3, the chest sits snug against the wall, gleaming with promise.
Chest 2: West Zephyr Concourse
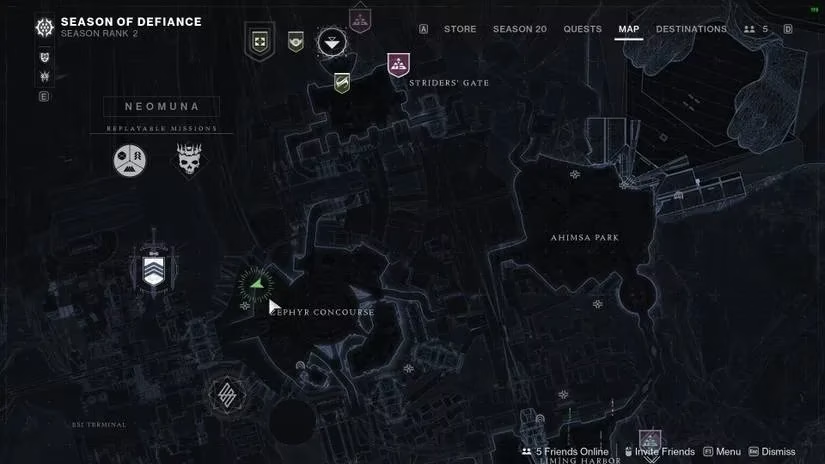
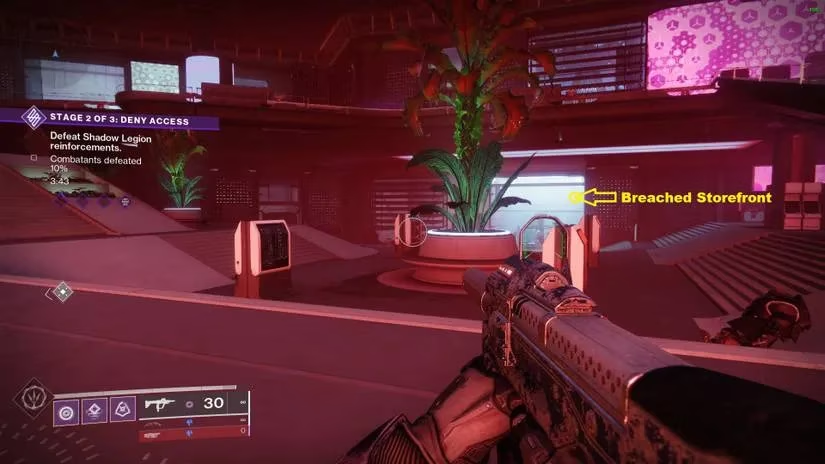
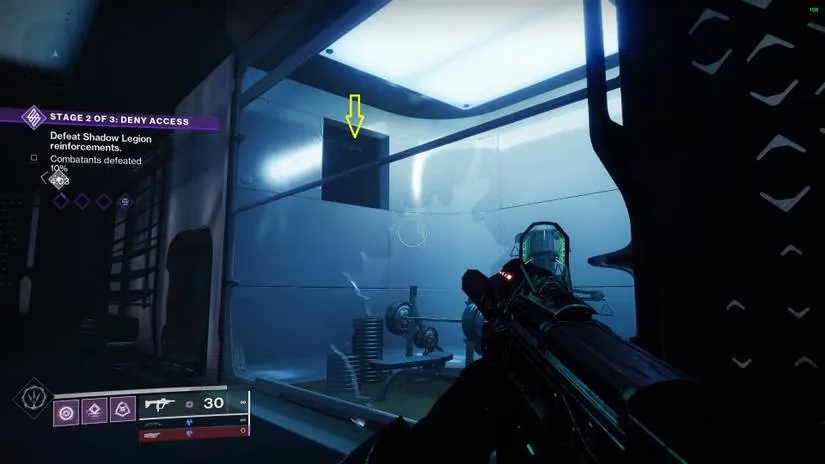
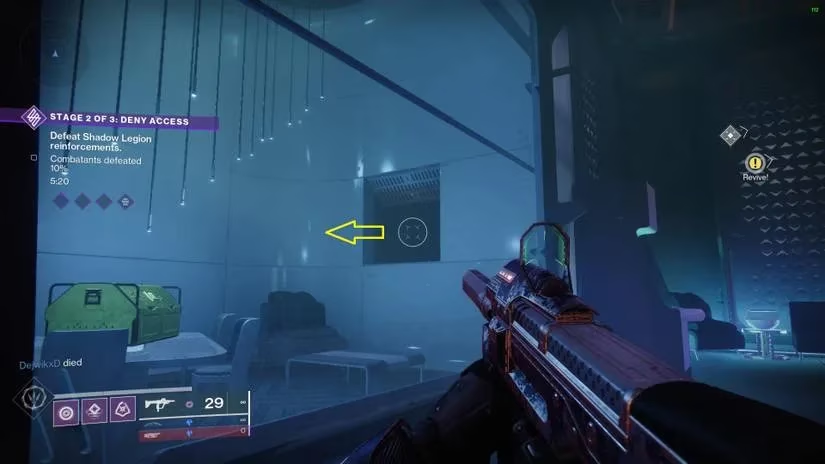
This one is the trickster of the bunch. The chest glimmers mockingly inside a storefront, sealed behind unbreakable glass. During my first exploration, I wasted ten minutes shooting and punching the window before I spotted the real entry. Look around near the ground level for a small ventilation shaft. The entry point to that vent isn’t where most Guardians expect it—it’s hidden at the bottom floor behind a massive flowering plant. If you stand at the green marker, you’ll see a storefront with shattered glass that you can actually walk into. Inside, hop into the vent, follow the narrow passage, and it will dump you straight into the sealed room where the chest awaits. It’s a perfect reminder that Neomuna loves to hide things in plain sight.
Chest 3: East Zephyr Concourse
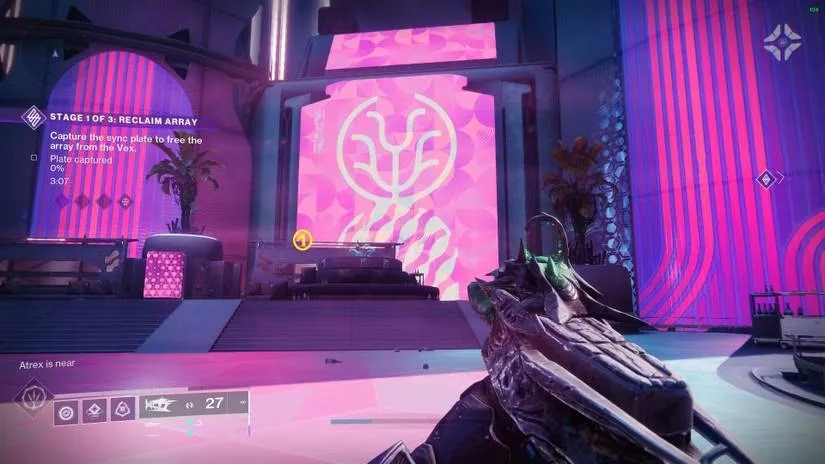
Sometimes the easiest chests are the most satisfying. Stand at the green marker and look for a colossal pink holographic screen dominating the space ahead. Climb onto the raised platform next to it (platform 1) and then simply look down over the opposite edge. You’ll see the chest glinting on a lower glass ledge (platform 2). It’s just one bold jump away. I made the mistake of overcomplicating it the first time by trying to find a hidden route, but no—you literally just leap across and collect your reward. The simplicity here feels like a gentle gift from the developers before the harder platforming sections.
Chest 4: Under North Ahimsa Park
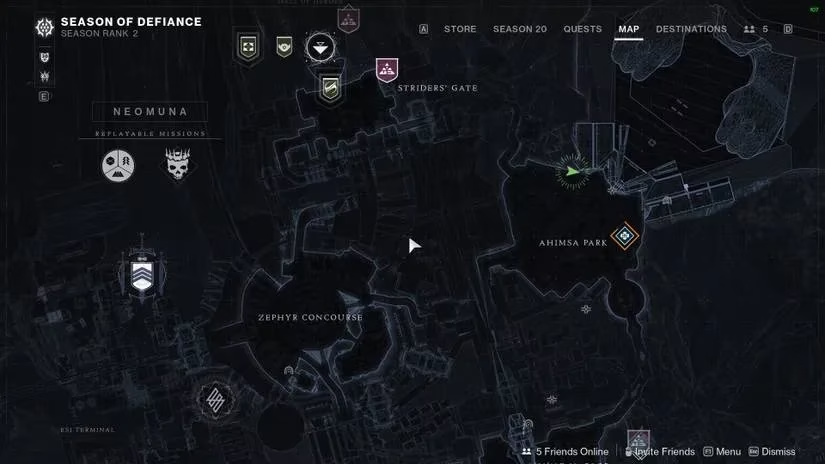
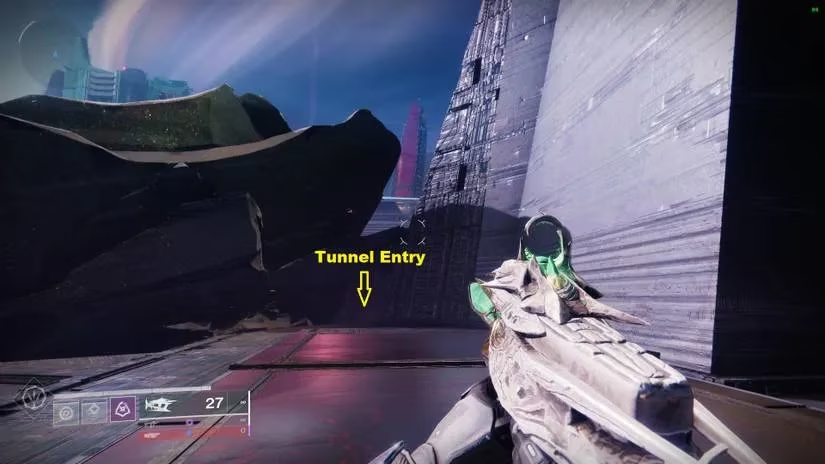
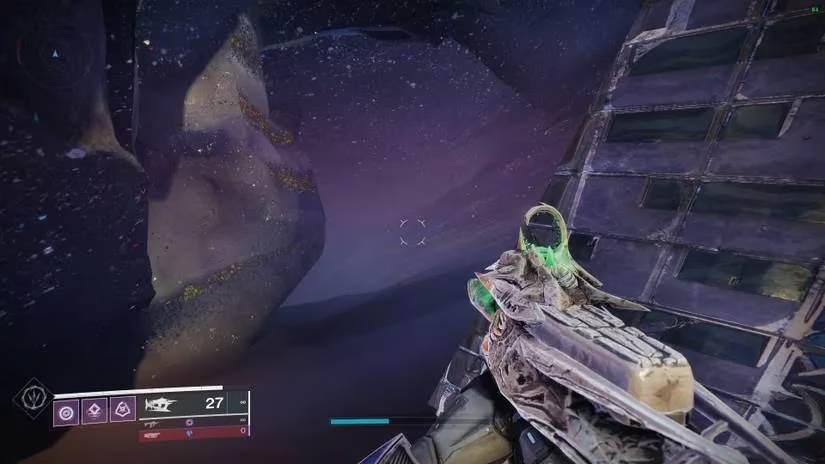
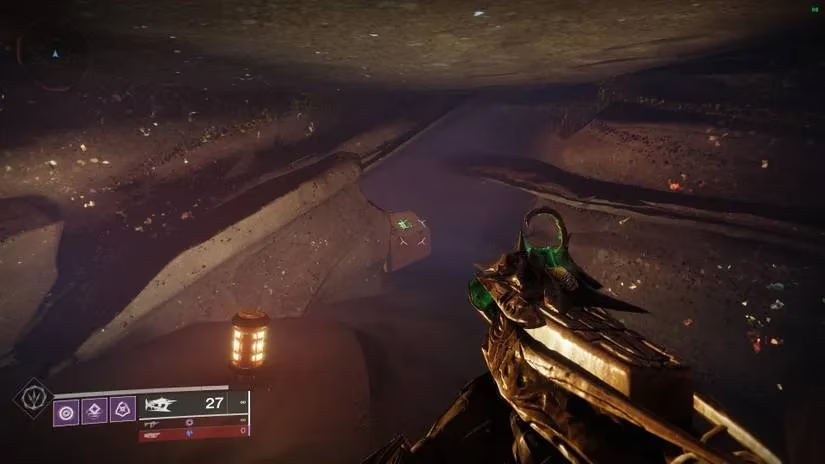
The Ahimsa Park trio sent me underground, which always gives me a slight thrill. For the fourth chest, head to the green marker and peer over the edge of the terrain. You’ll spot the mouth of a dark tunnel nestled on the left side of the cliff face. A swift jump carries you straight into it. Inside, the tunnel is short and linear, leading directly to the chest. It’s a classic hideaway that rewards a curious glance downward. The sound of the distant city hums behind you as you claim the contents.
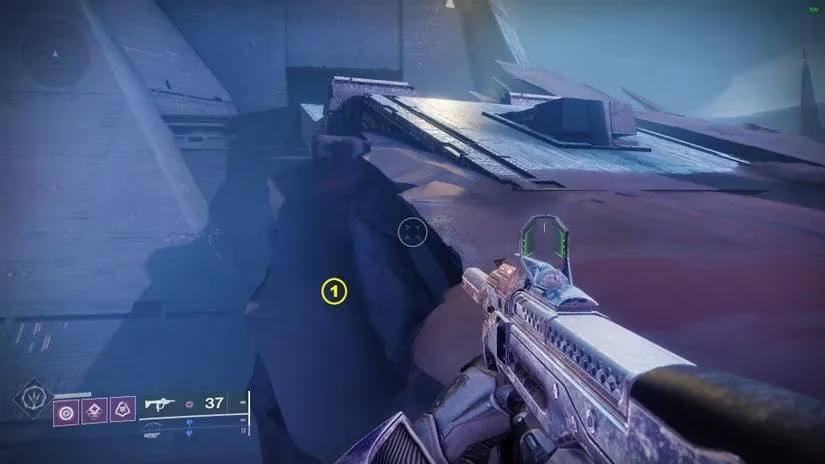
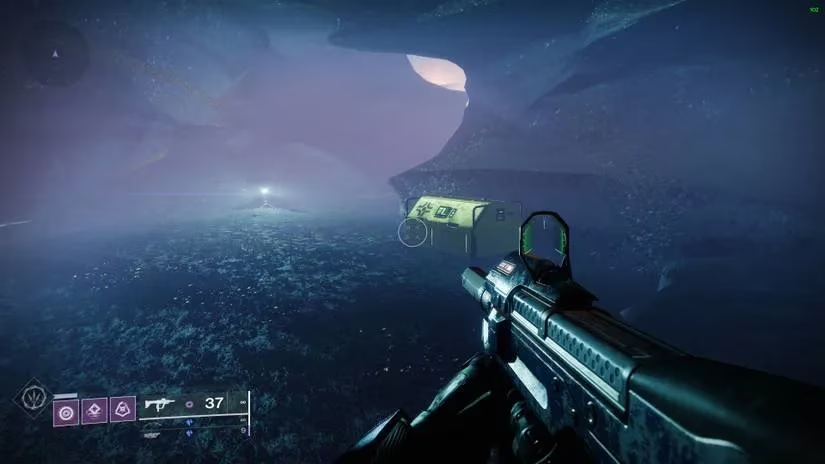
Chest 5: Under East Ahimsa Park
The fifth chest is also subterranean, but the entry is far more cunning. While standing at the green marker, you’ll see an imposing pair of giant sliding doors ahead. Walk toward them but don’t go through. Instead, look to your left for a narrow alleyway between buildings. Slide into that passage, and roughly halfway along, you’ll notice a hole in the floor—a maintenance hatch that drops straight down into a hidden chamber. Carefully descend (don’t just fall recklessly, unless you enjoy respawning) and the chest sits right there. I love that this one plays on our tendency to rush toward obvious objectives; sometimes the real treasure lies just off the beaten track.
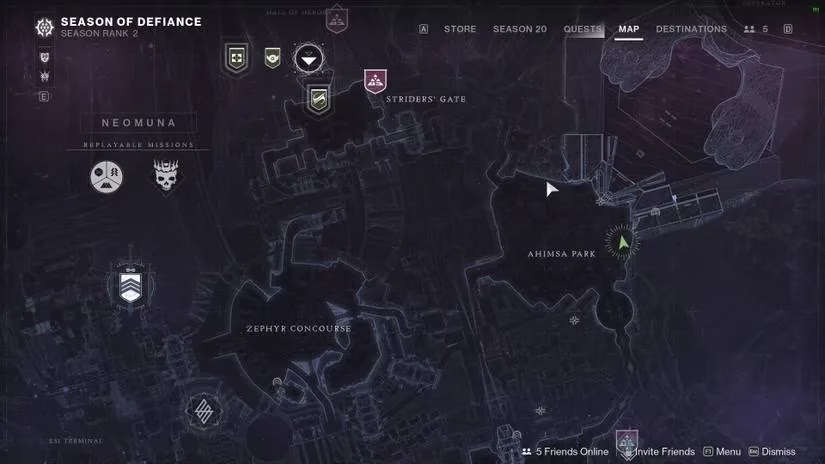
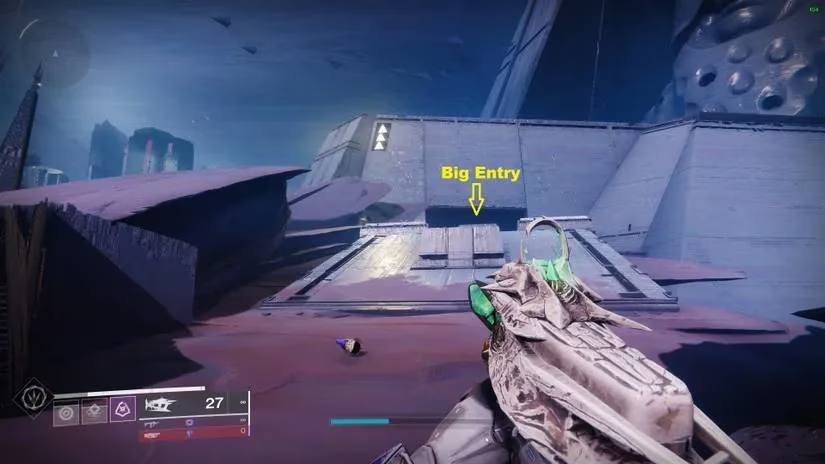
Chest 6: South Ahimsa Park
Now we’re getting into high-mobility territory. Standing at the green marker, you can spy the chest gleaming from across a gap on a distant glass platform (location 4). A direct jump is suicide unless your mobility stat is through the roof. The safe route is a bit of a detour: first, hop onto the rocky outcropping at location 1, then launch yourself onto the intermediate platform labeled 2, and from there, make a precise leap to platform 3. The trick is not to aim for the glass itself but for the solid edge of the adjacent building. It’s a finesse jump—short and controlled, nudging left with two additional midair corrections. Once you’re on the building ledge, a simple hop places you on platform 4 and right beside the chest. This one always tests my jumping muscles, but the reward feels hard-earned.
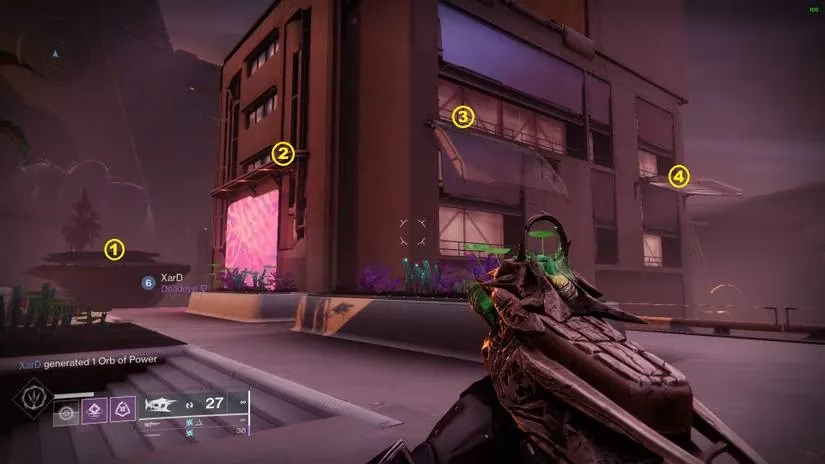
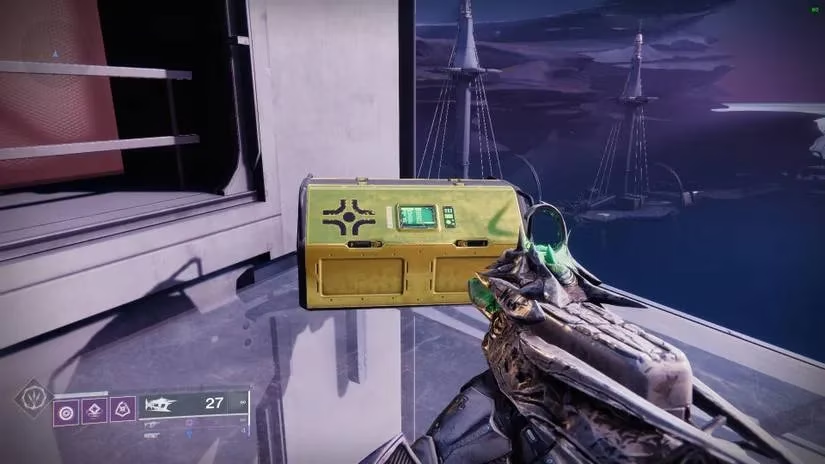
Chest 7: North Liming Harbor
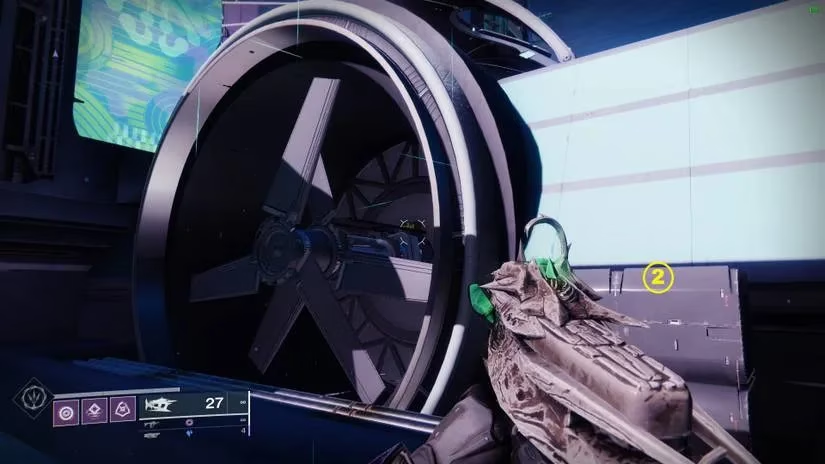
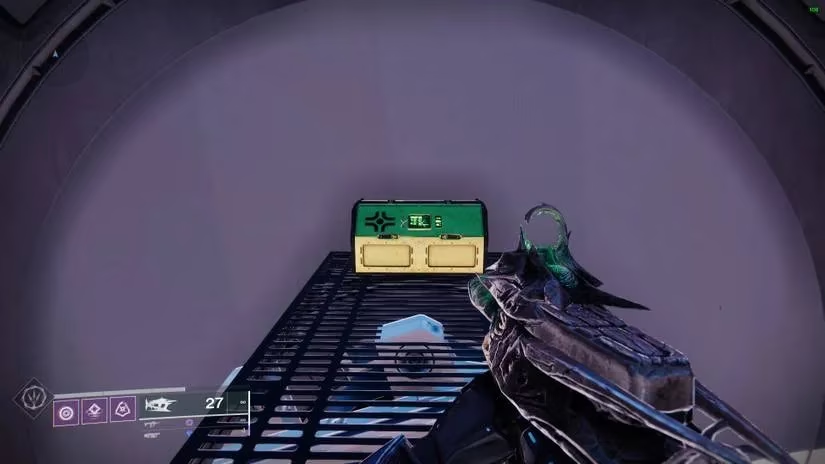
This one earned a few frustrated sighs from me. The chest sits atop a massive industrial fan shaft, and reaching it demands perfect timing. At the green marker, the spinning blades dominate your view. You can’t just walk up; you must jump through the gaps between the whirling blades without getting smacked. They won’t kill you, but they’ll bat you away like a ragdoll, which gets old fast. I recommend positioning yourself on Platform 1 first, then angling toward a gray utility box marked as step 2, which gives you a clean line to dive into the fan’s center. Watch the rhythm, count the beats, and commit. Once inside the shaft’s eye, you’ll find the chest resting peacefully, completely unbothered by the chaos outside.
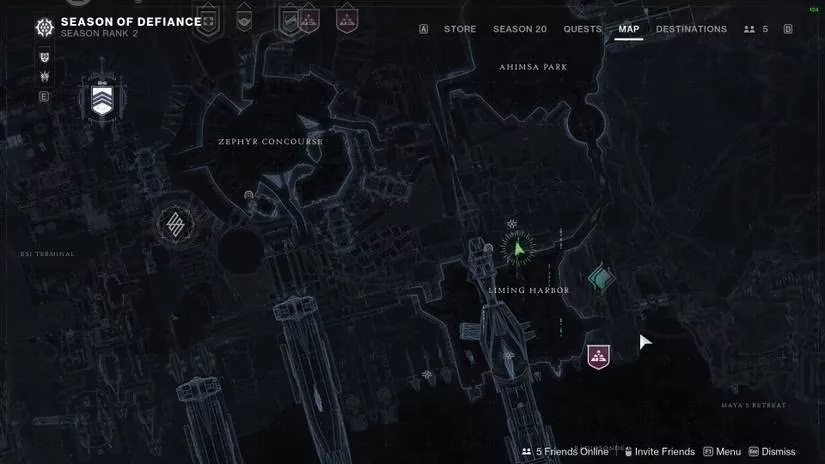
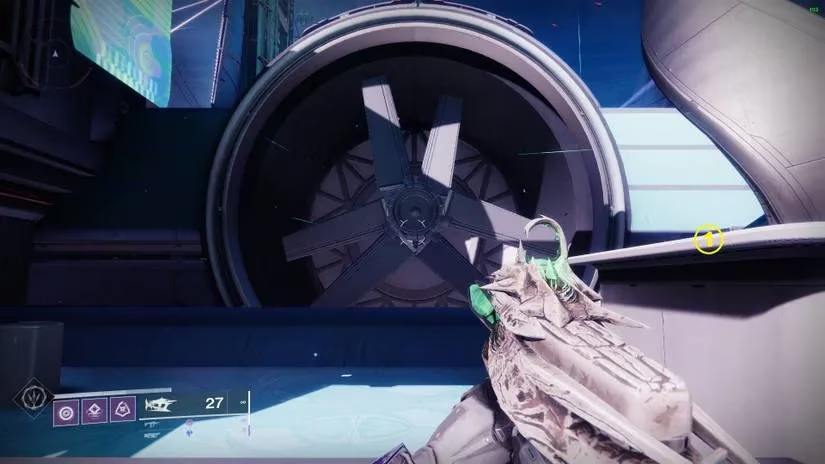
Chest 8: Central Liming Harbor
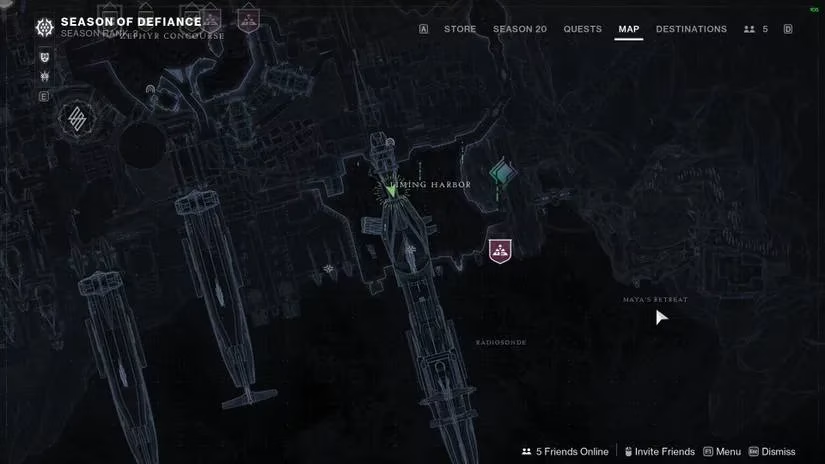
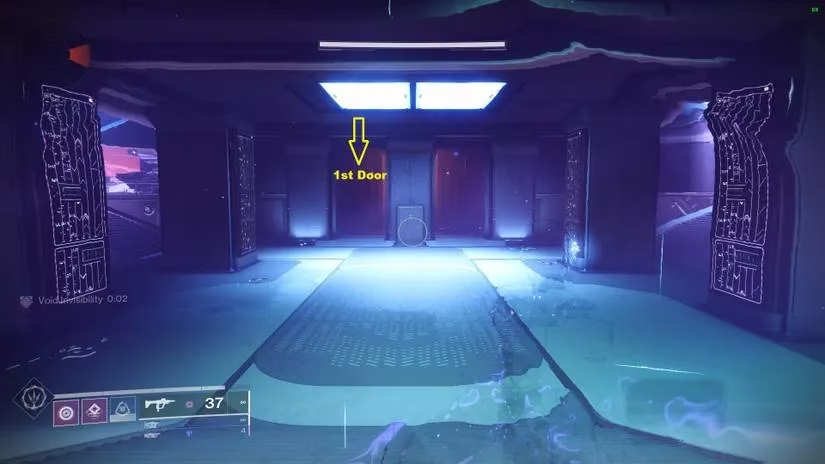
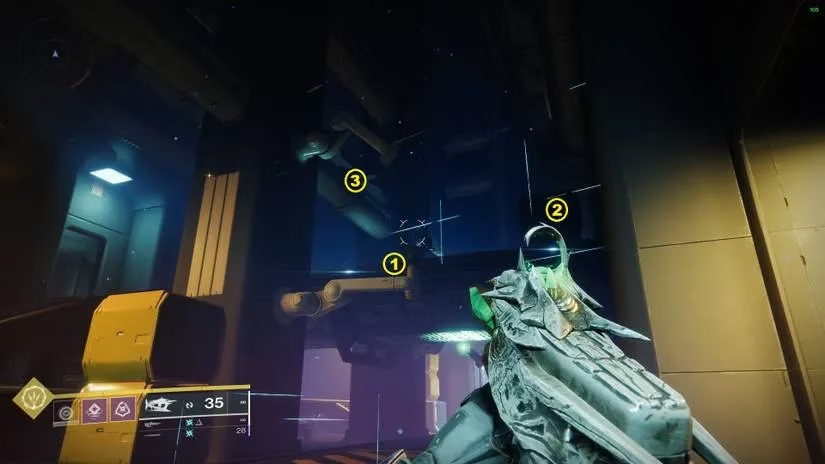
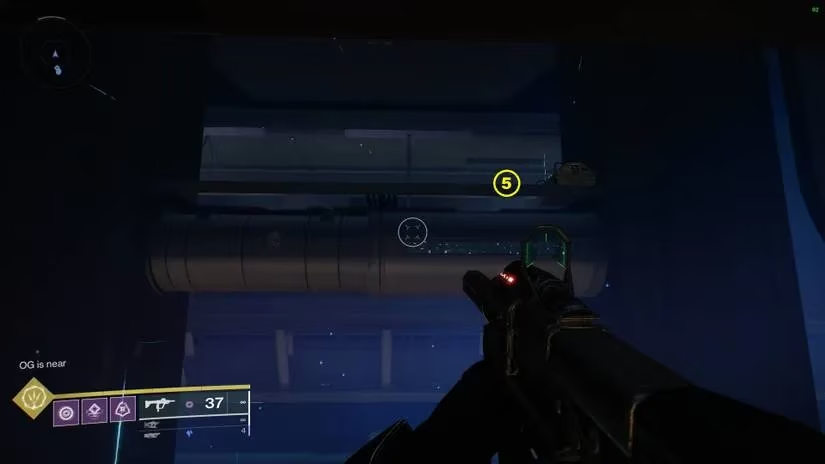
Central Liming Harbor plays with indoor verticality. From the green marker, face the building that has two obvious entryways. Head inside, continue through another doorway, and you’ll find yourself in a room with a yellow cargo box. That box is your launchpad. Jump onto it (platform 2) and then up to a higher ledge (platform 3). Ahead lies a tricky overhang (platform 4). The ceiling here is low and aggressively angled—it will shove you right off if you overshoot. Use a slow, crouched jump to clear it without bonking your head. Once past, turn around and look back upward; the chest is perched on a high crate labeled platform 5. It’s one of those “how did they expect me to see that?” moments that I’ve come to love about Neomuna’s level design.
Chest 9: South Liming Harbor
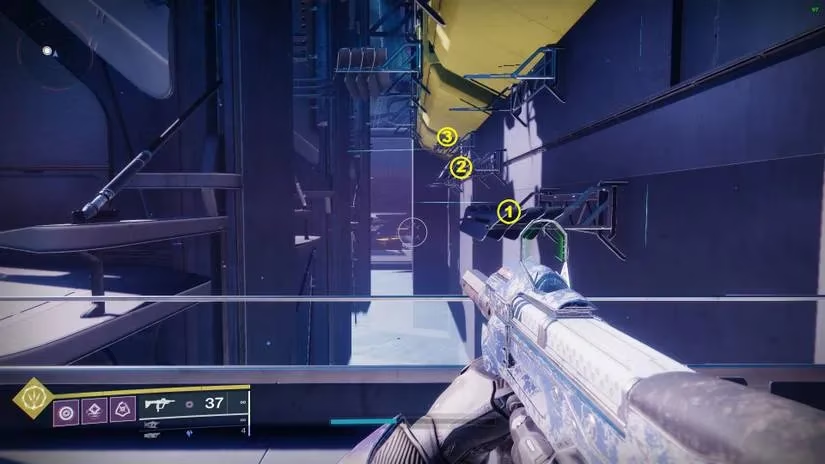
The final chest is a fitting end to our scavenger hunt. Standing at the green marker, you’ll see a neat row of three floating platforms ahead. Scale them one by one until you reach the third. From there, glance left and slightly upward. Another similar platform sits enticingly far away—too far for a direct jump. Instead, turn your attention to a tiny, almost invisible edge platform jutting out from the wall (platform 4). It’s easy to miss, but it’s the key. Hop onto that precarious ledge, then make a comfortable leap over to platform 5 where the ninth chest waits. Cracking it open felt like completing a personal quest, and the shower of gear reminded me exactly why I endure these platforming gauntlets.
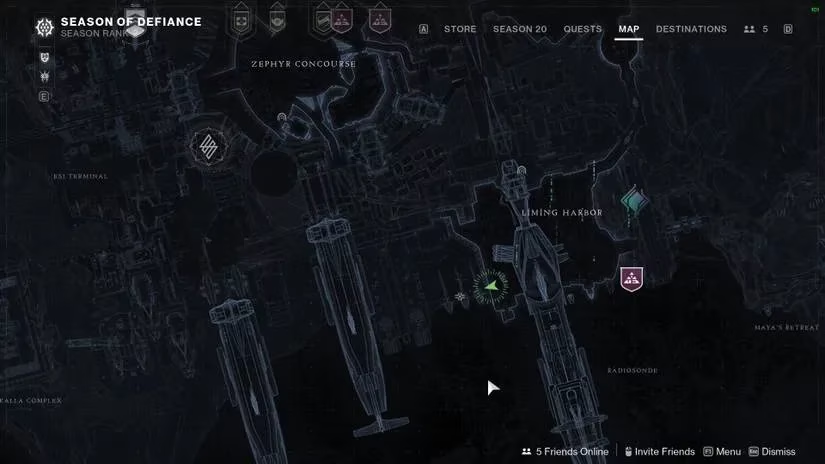
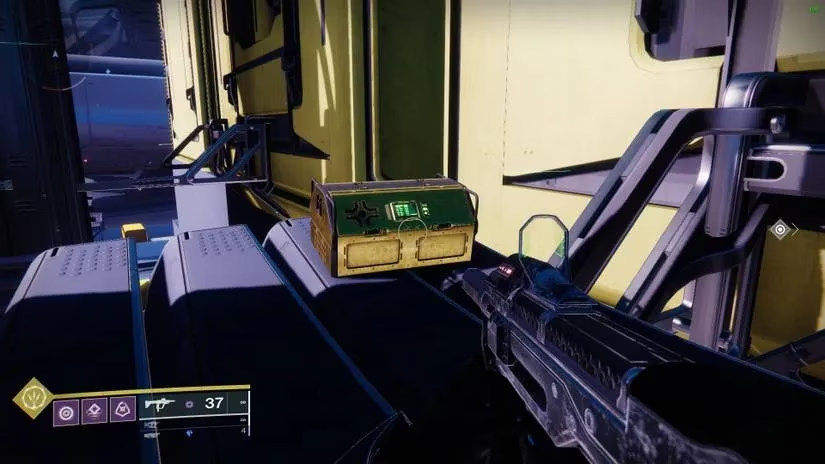
With all nine Region Chests cracked open, your inventory should be brimming with upgrades perfect for tackling the challenging campaign missions or sharpening your build for endgame content. The journey through Zephyr Concourse, Ahimsa Park, and Liming Harbor is a masterclass in environmental storytelling—each chest encourages you to look closer at the gleaming architecture of Neomuna. Whether you’re here for the “From Zero” quest or simply chasing the satisfaction of a complete collection, these hidden treasures are well worth the hunt. Now, gear up and show those Shadow Legion enemies what a fully-stocked Guardian can do.
As detailed by GameFAQs, community-built walkthroughs and player Q&A threads often emphasize using clear zone landmarks and step-by-step platforming routes—an approach that fits Neomuna’s nine Region Chests perfectly, where vents, hidden drops, and multi-hop glass ledges can be easy to miss when you’re rushing “From Zero” progress.